Tabla de contenido
Publicidad
Idiomas disponibles
Idiomas disponibles
Enlaces rápidos
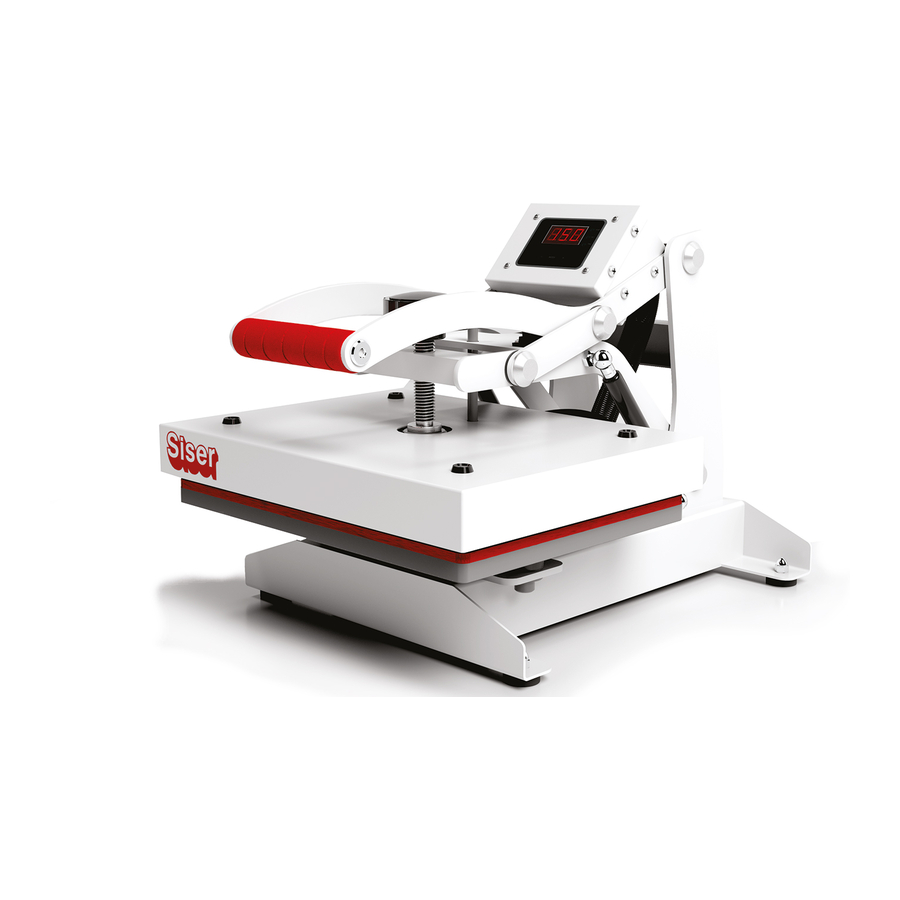
Siser Craft Heat Press
®
Model CP912-120
Operator's Manual
Safety Precautions
When using your heat press, basic precautions should always be followed,
including the following:
1. Read all instructions.
2. Use heat press only for its intended use.
3. To reduce the risk of electric shock, do not immerse the heat press in water or other liquids.
4. Never pull cord to disconnect from outlet, instead, grasp plug and pull to disconnect.
5. Do not allow cord to touch hot surfaces, allow heat press to cool completely before storing.
6. Do not operate heat press with a damaged cord or if the equipment has been dropped or damaged.
To reduce the risk of electric shock, do not disassemble or attempt to repair the heat press. Take it to a
qualified service person for examination and repair. Incorrect assembly or repair could increase the risk
of fire, electric shock, or injury to persons when equipment is used.
7. This appliance is not intended for use by persons (including children) with reduced physical, sensory, or
mental capabilities, or lack of experience and knowledge, unless they have been given supervision or
instruction concerning use of the appliance by a person responsible for their safety.
8. Close supervision is necessary for any heat press being used by or near children. Do not leave equipment
unattended while connected.
9. Burns can occur when touching hot metal parts.
10. To reduce the likelihood of circuit overload, do not operate other high voltage equipment on the same circuit.
11. If an extension cord is necessary, then a 10 amperage rated cord should be used. Cords rated for less
amperage may overheat. Care should be taken to arrange the cord so that it cannot be pulled or tripped
over.
En
01-2020
Publicidad
Tabla de contenido

Resumen de contenidos para SISER CP912-120
- Página 1 Siser Craft Heat Press ® Model CP912-120 Operator’s Manual Safety Precautions When using your heat press, basic precautions should always be followed, including the following: 1. Read all instructions. 2. Use heat press only for its intended use. 3. To reduce the risk of electric shock, do not immerse the heat press in water or other liquids.
-
Página 2: Part Identification
Part Identification Lift Handle (Down) Pressure Knob Lift Handle (Up) Control Panel Upper Platen (Heater) Lower Platen Power Switch Circuit Breaker Power Cord Initial Setup General Guidelines: To avoid burns, do not touch the heated platen during use. Ÿ Keep hands clear of the upper platen of the press during lock down as the pressure may cause injury. Ÿ... - Página 3 Adjusting Temperature, Time and Pressure Recommended settings vary based on the garment material and type of transfer product used. Please consult the instructions or specifications that came with your transfer product for appropriate temperature and time settings With the press ON and the Lift Handle in the UP position, press the MODE button to cycle through setup modes: Displays current Displays print temperature •...
- Página 4 Printing with your Craft Press Once the Craft Press has reached the designated temperature, position the garment. Align the transfer material on the garment to be printed and cover with a cover sheet. Lower and lock the heat platen into the press position. The automatic timing process will start.
-
Página 5: Précautions De Sécurité
Siser Presse à Chaud de Loisir ® Modele CP912-120 Manuel d'Opérations Précautions de Sécurité Lorsque vous utilisez votre presse à chaud, des précautions de base doivent toujours être suivies, notamment les suivantes: 1. Lisez toutes les instructions. 2. N'utilisez la presse à chaud que pour l'usage auquel elle est destinée. -
Página 6: Identification Des Pieces
Identification des Pieces Poignée de levage (BAS) Bouton de pression Poignée de levage Panneau de contrôle Plateau supérieur (chauffage) Plateau inférieur Interrupteur Disjoncteurr Cordon d'alimentation Configuration Initiale Conditions Générales d'Utilisation: Pour éviter les brûlures, ne touchez pas la plaque chauffante pendant l'utilisation. Gardez les mains à l'écart Ÿ... - Página 7 Réglage de la température, du temps et de la pression Les paramètres recommandés varient en fonction du matériau du vêtement et du type de produit de transfert utilisé. Veuillez consulter les instructions ou les spécifications fournies avec votre produit de transfert pour connaître les paramètres de température et de temps appropriés.
- Página 8 Impression avec votre presse Une fois que la presse à chaud a atteint la température indiquée, placez le vêtement sur le plateau inférieur. Alignez le matériau de transfert sur le vêtement à imprimer. Abaissez et verrouillez le plateau superieur chauffant en position de presse.
-
Página 9: Precauciones De Seguridad
Siser Craft Heat Press ® Model CP912-120 Manual de Operador Precauciones de Seguridad Al usar su estampadora, debe seguir las siguientes precauciones básicas: 1. Lea las instrucciones. 2. Use la estampadora únicamente para los fines que fue creada 3. Para reducir el riesgo de choque eléctrico, no la sumerja en agua u otros líquidos 4. -
Página 10: Identificación De Partes
Identificación de Partes Manija (Abajo) Perila de presión Manija (elevación) Panel de control Platina superior (Calentador) Platina inferior Interruptor Disyuntor Cable Programación Inicial Guias Generales: Para evitar quemaduras, no toque la platina superior durante el uso. Ÿ Mantenga las manos lejos de la platina superior durante la aplicación pues la presión puede causar lesiones. Ÿ... -
Página 11: Ajuste De Temperatura, Tiempo Y Presión
Ajuste de Temperatura, Tiempo y Presión Las programaciones recomendadas varían dependiendo del material de la prenda y el tipo de vinilo utilizado para estampar. Por favor consulte las instrucciones o especificaciones que vienen con su producto para lograr temperatura y tiempo apropiados. -
Página 12: Estampar Con Su Plancha De Manualidades
Estampar con su Plancha de Manualidades Una vez que su plancha ha alcanzado la temperatura designada, coloque la prenda sobre la platina inferior. Alinie el transfer sobre la prenda para realizar el estampado. Baje la platina superior a posición de estampado. El proceso de conteo automático de tiempo comenzará.
