Publicidad
Idiomas disponibles
Idiomas disponibles
Enlaces rápidos
Publicidad

Resumen de contenidos para Bestway 58046
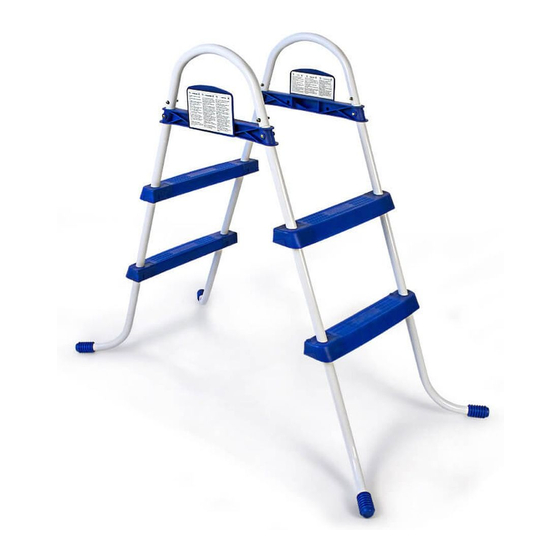
- Página 1 Model: #58046 76cm (30") Pool Ladder OWNER’S MANUAL www.bestway-global.com S-S-000602...
- Página 2 P6076 P6080 P6104 For information concerning product questions please visit our website at: www.bestway-service.com 2. Steps Installation (Figure 2): 3. Knighthead/Warning Board and Curved Handle Installation (Figure 3): Note: Ladder assembly requires a crosshead screwdriver or an Connect P6080 (assembled knighthead and warning board), with the adjustable wrench.
- Página 3 P6076 P6193 P6080 P6104 nuestro sitio Web: www.bestway-service.com 2. Instalación de los peldaños (figura 2): 3. Instalación del larguero de Soporte/Placa de Aviso y Manivela Nota: Para montar la escalera es preciso tener un atornillador cruciforme o combada (Figura 3): una llave inglesa regulable.
- Página 4 P6193 P6194 P6076 P6080 P6104 unsere Website: www.bestway-service.com 3. Montage von Abstandshalter/ Warnschild und Handgriff 2. Montage der Stufen (Abbildung 2): (Abbildung 3): Anmerkung: Für den Aufbau der Leiter wird ein Kreuzschraubenzieher Verbinden Sie P6080 (montierter Abstandshalter und Warnschild) mit oder ein Universalschraubenschlüssel benötigt.
- Página 5 Voor informatie en vragen over ons product, bezoekt u alstublieft onze P6193 P6194 P6076 P6080 P6104 website: www.bestway-service.com 2. De treden monteren (afbeelding 2): 3. Het platform/beveiligingsrand en de gebogen handgreep monteren Opmerkingen: Voor het monteren van de trap heeft u een (afbeelding 3): kruiskopschroevendraaier of een verstelbare moersleutel nodig.
- Página 6 P6194 P6076 P6193 P6080 P6104 Web: www.bestway-service.com 2. Montaggio dei gradini (figura 2): 3. Montaggio di traversini/Pannelli di segnalazione e impugnature curve Nota: per il montaggio della scaletta sono necessari un cacciavite a croce e (figura 3): una chiave regolabile.
- Página 7 P6193 P6194 P6076 P6080 P6104 visiter notre site Internet: www.bestway-service.com 2. Montage des marches (figure 2): 3. Montage de l’apôtre/pancarte d’avertissement et des poignées Remarque : Pour monter l’échelle vous avez besoin d’un tournevis courbes (figure 3): cruciforme ou d’une clé réglable.


