Publicidad
Enlaces rápidos
PLEASE CONTACT MOEN FIRST
For Installation Help, Missing or Replacement Parts
(USA)
1-800-BUY-MOEN (1-800-289-6636)
WWW.MOEN.COM
(Canada)
1-800-465-6130
WWW.MOEN.CA
POR FAVOR, CONTÁCTESE PRIMERO CON MOEN
Para obtener ayuda de instalación, piezas
faltantes o de recambio
011 52 (800) 718-4345
WWW.MOEN.COM.MX
VEUILLEZ D'ABORD CONTACTER MOEN
En cas de problèmes avec l'installation, ou pour obtenir toute
pièce manquante ou de rechange
1-800-465-6130
WWW.MOEN.CA
HELPFUL TOOLS
For safety and ease of installation, Moen recommends the use
of these helpful tools
HERRAMIENTAS ÚTILES
Para mayor seguridad y facilidad de instalación, Moen le
recomienda usar estas útiles herramientas.
OUTILS UTILES
Par mesure de sécurité et pour faciliter l'installation, Moen
recommande l'utilisation des outils ci-dessous.
Stud Finder
Detector de vigas
Localisateur de
Broca para azulejo cerámico
montants
Mèche pour carrelage en céramique
'A' - 25/64"
9.9mm
Ceramic Tile Bit
Painter's Tape
Cinta de pintor
Ruban-cache
de peintre
Installation Guide
Guía de Instalación
Guide d'installation
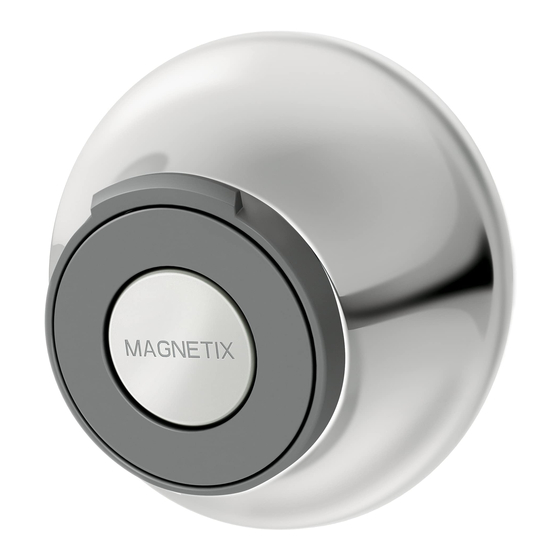
MAGNETIX REMOTE MOUNTED DOCK
MODEL 186117 SERIES
Compatible with the following handshower series: 26008, 26009, 26010, 26013,
26000, 26603, 26100EP, 26112, 26112EP, 26115
MAGNETIX ACOPLE DE MONTAJE REMOTO
MODELO SERIE 186117
Compatible con las siguientes series de regaderas manuales: 26008, 26009,
26010, 26013, 26000, 26603, 26100EP, 26112, 26112EP, 26115
SUPPORT MURAL SECONDAIRE
POUR MAGNETIX
SÉRIE 186117
Compatible avec les modèles de douche à main suivants : 26008, 26009, 26010,
26013, 26000, 26603, 26100EP, 26112, 26112EP, 26115
NOTE:
NOTA:
• Warning
• Advertencia – No
– Do not use foaming
utilice limpiadores
cleaners near
wall retainer
if using adhesive
del retén de pared
installation.
si usa la instalación
• Do not install over
adhesiva.
grout lines unless
• No instale sobre las
silicone caulking (not
líneas entre azulejos
provided) is applied
salvo si aplica masilla
around mounting
de silicona (no pro-
bracket.
vista) alrededor de la
• DO NOT USE PUTTY
ménsula de montaje.
FOR ASSEMBLY.
• NO USE MASILLA
• Install this product
PARA ARMAR.
with a backflow
• Instale este producto
preventer as required
con una válvula contra
by the local plumbing
retorno tal como lo
code.
requiera el código de
plomería local.
INS10668 - 6/18
REMARQUE :
• Mise en garde –
Ne pas utiliser de
produits nettoyants
que formen
moussants
espuma cerca
près autour
du support mural si
un adhésif est utilisé
pour l'installation.
• Ne pas installer
par-dessus les joints
du carrelage, sauf si
un agent d'étanchéité
à la silicone (non
fourni) est appliqué
autour du support de
montage.
• NE PAS UTILISER
DE MASTIC POUR
L'ASSEMBLAGE.
• Installer ce produit
avec un dispositif
anti-refoulement tel
que requis par le code
de plomberie local.
Publicidad

Resumen de contenidos para Moen MAGNETIX
- Página 1 HELPFUL TOOLS SÉRIE 186117 Compatible avec les modèles de douche à main suivants : 26008, 26009, 26010, For safety and ease of installation, Moen recommends the use 26013, 26000, 26603, 26100EP, 26112, 26112EP, 26115 of these helpful tools HERRAMIENTAS ÚTILES...
-
Página 2: Parts List
Lista de piezas Parts List Install handheld shower to shower arm. A. Tira adhesiva D. Tornillo (x2) A. Adhesive Disk D. Screw (x2) Instale la regadera manual al brazo de la regadera. B. Ménsula de E. Acople de la B. Mounting Bracket E. - Página 3 Drill-in Option Opción por perforado Option d'installation avec perçage 6" 15.2cm Min. 6" 15.2cm Min. Painter’s tape Cinta de pintor Ruban-cache de peintre Using a pencil, lightly trace a circle around the dock Place painter’ s tape behind the handheld spray head 1.
- Página 4 INS10668 - 6/18 Go to Step 7 Vaya al Paso 7 Aller à l’étape 7 Clean the pencil markings from wall or remove Place the bracket on wall as previously described and fasten using the screws (D) provided. Go to Step 7. painters tape.
- Página 5 INS10668 - 6/18 Go to Step 7 Vaya al Paso 7 Aller à l’étape 7 Ensure that the arrow on bracket is facing up. Press 1. Peel off clear film from adhesive disk (A). Clean the pencil markings from wall or remove firmly against wall for 30 seconds.
- Página 6 Il suffit d’écrire à Moen inc. à l’adresse number. a otro o de una provincia o nación a otra. Moen lo indiquée ci-dessous, pour expliquer le défaut, asesorará en el procedimiento a seguir para hacer d’inclure une preuve d’achat, d’inscrire son nom,...


