Tabla de contenido
Publicidad
Enlaces rápidos
ASME A112.18.1 / CSA B125.1
ICC / ANSI A117.1
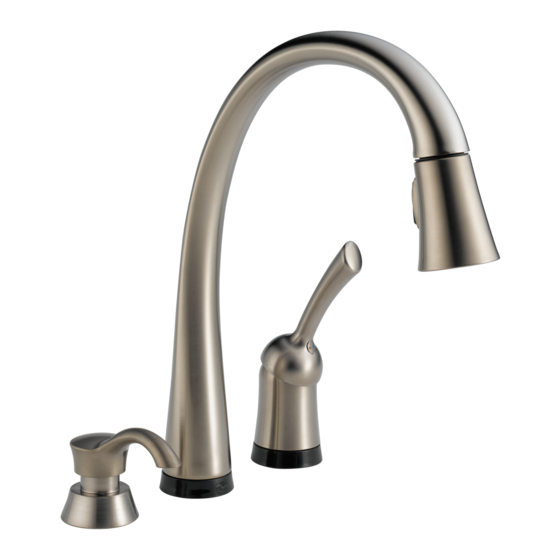
Models/Modelos/Modèles
980T-SS-DST & 980T-SSSD-DST
Series/Series/Seria
Write purchased model number here.
Escriba aquí el número del modelo comprado.
Inscrivez le numéro de modèle ici.
WARNING: THIS FAUCET IS NOT TO BE USED WITH PORTABLE
D I S H WA S H E R S ! / A DV E RT E N C I A : ¡ S E S TA L L AV E N O S E
DEBE UTILIZAR CON MAQUINAS LAVAPLATOS PORTATILES! /
AVERTISSEMENT: ON NE DOIT PAS BRANCHER UN LAVE-VAISSELE
PORTATIF SUR CE ROBINET!
MEETS OR EXCEEDS — ASME A112.18.1 / CSA B125.1
ALCANZA O EXCEDE LAS SIGIENTES NORMAS —
ASME A112.18.1 / CSA B125.1
LE ROBINET EST CONFORME OU SUPèRIEUR AUX EXIGENCES DES
NORMES SUIVANTES: ASME A112.18.1 / CSA B125.1
For easy installation of your Delta
faucet you will need:
• To READ ALL the instructions completely
before beginning.
• To READ ALL warnings, care, and maintenance
information.
Para instalación fácil de su llave Delta
usted necesitará:
• LEER TODAS las instrucciones completamente
antes de empezar.
• LEER TODOS los avisos, cuidados, e
información de mantenimiento.
Pour installer votre robinet Delta
facilement, vous devez:
• LIRE TOUTES les instructions avant de débuter;
• LIRE TOUS les avertissements ainsi que toutes
les instructions de nettoyage et d'entretien.
www.deltafaucet.com
SINGLE LEVER PILAR
77540
PULL DOWN KITCHEN FAUCETS
LLAVES DE AGUA EXTRAIBLES PARA
COCINAS DE PALANCA PILAR
FUNCIÓN AL TACTO
ROBINET TACTILE PILAR
RÉTRACTABLE POUR ÉVIER DE CUISINE
77540
1
®
TOUCH
You may need/Usted puede necesitar/
Articles dont vous pouvez avoir besoin:
T E FLO N
T E FLO N
®
DE
®
À BEC
08/27/13
Rev. A
Publicidad
Tabla de contenido

Manuales relacionados para Delta PILAR Serie


Resumen de contenidos para Delta PILAR Serie
- Página 1 • To READ ALL the instructions completely before beginning. • To READ ALL warnings, care, and maintenance information. Para instalación fácil de su llave Delta usted necesitará: • LEER TODAS las instrucciones completamente antes de empezar. • LEER TODOS los avisos, cuidados, e información de mantenimiento.
-
Página 2: Sistema De Protección Contra El Contraflujo
Delta Faucet Company no será responsable por cualquier daño a la llave de agua que resulte del Esta es la garantía exclusiva por escrito de Delta Faucet Company y la garantía no es transferible. - Página 3 RP53211▲ RP40650 Spout, Button, Set Screw & Base RP53214▲ Set Screw Handle w/Button & Tubo de Salida, Botón, Tornillo de Tornillo de Ajuste Set Screw Ajuste y Base Vis de calage Manija con botón y Bec, bouton, Vis de calage et Base tornillo de presión RP50786▲...
- Página 4 Bag 5 contains other useful accessories. La bolsa #5 contiene otros accesorios útiles. Le sac 5 contient d’autres accessoires utiles. 77540 Rev. A...
-
Página 5: Instalación Del Surtidor
Top Mount Sinks / Instalación por Encima / Bâti supérieur Determine if your sink is installed from the top of the counter or from the bottom. If your sink is installed from the top use this page for your spout installation. SHUT OFF WATER SUPPLIES. - Página 6 Under Mount Sinks / Instalación por Debajo / Sous le bâti Determine if your sink is installed from the top of the counter or from the bottom. If your sink is installed from the bottom use this page for your spout installation. Spout Installation For Under Mount Sinks (1), according to the instructions, to prevent the spout shank from contacting any metal edges of the sink.
- Página 7 Secure valve assembly to sink with mounting bracket (1) using nut & wrench (2) For this step, use the bag marked “2” plus the other part(s) shown above. supplied with your faucet. NOTE: If valve sleeve (3) is loose or there is an excessive gap between the deck and sleeve after securing valve assembly to Slide the gasket (1) up over tubes and wire of valve assembly, then place deck, rotate sleeve clockwise until snug.
-
Página 8: Instalación De La Manguera
Insert hose through spout tip only. Inserte la manguera solo a través de la punta del surtidor. Introduisez le tuyau souple dans l’extrémité du bec seulement. Hose Installation From underneath the sink, slide the solenoid assembly (1) up on to valve outlet tube (2). Make sure that the assembly is fully For this step, use the bag marked “3”... -
Página 9: Wire Connections
Wire Connections Attach sprayer (1) to end of hose to keep hose in place. Remove and discard hose guide (2). Briefly touch the cold stop or other ground to dissipate any static charge. Attach wire (1), from the solenoid assembly, onto the groove on the spout mounting shank (2). - Página 10 Place BLACK WIRE (3) ONLY through the clip (6). loaded in the correct direction in the For this step, use the parts in the bag marked “4”. battery box. Remove adhesive backing from clip (6) and apply the clip to back of cabinet, behind spout shank. Place battery box (10) at a convenient location Connect wire (7), coming from the valve, to wire (8) on the floor at least 2”...
- Página 11 DEMASIADO. Repita los pasos A & B en el tope del permite crear una articulación sin filtraciones. tubo: cuidadosamente haga un corte adicional, Delta no se responsabiliza por las tuberías que se agua caliente. teniendo cuidado de no cortar el tubo demasiado corto.
-
Página 12: Correct Method Método Correcto Bonne Méthode
Correct method Incorrect Installation Instalación Incorrecta Método Correcto Installation Incorrecte Bonne méthode Do not install sleeve Ensure cut is straight. upside down. No instale la manga Asegúrese que el corte boca abajo. esté recto. Custom Fit Connections - Plastic Sleeve Installation Instructions 1. - Página 13 For Models With Soap Dispensers Turn on hot and cold water supplies (1). Pull the hose assembly (2) out of the spout and remove the sprayer (3). Be sure to hold the end of the hose down into Remove nut (1). Insert body (2) and gasket (3) through selected hole in the sink and turn faucet handle (4) to the mixed position.
- Página 14 Optional Opcional Facultatif Manual Bypass of Electronic Features Remove the battery pack (1)from the Pilar battery cable (2). Disconnect the two spade contacts (1) black wire“-” and (2) red wire “+”from the solenoid body (3) Disconnect the electronics module (1) from the installation by Setting The Handle Limit Stop (Optional) releasing tabs (2).
-
Página 15: Low Battery Indication
Cleaning the Screen / Filtro de Limpieza: / Nettoyage du filtre 1/8" Maintenance Low Battery Indication parts, make sure bonnet nut (6) is tightened securely with Timeout Feature: Warning Mode - Replace batteries soon. a wrench.* Water will stop flowing 4 minutes after the faucet Rather than the BLUE LED (8), the RED LED will be is last touched. - Página 16 Solenoid Troubleshooting a. Check to make sure the spout connector, RP53233 is attached to the spout and the wire from the solenoid / electronics kit. If it is disconnected, or loose (see step 6A), reattach and check for proper operation. 1.