Publicidad
Enlaces rápidos
Quick Start Guide
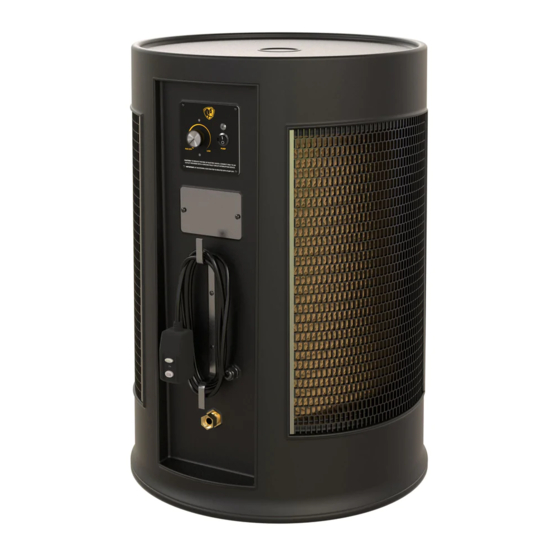
Cold Front 100, Cold Front 200
Setup
Unpack and Assemble
1
1. Locate the package of four (4) casters and remove
from box.
2. Lay box on its side and carefully open bottom of
box. DO NOT STAND BOX UPSIDE DOWN.
3. Install the four casters.
4. Stand cooler up on casters and remove box.
Fill Reservoir
2
1. Attach garden hose.
2. Turn on water supply. The float valve will shut off
the water flow when the cooler is full.
Connect to Power and Turn on
3
1. Plug power cord into a standard electrical outlet.
2. Turn on pump switch.
3. Allow water to saturate cooling media.
4. Turn on fan and adjust to desired speed.
Evaporative coolers are designed for outdoor and well-ventilated indoor applications. Cooling is dependent upon the
cooler receiving plenty of fresh air and ventilation. Temperature change of the projected airflow will vary depending on the
temperature, humidity, and other variables in your location.
EVA-INST-320-ENG-01 REV A 03/24/2020
• Use in an outdoor or well-ventilated indoor space.
Evaporative cooling requires adequate air circulation.
• Place on a level surface.
• Place at least 3 ft (0.9 m) from you and do not block the cool
breeze. The maximum cooling effect is felt directly in the
airflow.
• DO NOT use in an enclosed space such as a small room with
closed windows and doors. This will increase the humidity/
moisture and reduce the cooling effect.
Unlike AC units that use chemical refrigerants to reduce
the ambient temperature of entire rooms and homes, your
evaporative cooler uses air and water to cool the specific areas
and people. Evaporative cooling requires adequate fresh air
and ventilation to allow water to evaporate and cool the air.
Increased humidity levels should be expected.
Temperature change of the projected airflow will vary
depending on the ambient temperature, humidity, and other
variables in your location/application.
IMPORTANT
BIGASSFANS.COM/SUPPORT
Placement
Tips
© 2020 DELTA T LLC
ALL RIGHTS RESERVED.
Publicidad

Resumen de contenidos para Bigassfans Cold Front 100
- Página 1 Quick Start Guide Cold Front 100, Cold Front 200 BIGASSFANS.COM/SUPPORT Setup Placement • Use in an outdoor or well-ventilated indoor space. Unpack and Assemble Evaporative cooling requires adequate air circulation. 1. Locate the package of four (4) casters and remove •...
- Página 2 Guía de inicio rápido Guide de démarrage rapide Cold Front 100, Cold Front 200 Cold Front 100, Cold Front 200 Installation Configuración Déballage et assemblage Desempacar y ensamblar 1. Localisez le paquet de quatre (4) roulettes et retirez-le de la boîte.
