Tabla de contenido
Publicidad
Idiomas disponibles
Idiomas disponibles
Enlaces rápidos
Publicidad
Tabla de contenido

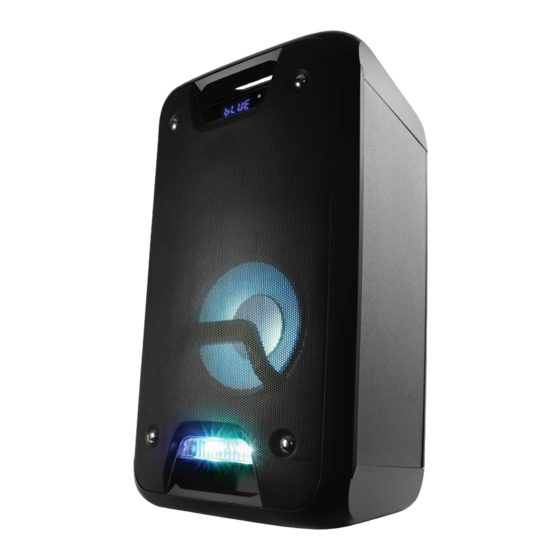
Resumen de contenidos para KlipXtreme Charme
- Página 1 Charme KLS-650...
-
Página 2: Product Overview
We invite you to visit us at www.klipxtreme.com for support and to find out more about this III. Product overview audio system and other new and exciting products. - Página 3 Back panel Control Description This ¼in input will be used to connect a guitar. 1. Guitar input This ¼in microphone input will be used to connect a wired microphone, 2. Mic input which will work in all modes. 3. Previous track Press this button to select the previous track on your play list.
-
Página 4: Remote Control
Remote control Increases or decreases the volume of the microphone. 8. Mic volume +/- button Short press this button to activate the speaker from standby mode and vice In addition to the panel controls, a remote control is included which provides additional functions to allow 9. -
Página 5: Troubleshooting
VII. Troubleshooting c. Start streaming audio files directly from the source of choice. d. Press and hold the button to play or pause the audio. Press this button shortly to go to the previous or Problem Possible cause Solution next track. 1: There is no input sound source connected 1: Connect an input sound source The speaker is On but... -
Página 6: Fcc Statement
Precautions Driver unit • Do NOT use this unit for anything other than its intended use. Speaker Two 3inch at 4 • Do NOT expose the speaker to excessive heat or to direct sunlight for long periods of time. Reference RMS power •... -
Página 7: Introducción
Le invitamos a visitar nuestra página web en www.klipxtreme.com en caso de solicitar asistencia III. Descripción del producto o si desea conocer más acerca de éste u otros innovadores productos. -
Página 8: Descripción
Panel posterior Control Descripción Use esta entrada de ¼ de pulgada para conectar una guitarra. 1. Entrada para guitarra Use esta entrada de ¼ de pulgada para conectar un micrófono con 2. Entrada para cable, que funcionará en todos los modos. el micrófono Oprima este botón para seleccionar la pista anterior de la lista. -
Página 9: Control Remoto
Control remoto 8. Botón para el Aumenta o disminuye la intensidad del volumen del micrófono Además de los controles en el panel frontal, la unidad incluye un control remoto que proporciona funciones Volumen +/- del mic. adicionales para tener un mayor control de la unidad. 9. -
Página 10: Funcionamiento Avanzado Cómo Emparejar El Parlante Con Dispositivos Móviles
VI. Funcionamiento avanzado a. En primer lugar, conecte un extremo del cable RCA al puerto auxiliar RCA del altoparlante, a continuación Cómo emparejar el parlante con dispositivos móviles conecte el otro extremo del cable (conjuntor de 3,5mm) en la fuente elegida. Si el altoparlante no estuviera configurado en el modo Auxiliar, presione el botón de MODO para alternar entre los distintos modos Nota: Antes de instalar este producto, debe asegurarse de que su dispositivo sea compatible con Bluetooth®. -
Página 11: Especificaciones Técnicas
Problema Posible causa Solución Entrada de audio Estéreo RCA 1: La conexión Bluetooth no ha sido activada 1: Encuentre el nombre correcto (KLS-650) No puede ® Entradas adicionales Dos entradas de ¼ de pulgada para micrófono y guitarra del dispositivo o mantenga presionado realizarse Batería el botón REPETIR para restablecer las... - Página 12 NOTES NOTAS...
- Página 13 All rights reserved. The Bluetooth word mark is owned by ® KlipXtreme ® Bluetooth SIG, Inc. MicroSD™ and SD™ are trademarks owned by SD-3C, LLC. Other trademarks and trade names are those of their respective owners. Any mention of such is only intended for identification purposes, and is not to be construed as a claim to any rights pertaining to, sponsorship by, or affiliation with, those brands. Made in China.

