Tabla de contenido
Publicidad
Enlaces rápidos
Publicidad
Tabla de contenido

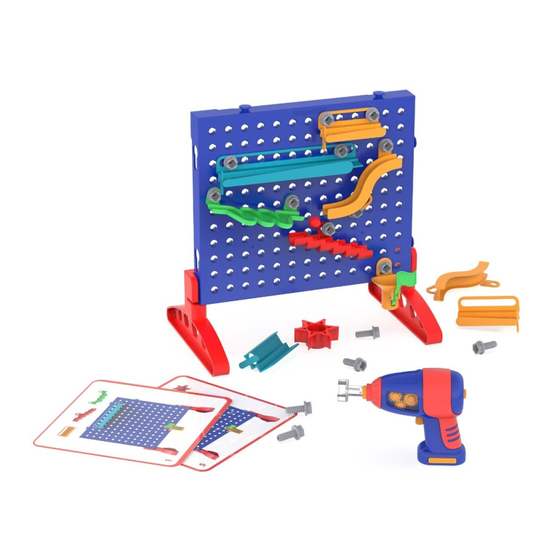
Resumen de contenidos para Design & Drill Marble Maze
- Página 1 Marble Maze ® Requires 3 AAA batteries (not included) CHOKING HAZARD—Small parts. Toy contains a marble. Not for children under (3) years. Instructions CHOKING HAZARD—Toy Contains small balls and small parts. Not for children under three (3) years. Instrucciones Instructions Anleitung...
- Página 2 Contents Contenido Contenu Inhalt x 20 x 10...
-
Página 3: Battery Installation
Battery Installation Use a Phillips-head screwdriver to open the battery door screw. Drill requires three AAA batteries, not included. Batteries must be inserted with the correct polarity. Do not mix old and new batteries. Do not recharge non-rechargeable batteries. Do not mix different types of batteries: alkaline, standard (carbon zinc), or rechargeable batteries. -
Página 4: Getting Started
Getting Started Place a track piece on the board. Insert three (3) AAA batteries into the drill’s battery compartment following Next, place a bolt in the slot to secure the instructions in this guide. the track and drill it in fully. Some track pieces have a long slot to allow the Help your child install the drill bit onto piece to slide side to side. - Página 5 Challenges Get building and rolling with 10 super fun challenges. Each challenge gives you a start and endpoint and lists the pieces you’ll need to solve it. These challenges become more difficult (and exciting!) as you advance. With hundreds of possible combinations, the fun never ends. Complete all 10 challenges to become a master maze maker! Brackets Using your wall brackets:...
-
Página 6: Colocación De Las Pilas
Colocación de las pilas Soportes Cómo usar los soportes para la pared: Desatornilla la tapa del compartimento de las pilas con un destornillador de estrella. El set incluye dos soportes para que puedas sujetar La taladradora necesita tres pilas AAA, no incluidas. el tablero a la pared o a un panel de corcho. - Página 7 Spielanleitung mit Laissez votre enfant expérimenter en plaçant des pièces et en observant le mouvement de la bille. ersten Übungen En positionnant, inclinant et ajustant les pièces, il apprend à résoudre les problèmes, le lien de cause à effet, ainsi qu’à raisonner dans l’espace. Setzen Sie drei (3) AAA-Batterien in das Batteriefach des Spielzeugbohrers ein.
- Página 8 ® Skill up and drill down with these best-sellers! Design & Drill Design & Drill Design & Drill ® ® ® Patterns & Shapes My First Workbench Space Circuits This device complies with Part 15 of the FCC rules. Operation is subject to the following two conditions: (1) this device may not cause harmful interference and (2) this device must accept any interference received, including interference that may cause undesired operation.