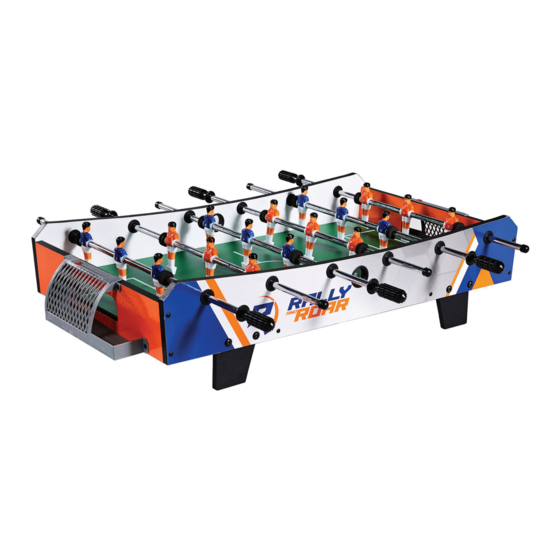
Resumen de contenidos para Rally and Roar SOC040 018P
- Página 1 MODEL/MODELO SOC040_018P Amazon.com Assembly Instructions Instrucciones De Ensamblaje 877-472-4296 rallyandroar@medalsports.com...
- Página 3 Roar, can not handle the product which is out of su producto de la política de vuelta/reembolsa desde la product’s limited warranty since we only provide tienda, Nosotros, Rally and Roar, no podemos manejar available parts. Thank you! el producto que está fuera del límite de garantía ya que proporcionamos solamente partes disponibles.
-
Página 4: Tools Required
English Español TOOLS REQUIRED HERRAMIENTAS NECESARIAS Phillips Screwdriver - Not Included Destornillador Phillips - No incluido Standard (Flat Head - Not Included Destornillador de - No incluido Screwdriver) Cabeza Plana Allen Key - Included Llave Allen - Incluido Power Tools: Set to Low Torque Herramientas eléctricas: Bajo par RECOMMENDED RECOMENDADO... -
Página 5: Parts Identifier
English Español PARTS IDENTIFIER IDENTIFICADOR DE PIEZAS PART NUMBER FIG NUMBER FOR FIG. 2, 4 NÚMERO DE PIEZA NÚMERO DE FIG PART PIEZA QUANTITY CANTIDAD NOMBRE DE PIEZA PART NAME Side Apron Panel lateral FOR FIG. 3 FOR FIG. 3 FOR FIG. - Página 6 English Español HARDWARE HARDWARE FOR FIG. 5 FOR FIG. 5 FOR FIG. 6 Allen Key Llave Allen 1/4”×28mm Bolt Cerrojo 1/4”x15mm Arandela 4x12mm Screw Tornillo 4x12mm 1/4”×28mm Washer 1/4”x15mm FOR FIG. 3, 4, 5 4x45mm Screw Tornillo 4x45mm PRE-INSTALLED PARTS PIEZAS PREINSTALADAS FOR FIG.
-
Página 7: Montaje
English Español ASSEMBLY MONTAJE FIG. 1 Pre-installed FIG. 2 Pre-installed Order of players (Overhead View) / Orden de los jugadores (vista aérea) = Orange / Naranja Note: Please ensure players of the same color should be facing their opponent. / Nota: Asegúrese de que los jugadores del mismo color estén enfrentados a sus contrincantes. - Página 8 English Español ASSEMBLY MONTAJE FIG. 3 Note: Playfield graphic should be face down when assembling. / Nota: El gráfico de la superficie de juego debe quedar boca abajo durante el ensamblado. FIG. 4 Pre-installed SOC040_018P (Continued on the next page.) (Continúe en la siguiente página.) rallyandroar@medalsports.com...
- Página 9 English Español ASSEMBLY MONTAJE FIG. 5 Pre-installed Note: Place the Support Braces (4) on top of the inverted playfield, then secure both support braces with two screws on each side of the Side Aprons. / Nota: Coloque los refuerzos de soporte (4) encima de la superficie de juego invertida, luego fije ambos refuerzos de soporte con dos tornillos a cada lado de los paneles laterales.
- Página 10 English Español ASSEMBLY MONTAJE FIG. 6 Note: Assemble Handles (8) on the end of rod with a hole, and then assemble Rod End Cap (9) to the other end of rod. Nota: Ensamble los Mangos (8) en el extremo de la varilla con un orificio, y luego ensamble el tapón de extremo de la varilla (9) en el otroextremo de la varilla.
- Página 12 rallyandroar@medalsports.com...


