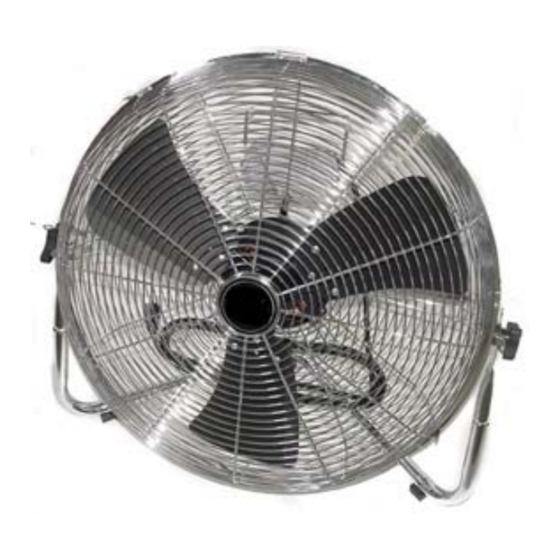
Resumen de contenidos para King of Fans HV-20G
- Página 1 1 year Limited Warranty (please see inside for details) HIGH VELOCITY AIR CIRCULATOR MODEL: HV-20G UL#E144918 OWNER’S MANUAL READ & SAVE THESE INSTRUCTIONS...
-
Página 2: Rules For Safe Operation
HIGH VELOCITY AIR CIRCULATOR ASSEMBLY AND OPERATING INSTRUCTIONS CAUTION: Read and follow all instructions before operating fan. Do not use fan if any part is damaged or missing. WARNING: To reduce the risk of fire or electrical shock, DO NOT use this fan with any solid state speed control device. - Página 3 ASSEMBLY INSTRUCTIONS Please put the fan body on a flat and stable surface as shown in the picture. Remove the two screws from the steel tube attached to the fan head, save them for step 4. Align the hole in the stand with the hole in the steel tube attached to the fan head.
- Página 4 WALL BRACKET MOUNTING Your fan may be wall mounted using a Wall Bracket provided. 1. Mount the Wall Bracket with the 2.Loosen Set Screw on the Wall 1/4” diameter by 2-1/2” long Bracket, save it for Step 4. Lag Bolt (provided). 3.
- Página 5 MODEL WATTS(W) AMPS(A) Volts N.W. G.W. HV-20G 1.31 1.52 1.88 *These are approximate measures. If you should have any further questions, please contact CUSTOMER SERVICE at 56 64 14 00. Shipping costs for any returns of product as part of a claim on the warranty must be...
- Página 6 Garantia Limitada de 1 Año (Ver adentro para mas detalles) CIRCULADOR DE AIRE DE ALTA VELOCIDAD MODELO: HV-20E UL#E144918 MANUAL DEL USUARIO LEA Y CONSERVE ESTAS INSTRUCCIONES...
-
Página 7: Reglas Para Un Manejo Seguro
CIRCULADOR DE AIRE DE ALTA VELOCIDAD INSTRUCCIONES DE ENSAMBLAJE Y OPERACION PRECAUCION: Lea y siga estas instrucciones antes de utilizar este ventilador. No utilice el ventilador si alguna pieza falta o está dañada. AVISO: Para reducir el riesgo de fuego o electrocución, NO use este ventilador con controles de velocidad de estado sólido. -
Página 8: Instrucciones De Ensamblaje
INSTRUCCIONES DE ENSAMBLAJE Coloque el ventilador en una superficie estable como se muestra en la foto. Retire los dos tornillos del tubo de metal adjuntos a la cabeza del ventilador y guárdelos para el paso 4. Alinee el hueco de la base con el hueco del tubo de metal adjunto a la cabeza del ventilador. -
Página 9: Montaje Con Los Soportes De Pared
MONTAJE CON LOS SOPORTES DE PARED EI ventilador puede instalarse en la pared con los soportes suministrados. 1.Colocar los soportes de pared con 2. Aflojar el juego de tornillos del los tornillos provistos de 1/4” de soporte para pared. Guárdelos diámetro y 2-1/2”... -
Página 10: Limpieza Del Aparato
seleccione “0”, para velocidad baja “1”, velocidad media “2” y velocidad alta “3”. Para cambiar el ángulo de inclinación de la cabeza del ventilador aflojar las perillas de ambos lados de la rejilla, inclinar hasta el ángulo deseado, y ajustar las perillas de nuevo. Nota :Es normal que el motor se sienta tibio durante su funcionamiento.

