Publicidad
Idiomas disponibles
Idiomas disponibles
Installation Instructions
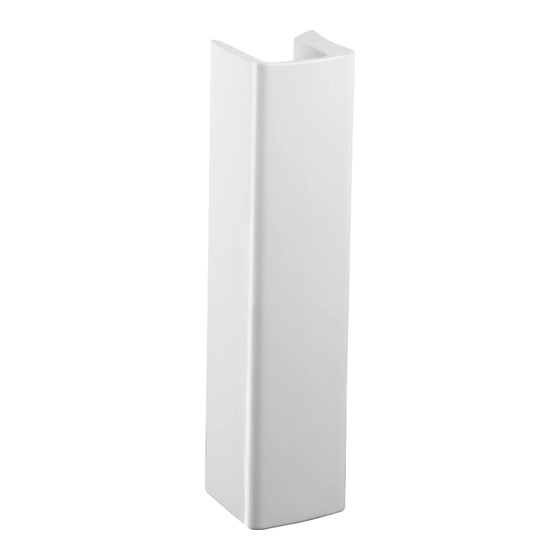
Pedestal Lavatory
PF1081WH
PF1181WH/PF1184WH
Tools and Materials
A. Level
B. Drill with assorted bits
C. 9/16˝ wrench
D. Tape measure
E. Framing Square
F. Channel lock pliers
CAUTION
Risk of personal injury or product damage.
Handle with care. Vitreous china can break or
chip if the product is handled carelessly.
Prior to installation, unpack the new lavatory and
inspect for damage. Return the lavatory to its
protective carton until you are ready to install it.
These instructions are for installing the lavatory to
wood frame construction. For other installations,
supply suitable bracing and fastening devices of
sufficient size and strength.
The walls and floor must be square, plumb, and
level.
Rough-in
5-7/8"
2-1/8" (54mm)
(150mm)
1-1/4" OD (32mm OD)
Note: Dimensions shown for location of
supplies and waste are suggested.
© 2019 Wolseley
B
A
Installation
Finished Wall
Mark the centerline on the floor.
Position the pedestal on the floor centerline.
Carefully set the lavatory on the pedestal.
Move the pedestal as required to ensure proper fit
Finished Wall
in the desired location.
Level the lavatory.
NOTE: The lavatory must be supported by the
pedestal.
Anchor Holes
in Lavatory
8" (203mm)
Check the lavatory placement.
Mark the center of each anchoring hole on the
wall.
Carefully remove the lavatory from the pedestal.
Then remove the pedestal from the area.
Finished Floor
Distributed Exclusively by Ferguson, Stock Building Supply and Wolseley Canada
C
D
Lavatory
Pedestal
Centerline
Drill two 1/4" (6.4mm) hanger bolt holes at the
marks on the wall.
Mount hanger bolts to the wall so approximately
1-1/4" (3.2cm) of each bolt remains exposed.
NOTE: Other fastening devices of sufficient size
and strength may also be used.
Install the faucet and drain to the lavatory
according to the manufacturer's instructions.
NOTE: Do not fully tighten slip-joint drain
connections at this time.
Anchor Holes
in Lavatory
F
E
Hanger Bolts
Finished Wall
Hanger Bolts
Finished Wall
Lavatory
0713 16540
Publicidad
Tabla de contenido

Resumen de contenidos para PROFLO PF1081WH
- Página 1 Installation Instructions Pedestal Lavatory PF1081WH PF1181WH/PF1184WH Tools and Materials A. Level B. Drill with assorted bits C. 9/16˝ wrench D. Tape measure E. Framing Square F. Channel lock pliers Installation CAUTION Hanger Bolts Lavatory Risk of personal injury or product damage.
-
Página 2: Installation Instructions
Buyer shall not scratch and dull the surface. impose any liability upon Seller. CONTACT PROFLO CUSTOMER SERVICE AT 800-221-3379 OR EMAIL CUSTOMER SUPPORT: SUPPORT@PROFLO.COM | WWW.PROFLO.COM Distributed Exclusively by Ferguson, Stock Building Supply and Wolseley Canada ©... -
Página 3: Outils Et Matériels
Instructions d’installation Lavabo sur colonne PF1081WH PF1181WH/PF1184WH Outils et matériels A. Niveau B. Perceuse avec mèches assorties C. Clé de 9/16 po D. Ruban à mesurer E. Équerre de charpente F. Pinces multiprises ordinaires ATTENTION Installation Vis-boulons Risques de blessures ou de dommages matériels. - Página 4 égratigner et endommager sa surface. CONTACTER LE SERVICE À LA CLIENTÈLE DE PROFLO AU 800 221-3379 OU ENVOYER UN COURRIEL AU SERVICE DE SOUTIEN À LA CLIENTÈLE À SUPPORT@PROFLO.COM | WWW.PROFLO.COM Distribué en exclusivité par Wolseley North American Division: Ferguson, Stock Building Supply and Wolseley Canada.
-
Página 5: Lavamanos De Pedestal
Instrucciones de instalación Lavamanos de pedestal PF1081WH PF1181WH/PF1184WH Herramientas y materiales A. Nivel B. Taladro con diferentes tipos de brocas C. Llave para tuercas de 9/16˝ D. Cinta métrica E. Escuadra F. Pinza ajustable PRECAUCIÓN Instalación Pernos de colgar Riesgo de lesiones personales o daños al producto. - Página 6 No use limpiadores abrasivos en la superficie de este producto, ya que la rayarán y dañarán. COMUNÍQUESE CON EL SERVICIO AL CLIENTE DE PROFLO AL 800-221-3379, O ESCRIBA A SUPPORT@PROFLO.COM | WWW.PROFLO.COM Distribuido exclusivamente por Wolseley North American Division: Ferguson, Stock Building Supply and Wolseley Canada.


