Publicidad
Enlaces rápidos
! Tools required:
! Do not throw away packaging materials until assembly is complete.
! Assemble this item on a soft surface, such as cardboard or carpet, to protect finish.
! Proper assembly of this item requires 2 people.
! outils nécessaires:
! Ne jetez pas le matériel d'emballage avant d'avoir terminé le montage.
! Montez cet article sur une surface lisse, telle que du carton ou un tapis, pour en protéger la finition
! Deux personnes sont nécessaires pour monter cet article de façon adéquate.
! Herramientas necesarias:
! No deseche los materiales de embalaje hasta terminar de armar el producto.
! Ensamble el producto sobre una superficie suave, como cartón o alfombra, para proteger su acabado.
! Se requieren 2 personas para armar adecuadamente el producto.
Parts/Pièces/Herrajes
A
m8 x 70mm 4x
C
E
1753888 - 01/25/10
10x
1x
Instrucciones de Ensamblaje
B
m8 x 50mm 6x
D
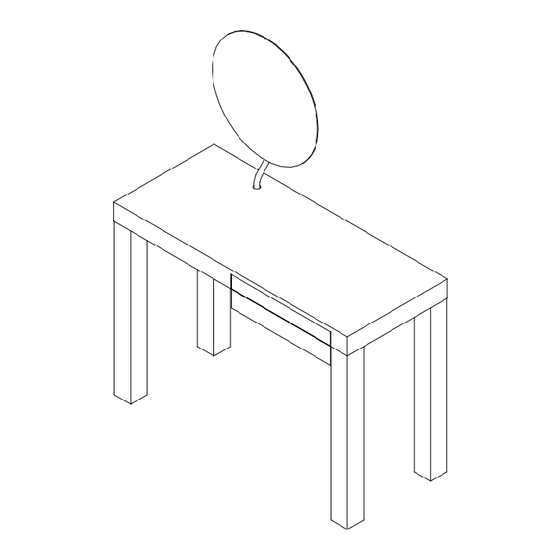
parsons vanity
vanité de pasteurs
tocador parsons
assembly instructions
instrucciones de montaje
10x
Page 1 of 4
Publicidad

Resumen de contenidos para West Elm parsons vanity
- Página 1 Instrucciones de Ensamblaje ! Tools required: ! Do not throw away packaging materials until assembly is complete. ! Assemble this item on a soft surface, such as cardboard or carpet, to protect finish.
- Página 2 Instrucciones de Ensamblaje 1. Place top (part #1) on a clean smooth surface such as carpet or cardboard. Align legs (part #2) into the end opposite the drawer. Insert bolt (B), lock washer (D), and fl at washer (C) thru the corner block and into the legs as the drawing shows.
- Página 3 Instrucciones de Ensamblaje 2. Pull the drawer to the fully opened position. Align leg (part #3) to the front of the vanity like the drawing shows. Insert bolt (B), lock washer (D), fl at washer (C) and tighten with supplied hex key (E). Align leg (part #4) to the back of the vanity like the drawing shows Insert bolt (A), lock washer (D), fl at washer (C) and tighten with supplied hex key (E).
- Página 4 Instrucciones de Ensamblaje 3. With help, fl ip table upright. Insert metal tube (part #6) into the hole in the top of the vanity. Slide the mirror (part #5) over the metal tube. You can adjust the angle of the mirror with a fl athead screwdriver.
