Tabla de contenido
Publicidad
Idiomas disponibles
Idiomas disponibles
Enlaces rápidos
H-6351
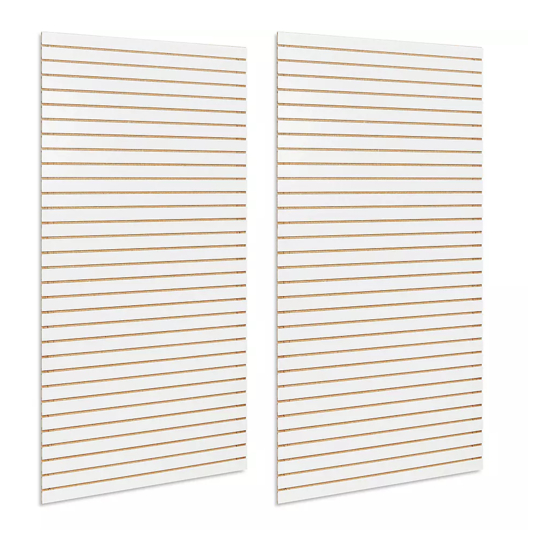
SLATWALL
VERTICAL PANELS
TOOLS NEEDED
Hammer
NOTE: Leather gloves and safety glasses should
be worn when opening and assembling the
slatwall vertical panels. Two person assembly is
recommended.
1.
Lay vertical slatwall panels flat on the ground.
2. Snip metal bands.
3. Use pry bar and hammer to remove wooden planks
that secure the frame.
• ALWAYS wear safety glasses when using any
power tool.
• ALWAYS use hearing protection when using loud
equipment.
• DO NOT sit, climb, hang or step on shelves or
brackets.
• DO NOT overload shelves or brackets.
PAGE 1 OF 6
1-800-295-5510
uline.com
Tin Snips
Pry Bar
UNPACKING INSTRUCTIONS
SAFETY INSTRUCTIONS
4. With one person on each 8 ft. end, carry panels
horizontally to desired position.
CAUTION! Do not lift from 4 ft. ends.
5. Rotate the panels into a vertical position.
CAUTION! At least two people are needed to
support the top half of the slatwall so that it
does not tilt forward. Tilting slatwall forward will
cause the unit to break into two pieces.
• DO NOT try to install slatwall panels yourself.
Use two people.
• CAPACITY:
• 40 lbs. without metal inserts.
• 90 lbs. with metal inserts.
NOTE: Weight capacity will be slightly reduced
for shelves deeper than 10".
Para Español, vea páginas 3-4.
Pour le français, consulter les pages 5-6.
0521 IH-6351
Publicidad
Tabla de contenido

Resumen de contenidos para Uline SLATWALL H-6351
- Página 1 Para Español, vea páginas 3-4. Pour le français, consulter les pages 5-6. H-6351 1-800-295-5510 uline.com SLATWALL VERTICAL PANELS TOOLS NEEDED Hammer Tin Snips Pry Bar UNPACKING INSTRUCTIONS NOTE: Leather gloves and safety glasses should 4. With one person on each 8 ft. end, carry panels be worn when opening and assembling the horizontally to desired position.
-
Página 2: General Information
Repeat process on bottom row of panels, ensuring that grooves and factory edges line up from panel to panel. On installations without drywall (such as garages), make sure end of each panel is centered in middle of stud. Stud 1-800-295-5510 uline.com PAGE 2 OF 6 0521 IH-6351... -
Página 3: Herramientas Necesarias
H-6351 800-295-5510 uline.mx PANELES RANURADOS VERTICALES HERRAMIENTAS NECESARIAS Martillo Pinzas para Estaño Barreta INSTRUCCIONES PARA DESEMPACAR NOTA: Se deben usar guantes de piel y lentes 4. Con una persona en cada uno de los extremos de los 244 cm (8 pies), carguen los paneles de seguridad para sacar y armar los paneles ranurados verticales. -
Página 4: Información General
Viga queden alineados de panel a panel. En instalaciones sin yeso (como cocheras), asegúrese de que cada uno de los paneles quede en el centro de la viga. 800-295-5510 uline.mx PAGE 4 OF 6 0521 IH-6351... -
Página 5: Outils Requis
H-6351 1-800-295-5510 uline.ca PANNEAUX RAINURÉS – VERTICAL OUTILS REQUIS Marteau Cisaille de ferblantier Levier INSTRUCTIONS DE DÉBALLAGE REMARQUE : Des gants en cuir et des lunettes 4. À l'aide d'une personne située à chaque extrémité des 244 cm (8 pi), transportez les panneaux à... -
Página 6: Informations Générales
Pour les installations sans cloison sèche (tels que les garages), Colombage assurez-vous que l'extrémité de chaque panneau est centrée au milieu du colombage. 1-800-295-5510 uline.ca PAGE 6 OF 6 0521 IH-6351...


