
Manuales relacionados para Baby Jogger vue


Resumen de contenidos para Baby Jogger vue
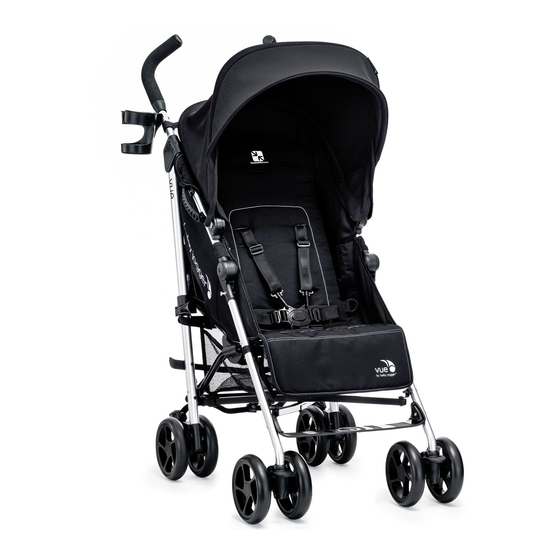
- Página 1 Assembly InstructIons InstructIons pour l'AssemblAge InstruccIones Del ensAmblAJe...
-
Página 2: Tabla De Contenido
tAble oF contents English Français (French) / Español (Spanish) Warnings . . . . . . . . . . . . . . . . . . . . . . . . . . . . . . . . . . . . . . . . . . . . 3 Mise en Garde/Advertencia . -
Página 3: Warnings
WArnIng IMPORTANT - Read these instructions • Stroller is not meant to be used for transporting children up or down stairs . carefully before use and keep them for Damage resulting to stroller will not be future reference. Your child’ s safety may covered under warranty . -
Página 4: Mise En Garde/Advertencia
mIse en gArDe IMPORTANT - Garder ces instructions • Cette pousette devrait être utilisée dans pour references futures. Veuillez lire ces la position la plus allongée jusqu’à ce instructions avant l’utilisation. La sécurité qu’un enfant puisse être assis sans aide, de votre enfant peut être affecté. -
Página 5: Importante
ADvertencIA IMPORTANTE- Conserve estas • Este cochecito debería ser usado en instrucciones para futuras referencias. Lea la posición más reclinada hasta que un atentamente estas instrucciones antes de niño pueda sentarse inayudado, dar una usar el cochecito. La seguridad del niño vuelta, o hacerse subir sobre sus manos y puede verse afectada si no sigue estas rodillas . -
Página 6: Traits/Características
handlebar Poignée Manillar Canopy Auvent Toldo Auto-lock Levier de verrouillage Palanca auto-cierre Parking Brake Frein Freno pedal Rear Wheel Roues arrière Rueda trasera Storage Basket Panier Cesta de almacenaje Front Wheels Roue avant Rueda delantera Swivel/Lock Faites pivoter et présentez directement Pestaña de bloqueo Footwell Repose-pied... -
Página 7: Frame
FRAME 1 Unpack the stroller from the box and set the wheels aside . 2 Unfold the stroller by pulling the Auto- lock Lever and lifting the handlebar away from the lower frame . 3 Push down on the rear crossbar to tighten and lock the frame . -
Página 8: Front Wheels
FRONT WhEELS 1 Installation • Lay stroller on its back so the Handlebar is resting on the floor . • Attach the front wheel by sliding it into the front wheel mount until it clicks . Gently pull on the front wheel to make sure it is properly attached . -
Página 9: Swivel Lock
REMARQuE: En chargeant et en déchargeant l’enfant, fermez toujours la roue en position fixe . Bien que la roue avant de votre Vue se serre, il ne soit pas destiné pour des buts d’exercice ou de jogging . PESTAñA DE BLOQuEO DE LA RuEDA DELANTERA 1 Suba la pestaña de bloqueo para bloquear... -
Página 10: Brake
BRAKE 1 Simply push the parking brake pedals down to engage the brakes . 2 Lift the parking brake pedals up to release the brakes . WARNING: Engage the parking device before loading and unloading a passenger . FREIN 1 Presser simplement la pédale de frein vers le bas pour engager le frein . -
Página 11: Adjustable Footwell
ADjuSTABLE FOOTWELL 1 Press the adjustment levers on the footwell and move up or down until it clicks into the desired position . REVERSIBLE CANOPY 2 Attach the canopy to the frame: slide canopy gear onto channels on side of frame . -
Página 12: Adjusting The Seat
ADjuSTING ThE SEAT The seat of the VUE is fully reversible to allow your child to be forward facing or parent facing . 1 At the top of the seatback, squeeze the release lever to allow the seatback to move from front to back . -
Página 13: Safety Harness
SAFETY hARNESS 1 To adjust harness height: Unclip the harness strap clip from the side strap clips . Feed harness strap through the harness adjustment opening on the seat . Feed back through lower opening and pull down to secure . 2 Attach harness strap clip to side strap buckle on both sides . - Página 14 4 Press center release button to release harness . 5 Slide the harness pads up to access the plastic guide on strap . Hold plastic guide and pull strap to tighten or loosen . WARNING: Avoid serious injury from falling or sliding out .
- Página 15 REMOVING ThE SEAT FABRIC 1 Remove canopy . Unhook the four Velcro® straps under the seat and on the seat back . 2 Remove fabric from the four hooks on the stroller frame . Unsnap the two snaps from the upright of the frame . 3 Remove fabric from footwell areas by sliding off footwell adjustment brackets .
-
Página 16: Cup Holder
CuP hOLDER 1 Attach cup holder by connecting to the attachment on the left handlebar . Click to lock into place . BASKET 2 Unzip the zippers on the front corners of CliCk the basket for easy access to belongings . REMOVAL 3 From the front of the stroller, unsnap the straps connected to the stroller frame . -
Página 17: Folding
FOLDING 1 Push up on the locking rear crossbar . 2 Push down the secondary lock on the side of the stroller . 3 Push handlebars forward to fold . 4 Make sure the auto lock is engaged before carrying . PLIAGE 1 Appuyer sur le deuxième verrou sur le côté... -
Página 18: Care & Maintenance
• Do not press, iron, dry clean, tumble dry or wring fabric . • If the seat covers need to be replaced, only use parts from a Baby Jogger Authorized Dealer . They are the only ones that are guaranteed to have been safety tested and designed to fit this seat . -
Página 19: Soin Et Entretien/Cuidado Y Mantenimiento
• Si le couvre-siège a besoin d’être source directe de chaleur comme un remplacé n’utiliser que les pièces d’un radiateur ou un feu . concessionaire Baby Jogger autorisé . Ce sont les seuls qui sont garantie pour la sécurité et conçu pour ce siège . -
Página 20: Almacenaje
. autorizado de Baby Jogger . Ellos son los únicos que garantizan que ha pasado controles de calidad y seguridad y diseñada para adaptarse a este asiento . -
Página 21: Limited Warranty
Jogger lImIteD WArrAnty Baby Jogger warrants that the frame is free of manufacturer defects for one year after purchase of the product . Manufacturer’ s defects include but are not limited to the breaking of welds and frame tube damage . Textile or soft side materials and all other components shall be warranted for one year from the date of purchase . -
Página 22: Garantie Limitée/Guarantía Limitada
La garantie Baby jogger: Baby Jogger garantie que la base est sans défauts de fabrication pendant un an, à partir de la date d’ a chat . Défauts du manufacturier inclus mais n’est pas limité aux bris de la soudure et aux dommages du tube cadre . - Página 23 De bAbyJogger Garantía limitada de Babyjogger: Baby Jogger garantiza que el chasis está libre de defectos de fabricación durante 1 año a partir de la fecha de compra . Los defectos de fábrica incluyen, entre otros, la rotura de los radios y los daños en los tubos del chasis .
- Página 24 Brands in Motion Inc. 300 Ambassador Drive • Mississauga, Ontario • L5T 2j3 Toll Free: 1.866.774.7177 T: 905.795.3154 • F: 905.795.8988 www.babyjogger.ca Baby jogger, LLC 8575 Magellan Parkway, Suite 1000 • Richmond, VA 23227 T: 800.241.1848 • F: 804.262.6277 • www.babyjogger.com...