Publicidad
Enlaces rápidos
Publicidad

Resumen de contenidos para Timberkits Chuffy Train
- Página 1 Chuffy Train...
- Página 2 (IT) Leggere tutte le istruzioni e guardare i diagrammi symbol. (DE) Lesen sie alle anweisungen und betrachten sie die schaubilder www.timberkits.com (UK) Check assembly before gluing (FR) Vérifier le montage avant collage (ESP) Controlar el montaje antes de empezar a pegar (IT) Controllare l’assemblaggio prima di incollare...
- Página 3 If you need help or advice you can call our Timberkits Human Support System! Luise Willis 0 1 6 5 0 5 2 1 6 3 5 Or you can visit our website for tips, advice and instructional videos. All these can be found in Resources/Advice Videos on our website.
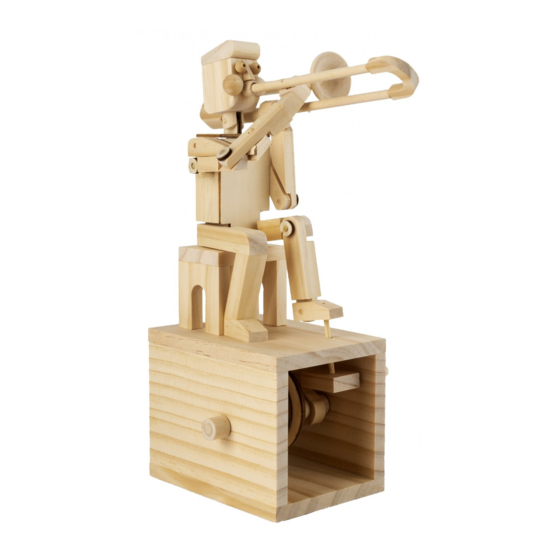
- Página 5 Trombone Player...
- Página 6 8mm x 44mm 6mm x 106mm 6mm x 25mm 3mm x 38mm 3mm x 34mm 3mm x 31mm 3mm x 28mm 2mm x 24mm 3mm x 21mm...
- Página 7 6mm x 106mm 10mins 6mm x 25mm 3mm x 28mm Trombone Player...
- Página 8 The best way of glueing in this section is to... 1. Use Glue Guard 2. Slide on spacer 5 with no glue 3. Apply glue to shaft after spacer in place 4. Fit cam #6 This will ensure the drive shaft is not accidentlly glued to the side panel.
- Página 9 Ensure all cams are aligned at the same angle as 10mins demonstrated in illustration. Trombone Player...
- Página 10 3mm x 16mm Ensure all cams are aligned at the same angle as shown on page 9.
- Página 11 Trombone Player...
- Página 12 10mins 10mins...
- Página 13 15mins 10mins Trombone Player...
- Página 14 3mm x 16mm 10mins 15mins...
- Página 15 3mm x 31mm 3mm x 16mm 3mm x 38mm When waggle stick (part #20) is in place within the torso, secure using peg 3mm x 38mm by inserting through hole A and through the hole (B) in waggle stick. When fully inserted dab a spot of glue over the end as shown. Trombone Player...
- Página 16 Hold stool in place with your hand and turn handle. Test that the waggle stick moves backwards and forwards freely before glueing in place. You can adjust the position of the stool a little if need be. 15mins...
- Página 17 10mins 3mm x 16mm 3mm x 12mm 3mm x 34mm Trombone Player...
- Página 19 To make the pose look more natural we suggest gluing the right leg angled slightly outwards 3mm x 16mm 3mm x 16mm Trombone Player...
- Página 20 3mm x 21mm 3mm x 12mm 3mm x 12mm Insert a 3mm x 12mm peg into part #29 without gluing to ensure part #31 aligns correctly. Then remove the peg. 3mm x 12mm...
- Página 21 Trombone Player...
- Página 23 Trombone Player...
- Página 24 Glue all parts to head Put glue on outer rim of part #41 only and push in place into part #40 10mins 3mm x 12mm...
- Página 25 When gluing head and shoulders to the torso ensure a bead of glue is applied to the top left shoulder only. Ensure no glue is accidentally goes on to the top of the waggle stick. 8mm x 44mm Trombone Player...
- Página 26 The peg 2mm x 24mm is used to ensure the space is correct when gluing the two parts #48 to part #49 2mm x 24mm 10mins When the glue had dried you can now remove the peg 2mm x 24mm prior to proceeding to next step.
- Página 27 Trombone Player...
- Página 28 2mm x 24mm...
- Página 29 10mins Trombone Player...
- Página 31 (UK) If you enjoyed building this model why not try our others. Available directly from Timberkits Ltd or from our UK, European or worldwide retail partners. Check our website to find your nearest stockist. (FR) Si vous avez apprecie construire ce modele, pourquoi ne pas en essayer d’autres.
- Página 32 Timberkits Limited Old Village Hall Llanbrynmair Powys, SY19 7AA 00 (44) (0) 1650 521635 timber_kits@btconnect.com www.timberkits.com Timberkits logo and all Timberkits designs are Copyright (©) 2014 all rights reserved.


