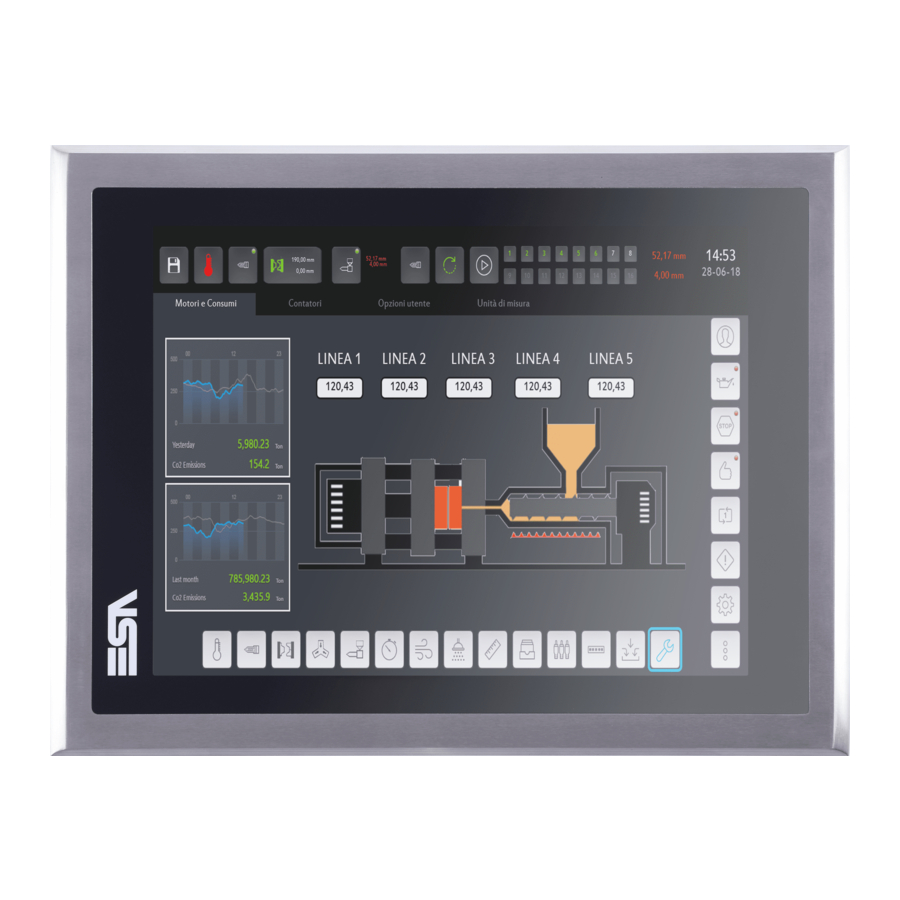
Resumen de contenidos para ESA XM712
- Página 1 Istruzioni per installazione EN Installation manual FR Instructions pour l’installation DE Installationsanweisung ES Instrucciones para instalación 安装手册 XM7 SERIES INDUSTRIAL MONITOR...
- Página 8 Power supply 4 pins connectors +24 VDC 0 VDC Not Connected Protective ground DEVICE +24V...
- Página 9 SERIAL TOUCH N.C. TXD OUT RXD IN N.C. Signal GND +5V OUT N.C. +VCC IN Db 9 female connector N.C. N.C. GREEN VGA-DET BLUE ISP-SDA ISP-SCL VGA-COM VGA H SYNC RED GND VGA V SYNC GREEN GND VGA CLK Db 15 female connector BLUE GND...
- Página 10 DVI-D Single Link TX2- 11 GND 21 N.C. TX2+ 12 N.C. 22 GND 13 N.C. 23 TXCLK+ N.C. 14 VCC 24 TXCLK- C1 N.C. N.C. 15 DVI-DET C2 N.C. DDC CLK 16 HP DETECT C3 N.C. DDC DATA 17 TX0- C4 N.C.
- Página 11 VIDEO RCA1 RCA 2 pin female connector S-VIDEO GND Y GND C Minidin 4 pin female connector D-SUB D-SUB 9 PIN FEMALE 9 PIN MALE Max. 15m. PC COM SERIAL TOUCH...
- Página 12 (Fig. 30) prodotto. L’utilizzo di qualunque altro tipo di Dimensioni e forature cavo può danneggiare XM712 – Fig. 1 . 2 l’apparecchiatura. XM715 – Fig. 5 . 6 XM717 – Fig. 9 . 10 Tastierino OSD XM719 – Fig. 13 . 14 XM7xx –...
- Página 13 0 / +50°C Impostazione parametri di Dimensions and holes setup XM712 – Fig. 1 . 2 XM715 – Fig. 5 . 6 a. Eseguire tutti i collegamento XM717 – Fig. 9 . 10 mantenendo il monitor spento.
-
Página 14: Communication Ports
XM7xx – Fig. 18 e. Check that XM has been set with resolution of: A) Allows the automatic regulation of the ! XM712 – 800x600 monitor. B) Allows you to display the menu / ! XM715 – 1024x768 Confirm selections. -
Página 15: Vue Postérieure
(Figure. 30). Dimensions et perçage XM712 – Figure . 1 . 2 L'utilisation de tout autre type de XM715 – Figure . 5 . 6 câble peut endommager XM717 – Figure . 9 . 10 l'appareillage. - Página 16 0 / +50°C durchführen. Chargement des paramètres de Maße und Ausschnitt setup XM712 – Abbildung . 1 . 2 a. Exécuter tous les raccordements en XM715 – Abbildung . 5 . 6 maintenant l'écran éteint. XM717 – Abbildung . 9 . 10 b.
- Página 17 E) Einschalten des Monitors. Abbildung . 23 . 24 . 25 . 26 . 27 . 28 . 29 XM-Installation Reinigung der Touch- XM712 – Abbildung . 4 XM715 – Abbildung . 8 Oberfläche XM717 – Abbildung . 12 Für die Reinigung der Touch XM719 –...
-
Página 18: Alimentación
El uso de cualquier otro tipo de cable puede dañar el equipo. Dimensiones y perforaciones XM712 – Fig. 1 . 2 Teclado OSD XM715 – Fig. 5 . 6 XM7xx – Fig. 18 XM717 – Fig. 9 . 10 XM719 –... -
Página 19: Definición Parámetros De Instalación
重要:安装产品之前请仔细阅读本 0 / +50°C 说明书. Definición parámetros de 尺寸和孔 instalación XM712–图. 1 . 2 a. Hacer todas las conexiones manteniendo el monitor apagado. XM715–图. 5 . 6 b. Poner en marcha el PC. XM717–图. 9 . 10 c. Inicializar el monitor. - Página 20 输入 set-up(设置) 参数 使用其它类型的电缆有可能会损坏设备. a. 监视器关闭时执行所有的连接 b. 开启PC OSD 键区 c. 开启监视器 XM7xx–图. 18 d. 加载触摸屏驱动程序 e. 检查XM设定如下的分辨率: A) 允许显示器的自动调节 ! XM712–800x600 B) 允许你显示菜单 / 确认选择 ! XM715–1024x768 C) 允许你在屏幕上移动菜单/减小数值 ! XM717–1280x1024 D) 允许你在屏幕上移动菜单/增加数值 E) 开启监视器 ! XM719–1280x1024 安装 XM 通讯端口...

