Publicidad
Enlaces rápidos
ATSC HD Modulator
User Guide
Hoja de instrucciones del supresor de sobretensiones Lightning para antenas de TV / Fiche
d'instructions du suppresseur de surtensions Lightning Antenna
CM-1050
Contents:
1. CM-1050 ATSC HD Modulator
2. Power Adapter
1.
Overview:
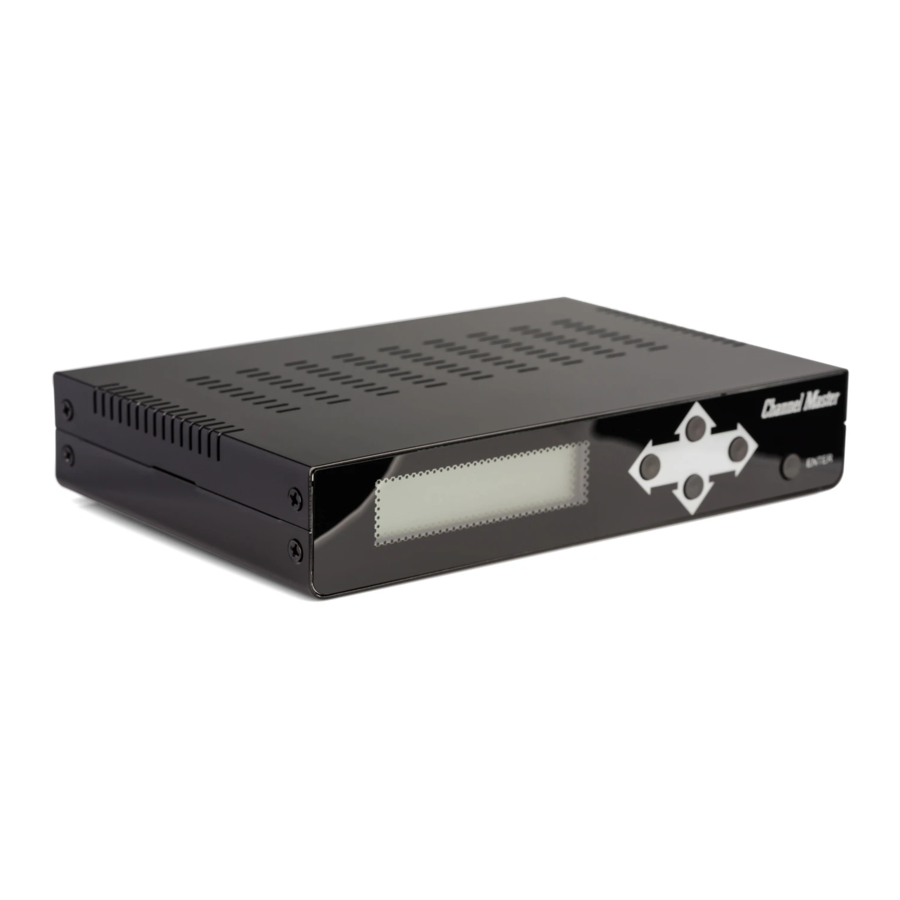
The Channel Master ATSC HD Modulator is a professional-grade encoder/modulator designed for
commercial and residential installations. The ATSC HD Modulator converts a video signal from
HDMI format to a digital channel (ATSC) format. The digital channel can then be output via the
coaxial RF output on the back of the device. The digital channel number (Channels 1-99) is user
selectable. Digital channels that are generated from this device can be scanned and tuned by
most TV and set-top box ATSC/OTA tuners. Equipped with a front panel display and menu naviga-
tion buttons, settings such as RF channel number, virtual channel number and RF output level can
be configured without the use of a computer. The modulator can also be managed over a local
network via the built-in ethernet port.
Installation:
RF Output
Antenna/RF Input
Closed Caption Input
Operating Instructions:
Power and Boot Up
- Upon applying power connection the device will display the current hardware and
software info and then "Please wait" for approximately 15 seconds. The device will
be operational once the display reads "ATSC 8VSB" (main menu screen).
Navigating the Menu (front panel display)
- Press "Enter" to access configuration mode (default password – 0000)
- Left and right arrows navigate left and right throughout the menu
- Up and down arrows adjust the value of each menu setting
Settings
Modulator
- RF Atten: Configure RF output attenuation (0-30dB)
- Frequency: Configure RF output channel/frequency (Channel 2-69 or 57-803MHz)
- Save Changes: Save changes to configuration
Video & Audio
- Video Profile: Configure video settings (Normal or User Defined). Normal setting is
recommended for most use cases, user defined setting is recommended only for professionals.
© 2020 Channel Master L.L.C. Channel Master is a registered trademark. Specifications subject to change. All rights reserved. © 2020 Channel Master. Channel Master es una marca registrada. Especificaciones
ChannelMaster.com
sujetas a cambio. Todos los derechos reservados. © Channel Master, 2020. Channel Master est une marque déposée. Les caractéristiques peuvent être modifiées sans préavis. Tous droits réservés. Pub
CM1050.IS.202001
2.
Power Input (12V DC)
HDMI Input
LAN (Network)
USB (S/W) Update
- Encode Feature: Configure encoder settings.
1080P to I: Convert 1080P to 1080i (Disable/Enable)
Interlace Enc: Configure Interlace mode (I Field or I Frame)
- Audio Codec: Configure audio codec (MP1 Layer II, AC-3, AAC-LC)
Stream
- PMT PID: Configure PMT PID (1-8191)
- Video PID: Configure Video PID (1-8191)
- Audio PID: Configure Audio PID (1-8191)
- PSIP TSID: Configure TSID (1-65535)
- Major No.: Configure Virtual Major Channel Number (1-99)
- Minor No.: Configure Virtual Minor Channel Number (1-99)
- Short Name: Configure PSIP Short Name (1-7 characters)
- Long Name: Configure PSIP Long Name (1-15 characters)
- Source ID: Configure Source ID (1-4095)
Date/Time
-Setup Date: Configure Date
-Setup Time: Configure Time
-Setup Weekday: Configure Weekday
System
- FW Version: Displays Firmware Version
- Reboot Device: Configure Reboot Setting
Reboot: Configure to Reboot to existing settings or reboot to factory default settings
(Reboot or Reboot to DEF)
- Device Related:
Time Out: Configure Display Dimmer (10-180 Sec.)
Device Name: Displays Device Name
- Upgrade: Install Update from USB (Ensure SW file is on USB and formatted as FAT32)
- DHCP: Configure DHCP Setting (Enable/Disable)
Network Device Management
The Channel Master ATSC HD Modulator can be configured over a local network connection
using a PC with a web browser. To configure the device using a PC, connect an Ethernet cable
from the network to the Ethernet port on the device. Once connected, use a computer that
is connected to the same network as the modulator, then enter the modulator IP address in
web browser and follow on-screen instructions as shown below. (IP address can be found by
pressing the rght arrow on the device three times. NOTE: The IP address will only appear once
the device is assigned to a valid network.)
Login:
Modulator Settings:
Stream Settings:
CONTINUED ON BACK / CONTINÚA EN LA PARTE POSTERIOR / SUITE AU DOS
Publicidad

Resumen de contenidos para Channel Master CM-1050
- Página 1 CONTINUED ON BACK / CONTINÚA EN LA PARTE POSTERIOR / SUITE AU DOS recommended for most use cases, user defined setting is recommended only for professionals. © 2020 Channel Master L.L.C. Channel Master is a registered trademark. Specifications subject to change. All rights reserved. © 2020 Channel Master. Channel Master es una marca registrada. Especificaciones ChannelMaster.com sujetas a cambio.
- Página 2 Warranty information is available online at www.channelmaster.com/warranty © 2020 Channel Master L.L.C. Channel Master is a registered trademark. Specifications subject to change. All rights reserved. © 2020 Channel Master. Channel Master es una marca registrada. Especificaciones ChannelMaster.com sujetas a cambio. Todos los derechos reservados. © Channel Master, 2020. Channel Master est une marque déposée. Les caractéristiques peuvent être modifiées sans préavis. Tous droits réservés. Pub...