Publicidad
Enlaces rápidos
Thank you for choosing PlayStar. Because it is our intention to make this a
positive family experience, we have taken great care in preparing this product.
Should you have any questions, or if we can assist you in any way, please call
our friendly Customer Service Department for immediate action.
Do not return to the store.
Please call us Toll Free at 1-888-PLAYSTAR
Monday through Friday, 8:00
Ask for Customer Service.
Hardware Included:
Herrajes Incluidos:
Pièces de fixation comprises:
#14 x 1¹ ₄" pan head screws (5) –
Tornillo de gota #14 x 1¹ ₄" (5) –
vis à tête cylindrique bombée #14 x 1-1/4 po (5) –
Fig. 1
1¹⁄₂"
emplacement de l'ancrage
Mounting Instructions:
1. Align top of Climbing Wall at right angle (90˚). Lip of
Climbing Wall should rest on the play deck 1¹ ₂". Using the
Climbing Wall as a template, mark play deck through the
marked locations. (Fig. 1)
three holes in the Climbing Wall. Drill three ¹⁄ " holes at
2. Attach Climbing Wall temporarily to play deck with three
#14 x 1¹⁄₄" pan head screws provided.
3. Prepare level area where Climbing Wall touches ground.
4. Locate and mark the ground on the back side and in center
of Climbing Wall. Remove Climbing Wall and screw Playset
Anchor into the ground (a long screwdriver will help). Screw
the anchor deep enough so that the center of the loop at
the top of the anchor will be approximately 3¹ ₂" off ground
when wall is in the final position.
5. Reinstall Climbing Wall permanently, attaching it to play
deck using #14 x 1¹ ₄" pan head screws provided.
6. Use the anchor as a drill guide and drill a ³ " hole
completely through the Climbing Wall. Attach Climbing
and one ³ " lock nut provided in the anchor kit. (Fig. 2)
Wall to anchor with one ³ " x 1" hex bolt, two ³ " washers
Warning: Failure to anchor the Climbing Wall properly
could cause serious injury from children lifting the Unit.
LT 6011 R5
© 2006, 2005, 2004, 2002, 1998 PlayStar, Incorporated, Janesville, WI 53547
to 5:00
A.M.
We Will Gladly Help!
Depending on your application, some hardware may not be used.
Dependiendo de su aplicación, puede que algunos de los herrajes no sean necesarios.
anchor location
localización del ancla
(752-9782)
C.S.T.
P . M.
Selon l'application, il est possible que certaines pièces de fixation ne seront pas utilisées.
IMPORTANT!
Intended for residential use by children ages 2 to 10, only on properly
installed PlayStar playsets. Before use refer to complete safety guidelines
in your original playset, at www.playstarinc.com, or at 1-888-752-9782.
Specifications subject to change without notice.
TOOLS & MATERIALS REQUIRED
Se incluyen instrucciones en español.
One Playset Anchor, PS 7690
Drill and ¹⁄ " & ³⁄ " Drill Bits
Adjustable Wrench
Socket Wrench and ⁹ ₁₆" Socket
Tape Measure
Screwdriver (Regular or Phillips)
PlayStar, Inc., PO Box 1777
Janesville, WI 53547
Patent No.: US D418,189
3¹ ₂"
Playset Anchor
Ancla de Equipo
PS 7690
de Juego
(Purchase
PS 7690
Separately)
(Compre por
Separado)
Mode d'emploi en français joint.
(Purchase Separately)
Attaches to 48"
play deck
PS 8850
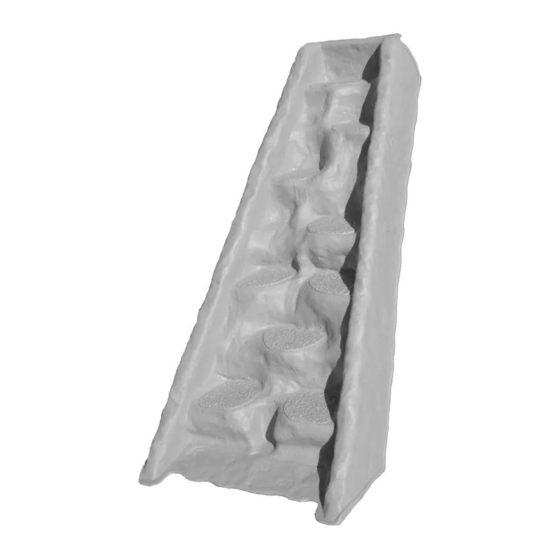
CLIMBING WALL
Fig. 2
Paroi d'escalade
PS 7690
(achetés
séparément)
Publicidad

Resumen de contenidos para PLAYSTAR PS 8850
- Página 1 Thank you for choosing PlayStar. Because it is our intention to make this a positive family experience, we have taken great care in preparing this product. Should you have any questions, or if we can assist you in any way, please call our friendly Customer Service Department for immediate action.
- Página 2 Perfore (Fig. 1) Gracias por escoger PlayStar. Es nuestra intención hacer de esto una expe- agujeros de ¹⁄ " en los lugares marcados anteriormente. riencia familiar positiva, por eso hemos puesto mucho cuidado al preparar este producto.
