Publicidad
Idiomas disponibles
Idiomas disponibles
Enlaces rápidos
Publicidad

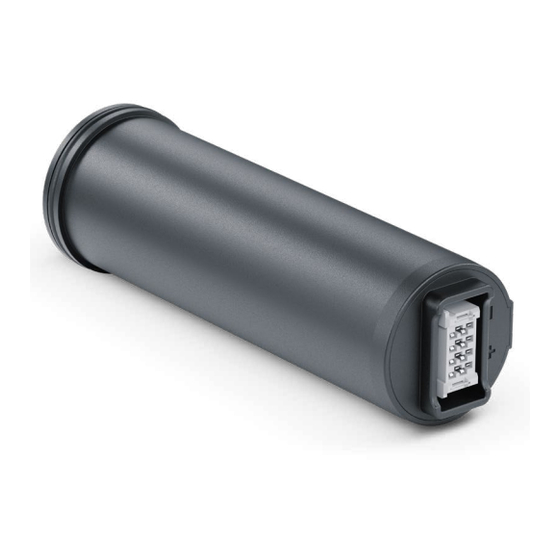
Resumen de contenidos para Pulsar APS 5
- Página 1 APS 5 USER MANUAL BATTERY PACK v. 1020 ENGLISH / FRANÇAIS / DEUTSCH / ESPAÑOL / ITALIANO / РУССКИЙ...
- Página 2 BATTERY CHARGING • Insert the battery (1) along the guide to the stop into the APS 5** charger slot (4) (see. Fig.). • Connect the plug of the USB Type-C cable** (7) to the USB Type-C connector of the power adapter** (3). Plug the power adapter (3) into a socket 100-240 V (110 V for US) (6).
- Página 3 CHARGE DE LA BATTERIE • Insérez la batterie (1) le long du guide jusqu'en butée dans la fente du chargeur APS 5 ** (4) (voir l`image). • Connectez la fiche du câble USB Type-C ** (7) au connecteur USB Type-C de l'adaptateur ** (3). Branchez l'adapta- teur secteur (3) dans une prise de courant 100-240 V (6).
- Página 4 Die aktuelle Version der Bedienungsanleitung finden Sie unter www.pulsar-vision.com BATTERIELADUNG • Setzen Sie den Akku (1) entlang der Führung bis zum Anschlag in den Steckplatz am Ladegerät APS 5** (4) ein (siehe Abb.). • Schließen Sie den Stecker des USB-Kabels Type-C** (7) an den USB-Anschluss Type-C des Netzadapters** (3) an.
- Página 5 CARGA DE LA BATERIA • Inserte la batería (1) en el carril hasta el tope en el slot del dispositivo de carga APS 5** (4) (véase la fig.). • Conecte la clavija del cable USB Type-C** (7) al conector USB Type-C del adaptador de corriente** (3). Conecte el adaptador de corriente (3) a una toma de corriente de 100-240 V (6).
- Página 6 Gli alimentatori ricaricabili agli ioni di litio APS 5 sono progettati per l'uso con i dispositivi ad immagine termica PULSAR. Le batterie APS 5 hanno la tecnologia di ricarica rapida con attacco USB con l’utilizzo di un kit di ricarica •...
-
Página 7: Рекомендации По Эксплуатации
Актуальную версию инструкции по эксплуатации Вы можете найти на сайте www.pulsar-vision.com ЗАРЯДКА БАТАРЕИ • Установите аккумуляторную батарею (1) по направляющей до упора в слот зарядного устройства APS 5** (4) (см. рис.). • Подключите штекер кабеля USB Type-C** (7) к разъему USB Type-C адаптера питания** (3). Подключите...
