Publicidad
Enlaces rápidos
RACK ER12W
RACK ER18
RACK ER27
RACK ER35
RACK ER42
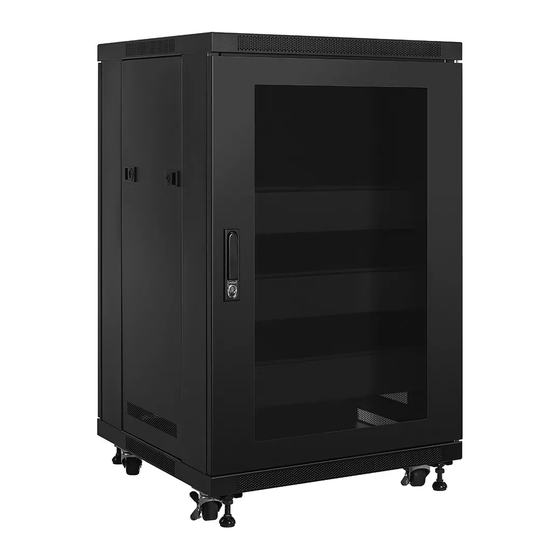
12, 18, 27, 35, & 42 Space Rack Enclosures
INSTRUCTION MANUAL
MANUAL DE INSTRUCCIONES
MANUEL D'INSTRUCTIONS
CAUTION: DO NOT EXCEED MAXIMUM LISTED WEIGHT
CAPACITY. SERIOUS INJURY OR PROPERTY DAMAGE
MAY OCCUR!
Max Weight: 12 Space Rack - 135lbs
18 Space Rack - 500lbs
27 Space Rack - 750lbs
35 Space Rack - 900lbs
42 Space Rack - 1100lbs
V1
V3
P1
Publicidad

Resumen de contenidos para RACK ER12W
- Página 1 RACK ER12W RACK ER18 RACK ER27 RACK ER35 RACK ER42 12, 18, 27, 35, & 42 Space Rack Enclosures INSTRUCTION MANUAL MANUAL DE INSTRUCCIONES MANUEL D’INSTRUCTIONS CAUTION: DO NOT EXCEED MAXIMUM LISTED WEIGHT CAPACITY. SERIOUS INJURY OR PROPERTY DAMAGE MAY OCCUR!
- Página 2 Tampoco prevé todas las posibles contingencias relacionadas con la instalación o el uso de este producto. La información que contiene este documento queda sujeta a cambio sin aviso previo o compromiso alguno. RACK BRAND no ofrece ninguna garantía, ni expresa ni implícita, respecto de la información aquí...
- Página 3 2U Shelf 5U Shelf 10-32 Shelf Screws Keys Lag Bolts (for wall mounting ER12W) Anchors (for wall mounting ER12W) Cage Nuts * Fans are not thermally activated, please plug them into a switchable device. * Los ventiladores no son térmicamente activado. Por favor, tiene que conectarlos a un dispositivo communitable.
- Página 4 OPEN / LOCK DOOR Pull handle and rotate to open door. Push handle to flush position to lock door with included key. REMOVABLE/ LOCKABLE SIDE PANELS Side panels are removable and include locks for improved security. Note - included keys used to lock/ unlock front doors and side panels.
- Página 5 Shelves and blanks can be relocated within the rack enclosure rails. Rail attachments include spacing numbers for proper alignment. (note- heavy components should always be placed at the bottom of rack enclosure) Note: 12W rack uses cage nuts and 10-32 screws...
- Página 6 Mount RACK ER12W to wall using wall hinge. Wood Stud Installation: 1. Drill 7/32” pilot holes, 2.75” deep 2. Use Lag Bolts (item K) to attach rack to wall Solid Concrete Installation: 1. Drill 3/8” pilot holes, 2.75” deep 2. Insert Anchors (item L) into pilot holes...
- Página 7 VENTILATION FOR COMPONENTS Additional ventilation for bottom components Ventilación adicional para los componentes de fondo Ventiation supplémentaire pour les composants bas Do not obstruct the perforated hexagonal holes located at Edge of base. These holes aid in ventilation. ADDITIONAL VENTILATION FOR COMPONENTS/ WIRING On bottom of base 3 panels can be removed in center when additional ventilation is needed.
-
Página 8: Warranty Information
Para obtener el servicio de garantía, del producto al lugar de origen (origen de compra). . Deberá́ proporcionar el recibo original. Si fuera necesario enviar el producto a RACK BRAND para revisarlo, los gastos de envío correrán por su cuenta. El producto de reemplazo que se le envíe se le devolverá́ con los gastos de envío pagos.
