Publicidad
Tabla de contenido
I N S T R U C T I O N M A N U A L
M A N U E L D ' I N S T R U C T I O N S
M A N U A L D E I N S T R U C C I O N E S
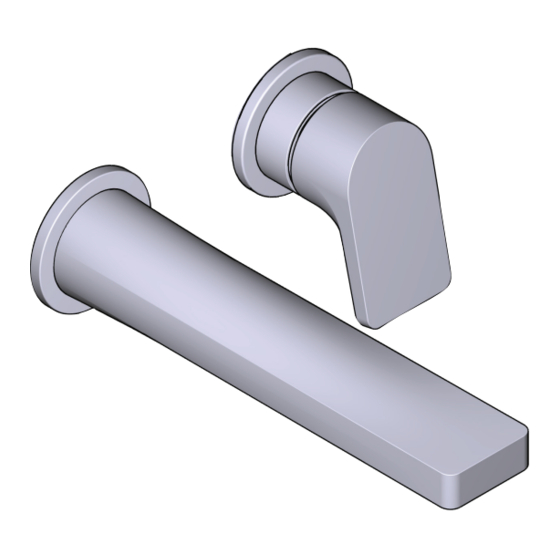
360° Wall-mount Lavatory Faucet
Robinet de lavabo mural 360°
Llave de lavabo mural de 360°
HELPFUL TOOLS
For safety and ease of installation, the use of
these helpful tools is recommended.
OUTILS UTILES
Pour des raisons de sécurité et de facilité
d'installation, l'utilisation de ces outils utiles
est recommandée.
HERRAMIENTAS ÚTILES
Por seguridad y facilidad de instalación, se
recomienda el uso de estas útiles
herramientas.
Adjustable Wrench
Safety Glasses
Needle Nose Pliers
Hex Wrench - 10mm
Clé adjustable
Lunettes de sécurité
Pince à bec fin
Clé hexagonale - 10mm
Llave ajustable
Gafas de seguridad
Pinzas de punta de aguja
Llave hexagonal - 10mm
INS-OD360 - 10/2021 - Rev 00
Publicidad
Tabla de contenido

Resumen de contenidos para Riobel TPB360BK
- Página 1 I N S T R U C T I O N M A N U A L M A N U E L D ’ I N S T R U C T I O N S M A N U A L D E I N S T R U C C I O N E S 360°...
-
Página 2: Parts List
Parts List Valve Handle Flange & Trim Test Plug Handle Base Spout Adaptor Handle Valve Cover Handle Set Screw Cartridge Spout Spout Set Screw Liste des pièces Valve Bride et garniture de Bouchon d’essai poignée Adaptateur de bec Base de poignée Couvercle de la soupape Poignée Cartouche... - Página 3 Using a 10mm hex wrench (not included), secure the Spout Adaptor (C) to the Valve Unthread Test Plug (B) and pull off Valve Cover (D) from Valve (A) by hand. (A) as illustrated. Dévisser le bouchon d’essai (B) et retirer manuellement le couvercle de la valve (D) de À...
-
Página 4: Parte Superior
TOP POSITION HAUT PARTE SUPERIOR TOP POSITION HAUT PARTE SUPERIOR TOP POSITION HAUT PARTE SUPERIOR TOP POSITION HAUT PARTE SUPERIOR... - Página 5 BOTTOM PARTE INFERIOR Take note of the cartridge seat position and attach the cartridge adjustment tool to Using needle nose pliers (not included), attach to the cartridge adjustment tool as make adjustments in the next steps. illustrated. Noter la position du siège de cartouche et fixer l’outil d’ajustement de cartouche à À...
- Página 6 Using a marker, make a small indicator mark on threads of Install Cartridge (E) and components into Valve (A). Ensure pin of temperature indexed ring is in groove of cartridge nut as shown. cartridge seat (see inset). Hand tighten cartridge nut. Installer la cartouche (E) et ses composants dans la soupape (A).
- Página 7 1. Install Handle (J) to Handle Flange & Trim (H). 1. Install Spout (F) onto Spout Adaptor (C) till fully seated against wall surface. 2. Secure Handle (J) with Handle Set Screw (K) with the hex wrench. 2. Secure Spout (F) with Spout Set Screw (G), using the hex wrench. 1.
- Página 8 12-A 12-B 12-C 12-D For warranty or additional information, contact: US Customers Canadian Customers QUEBEC / MARITIMES / WESTERN CANADA U.S.A. QUÉBEC / MARITIMES / OUEST CANADIEN ONTARIO houseofrohl.com/support QUEBEC / MARITIMOS / CANADA OCCIDENTAL houseofrohl.ca/support 1-800-777-9762 houseofrohl.ca/support 1-800-287-5354 1-866-473-8442...


