Tabla de contenido
Publicidad
Idiomas disponibles
Idiomas disponibles
Enlaces rápidos
INSTALLATION INSTRUCTIONS / INSTRUCCIONES DE INSTALACION / DIRECTIVES D'INSTALLATION
*Model Number / Número de Modelo / Numéro des modèle
CPHB 12LM MVOLT
CPHB 15LM MVOLT
CPHB 18LM MVOLT
CPHB ALO13 MVOLT SWW9
Optional Accessory/ Accesorio opcional/ Accessoire en option
Surface Mount Bracket (THUN)
Ménsula de montaje en superficie (THUN)
Support pour montage en surface (THUN)
Protect yourself. Before installing,
read these instructions carefully
and save them for future reference.
Date Installed:________________
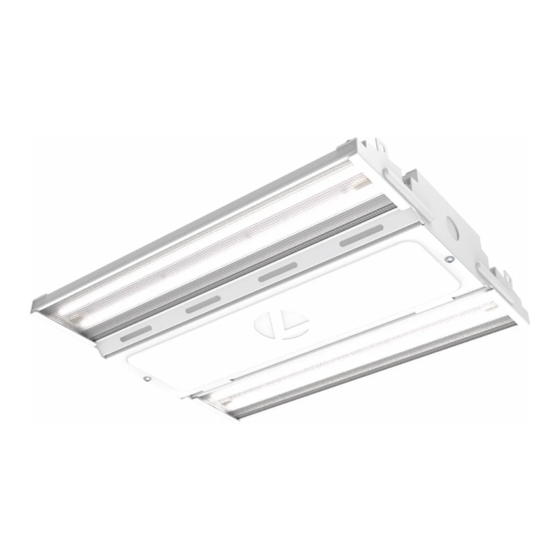
CPHB Linear LED Highbay
Protéjase. Antes de instalar, lea
estas instrucciones cuidadosamente
y guárdelas para futura referencia.
Fecha Instalada:________________
*Model Number / Número de Modelo / Numéro des modèle
CPHB ALO16 MVOLT SWW9
Pendant Monopoint Mount (PMP)
Montaje de monopunto colgante (PMP)
Montage central suspendu (PMP)
Pour votre propre protection. Avant de procéder à
l'installation, veuillez lire attentivement ces directives
et les conserver pour référence ultérieure.
Date de l'installation :________________
Page 1
CPHB 24LM MVOLT
CPHB 30LM MVOLT
Acuity Brands Lighting, Inc.
One Lithonia Way, Conyers, GA 30012
www.acuitybrands.com
912-00430-001 Rev A 01/23
5
Publicidad
Tabla de contenido

Manuales relacionados para Lithonia Lighting CPHB Serie


Resumen de contenidos para Lithonia Lighting CPHB Serie
- Página 1 INSTALLATION INSTRUCTIONS / INSTRUCCIONES DE INSTALACION / DIRECTIVES D’INSTALLATION CPHB Linear LED Highbay *Model Number / Número de Modelo / Numéro des modèle *Model Number / Número de Modelo / Numéro des modèle CPHB 12LM MVOLT CPHB 24LM MVOLT CPHB 15LM MVOLT CPHB 30LM MVOLT CPHB 18LM MVOLT CPHB ALO16 MVOLT SWW9...
- Página 2 FIGURES D’INSTALLATION INSTALLATION FIGURES FIGURAS DE LA INSTALACIÓN Figure 1 REQUIRED TOOLS HERRAMIENTAS REQUERIDAS OUTILS REQUIS FIXTURE PACKING LIST FIXTURE PACKING LIST Description Quantity 1) Fixture Housing ........ 1 2) V-Hanger* .......... 2 3) Chain* ..........2 Figure 2 4) Access Plate ........1 Figure 3 5) Access Plate Screw ......
-
Página 3: Important Safety Instructions
IMPORTANT SAFETY INSTRUCTIONS READ AND FOLLOW THESE SAFETY INSTRUCTIONS! • To reduce the risk of death, personal injury or property damage from fire, CAUTION electric shock, falling parts, cuts/abrasions, and other hazards please RISK OF FIRE read all warnings and instructions included with and on the fixture box and all fixture labels. -
Página 4: Installation Instructions - English
STEP-BY-STEP GUIDE INSTALLATION INSTRUCTIONS - ENGLISH PREPARING THE FIXTURE FOR INSTALLATION Surface Mount Installation- (Requires Surface Mount Bracket (THUN) - sold separately 1.Remove the parts pack and place it in a convenient location during 1) Attach THUN Surface Mount bracket(s) to structure using hardware installation. - Página 5 E S P A Ñ O L INFORMACIÓN IMPORTANTE DE SEGURIDAD LEA Y SIGA LAS INSTRUCCIONES DE INSTALACIÓN • Para reducir el riesgo de muerte, lesiones personales o daño a la PRECAUCIÓN propiedad que pueda surgir de incendios, choques eléctricos, cortes, RIESGO DE DAÑO PARA EL PRODUCTO abrasiones, caída de partes y otros peligros lea todas las advertencias e instrucciones incluidas en la caja o su interior, además de las etiquetas...
-
Página 6: Guía De Paso-A-Paso
E S P A Ñ O L GUÍA DE PASO-A-PASO PREPARÁNDOSE PARA LA INSTALACIÓN Selección CCT/ALO (si se suministra) 1. Remueva el paquete de partes y colóquelo en un lugar conveniente durante la Localice los interruptores CCT y ALO en el exterior del canal eléctrico (consulte instalación. -
Página 7: Importantes Mesures De Sécurité
F r a n ç a i s IMPORTANTES MESURES DE SÉCURITÉ VEUILLEZ LIRE ET RESPECTER TOUTES LES CONSIGNES DE SÉCURITÉ! • Afin de réduire le risque de blessures personnelles ou de mort, ou ATTENTION d’endommager le matériel en raison d’un incendie, d’un choc électrique, RISQUE D’ENDOMMAGEMENT DU PRODUIT de la chute de pièces, de coupures/abrasions ou de tout autre danger, lisez tous les avertissements et instructions compris dans et sur la boîte... - Página 8 F r a n ç a i s GUIDE DÉTAILLÉ Sélection TK/ALO – si fournis PRÉPARATION DE L’APPAREIL POUR L’INSTALLATION Localiser les commutateurs de la TK et de l’ALO à l’extérieur du canal élec- 1.Retirez les pièces de l’emballage et placez-les dans un endroit pratique pour l’ins- trique (voir la figure 6).