Publicidad
Enlaces rápidos
Assembly Instructions
Instrucciones De Ensamblaje
877-472-4296
LEA ESTAS INSTRUCCIONES ANTES DE
UTILIZAR EL PRODUCTO Y GUARDE PARA FUTURAS REFERENCIAS
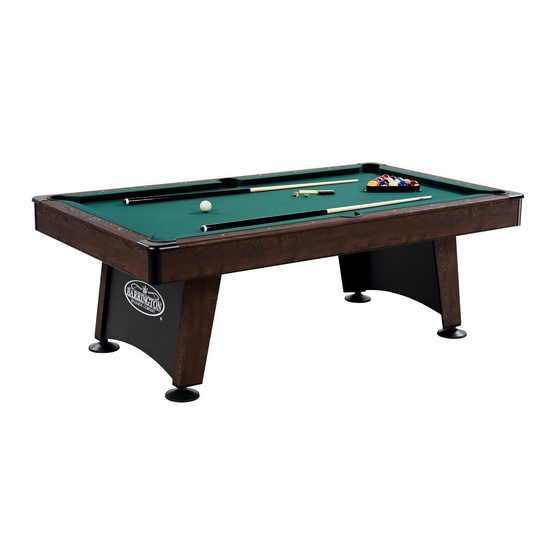
MESA DE BILLAR
MODELO: BL090Y22001
CONTENDO: 1 MESA DE BILLAR DESARMADA CON
HECHO EN CHINA
IMPORTADO POR: COMERCIALIZADORA MÉXICO
AMERICANA, S. DE R.L. DE C.V. AV. NEXTENGO NO. 78,
COL. SANTA CRUZ ACAYUCAN, AZCAPOTZALCO, CIUDAD
DE MÉXICO, MÉXICO, C.P. 02770.
TEL. 58991200
PRECAUCIÓN: CONTIENE PIEZAS PEQUEÑAS QUE PUEDEN
CAUSAR ASFIXIA EN CASO DE SER INGERIDAS. NO APTO
PARA NIÑOS MENORES DE 3 AÑOS.
VEASE INSTRUCTIVO ANEXO O IMPRESO
EDAD RECOMENDADA: 14 AÑOS EN ADELANTE
www.medalsports.com
MODEL/MODELO
BL090Y22001
Publicidad

Resumen de contenidos para MD SPORTS BL090Y22001
- Página 1 Instrucciones De Ensamblaje LEA ESTAS INSTRUCCIONES ANTES DE UTILIZAR EL PRODUCTO Y GUARDE PARA FUTURAS REFERENCIAS MESA DE BILLAR MODELO: BL090Y22001 CONTENDO: 1 MESA DE BILLAR DESARMADA CON HECHO EN CHINA IMPORTADO POR: COMERCIALIZADORA MÉXICO AMERICANA, S. DE R.L. DE C.V. AV. NEXTENGO NO. 78, COL.
- Página 2 No usar o guardar el producto en el exterior. Solo para uso en interior. No utilizar ni guardar el producto en lugares húmedos o mojados. BL090Y22001 (Continued on the next page.) (Continúe en la siguiente página.) www.medalsports.com...
- Página 3 Side Top Tablero Adjustable Corchete Board superior final Apron inferior Board superior lateral Bracket regulable FOR FIG. 2 FOR FIG. 1 Support Tablero de Glue Pegamento Board soporte BL090Y22001 (Continued on the next page.) (Continúe en la siguiente página.) www.medalsports.com...
- Página 4 M6x22mm 4x18mm Screw Tornillo 4x18mm M5x25mm Screw 4x45mm M6x22mm Bolt Bolt FOR FIG. 4 FOR FIG. 11 4x32mm Tornillo Llave inglesa M6 Washer Arandela M6 Wrench Screw 4x32mm BL090Y22001 (Continued on the next page.) (Continúe en la siguiente página.) www.medalsports.com...
- Página 5 Verify that you have all listed parts as shown on the Compruebe que tenga todas las piezas que se part list pages. muestran en la lista de piezas. BL090Y22001 (Continued on the next page.) (Continúe en la siguiente página.) www.medalsports.com...
- Página 6 Note: Please note that adjustable bracket (17) and support boards (18) must be parallel with each other. Nota: Favor notar que los corchete regulable (17) y las placas de soporte (18) deben venire enparalelo. BL090Y22001 (Continued on the next page.) (Continúe en la siguiente página.) www.medalsports.com...
- Página 7 English Español ASSEMBLY MONTAJE FIG.3 BL090Y22001 (Continued on the next page.) (Continúe en la siguiente página.) www.medalsports.com...
- Página 8 English Español ASSEMBLY MONTAJE FIG. 4 FIG. 3 Assembly / Ensamblaje FIG. 3 Pre-installed Pre-installed BL090Y22001 (Continued on the next page.) (Continúe en la siguiente página.) www.medalsports.com...
- Página 9 Español ASSEMBLY MONTAJE FIG. 5 Pre-installed Pre-installed FIG. 6 Note: Both logo panels should be inverted when assembling. Nota: Ambos paneles del logo deben estar invertidos al ensamblar. BL090Y22001 (Continued on the next page.) (Continúe en la siguiente página.) www.medalsports.com...
- Página 10 Voltee la mesa. 3. Place it on all feet at the same time on the ground. 3. Coloque las patas de la mesa sobre el piso al mismo tiempo. BL090Y22001 (Continued on the next page.) (Continúe en la siguiente página.) www.medalsports.com...
- Página 11 No inclinarse o sentarse sobre el final o el lado de rieles, esto puede dañar la mesa. BL090Y22001 (Continued on the next page.) (Continúe en la siguiente página.)
- Página 12 (17) por el orden de nivel del campo de juego del unidad principal. ADJUST CONCAVE TABLE ADJUST CONVEX TABLE AJUSTAR LA MESA CÓNCAVA AJUSTAR LA MESA CONVEXA BL090Y22001 (Continued on the next page.) (Continúe en la siguiente página.) www.medalsports.com...
- Página 13 English Español ASSEMBLE THE CUE RACK RACK PARA ACCESORIOS FIG. 9 FIG. 10 BL090Y22001 (Continued on the next page.) (Continúe en la siguiente página.) www.medalsports.com...
- Página 14 English Español ASSEMBLE THE CUE RACK RACK PARA ACCESORIOS FIG. 11 SIDE VIEW / VISTA LATERAL Note: Leave 5 mm distance. Nota: Deje 5 mm de distancia. BL090Y22001 (Continued on the next page.) (Continúe en la siguiente página.) www.medalsports.com...
- Página 15 English Español ASSEMBLE THE CUE RACK RACK PARA ACCESORIOS FIG. 12 BL090Y22001 (The last page) (La ultima página) www.medalsports.com...
- Página 16 www.medalsports.com...


