TRENDnet TK-804R Guía De Instalación Rápida
Ocultar thumbs
Ver también para TK-804R:
- Guía de instalación rápida (19 páginas) ,
- Guía de instalación rápida (5 páginas)
Tabla de contenido
Publicidad
Idiomas disponibles
Idiomas disponibles
Enlaces rápidos
Publicidad
Tabla de contenido

Manuales relacionados para TRENDnet TK-804R


Resumen de contenidos para TRENDnet TK-804R
- Página 1 Guía de instalación rápida TK-804R 2.01...
-
Página 2: Tabla De Contenido
Table of Contents Español Antes de iniciar Instalación del Hardware Funcionamiento Technical Specifications Troubleshooting Version 08.03.2009... -
Página 3: Español
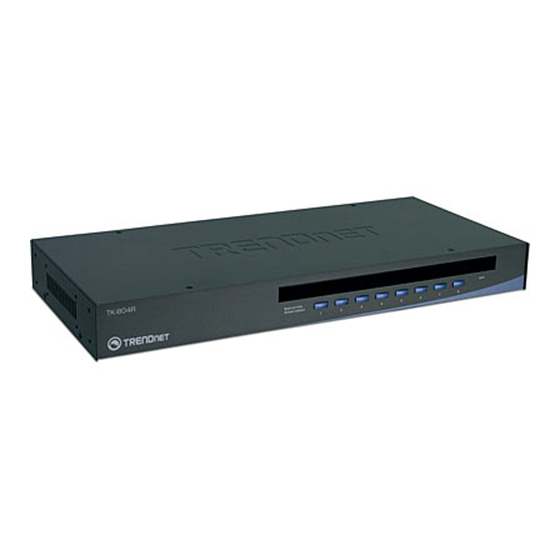
1. Antes de iniciar Contenidos del paquete TK-804R Guía de instalación rápida multilingüe Adaptador para corriente AC (9V DC, 1A) Kit para montar en rack Cable para cadena daisy (HDB 15 pines macho a HDB 15 pines hembra) (9in/22.86cm) Terminador... -
Página 4: Cómo Se Instala
2. Conecte el teclado compartido PS/2 o USB, el monitor y el ratón PS/2 o USB al puerto consola del conmutador KVM. (Ver imagen del TK-804R) Para KVM 3. Alimente el conmutador KVM conectando el adaptador AC incluido a un tomacorriente. -
Página 5: Conexión En Serie
2. Debe usar el cable de conexión en serie suministrado junto con el conmutador KVM 3. Usted puede conectar en serie hasta 8 conmutadores KVM TK-804R 4. Usted puede conectar en serie hasta 16 conmutadores KVM. Hay un máximo de 128 conexiones de PC 1. - Página 6 3. Si tiene un tercer conmutador KVM, conecte un extremo del cable de conexión en serie al puerto Daisy-Chain OUT (Conexión en serie OUT) del segundo conmutador KVM. Después, conecte el otro extremo del cable de conexión en serie al puerto Daisy-Chain IN (Conexión en serie IN) del tercer conmutador (esclavo).
-
Página 7: Para Montaje En Bastidor
KVM. La instalación ha sido completada Registre su producto Para asegurar los más altos niveles de servicio y apoyo al cliente, registre su producto en línea en: www.trendnet.com/register Gracias por elegir TRENDnet... -
Página 8: Funcionamiento
3. Funcionamiento Nota: Para la conexión entre PCs, se pulsan los boton del panel frontal, Menú de presentación en pantalla (OSD) o comandos “Hot-Key”. Número de banco: Indicadores LED Indica el número o secuencia del LED con luz roja: El cable KVM está conmutador KVM cuando está... - Página 9 Scroll Lock + Seleccione la PC = Por ejemplo, para seleccionar el puerto 10 del conmutador KVM número 8 de una serie de TK-804R conectados en serie debe presionar la siguiente secuencia de teclas: Scroll Lock Scroll Lock + Seleccione la PC = Nota: Cuando utilice el conmutador KVM independiente, escriba no introducir número...
- Página 10 Menú de presentación en pantalla (OSD) Para activar el menú OSD, utilice los siguientes comandos hot-key: Scroll Lock Scroll Lock Space Bar Nota: Para información más detallada sobre la función OSD, por favor ver la Guía de Referencia Rápida...
-
Página 13: Technical Specifications
Technical Specifications Management 8 computers 1 x USB keyboard Type A 1 x USB mouse Type A Console Port Connectors 1 x PS/2 keyboard 6-pin mini din female 1 x PS/2 mouse 6-pin mini din female 1 x VGA HDB 15-pin female 1 x VGA HDB 15-pin male (Daisy-Chain OUT ) Daisy-Chain Port Connectors 1 x VGA HDB 15-pin female (Daisy-Chain IN) -
Página 14: Troubleshooting
Troubleshooting Do I need to use the included external AC adapter? It is recommended that you use the included external AC adapter with the TK-804R KVM switch. I have the KVM switch connected properly, but my keyboard and mouse don't work. What should I do? 1. - Página 15 TRENDnet products. Products that are sent to TRENDnet for RMA service must have the RMA number marked on the outside of return packages and sent to TRENDnet prepaid, insured and packaged appropriately for safe shipment.
- Página 16 Download section and look for the desired TRENDnet product to access to the GPL Code or LGPL Code. These codes are distributed WITHOUT WARRANTY and are subject to the copyrights of the developers. TRENDnet does not provide technical support for these codes. Please go to http://www.gnu.org/licenses/gpl.txt...
- Página 17 Certifications This equipment has been tested and found to comply with FCC and CE Rules. Operation is subject to the following two conditions: (1) This device may not cause harmful interference. (2) This device must accept any interference received. Including interference that may cause undesired operation.
- Página 18 Product Warranty Registration Please take a moment to register your product online. Go to TRENDnet’s website at http://www.trendnet.com/register Copyright ©2009. All Rights Reserved. TRENDnet.