Publicidad
Enlaces rápidos
Please Contact Moen First
For Installation Help, Missing or
Replacement Parts
(USA)
1-800-BUY-MOEN (1-800-289-6636)
Mon - Fri 8:00 AM to 7:00 PM, Eastern
Sat. 9:00 AM to 3:00 PM Eastern
WWW.MOEN.COM
(Canada)
1-800-465-6130
Mon - Fri 7:30 AM to 8:00 PM, Eastern
WWW.MOEN.CA
Por favor, contáctese primero con
Moen
Para obtener ayuda de instalación, piezas
faltantes o de recambio
011 52 (800) 718-4345
Lunes a viernes de 8:00 a 20:00 hs.
(Costa Este)
Sáb. 8:00 a 18:30 hs. (Costa Este)
WWW.MOEN.COM.MX
Veuillez d'abord contacter Moen
En cas de problèmes avec l'installation, ou pour
obtenir toute pièce manquante ou de rechange
1-800-465-6130
Du lundi au vendredi :
de 7 h 30 à 20 h, HE
WWW.MOEN.CA
HELPFUL TOOLS
For safety and ease of faucet replacement, Moen
recommends the use of these helpful tools.
Guía de Instalación
Guide d'installation
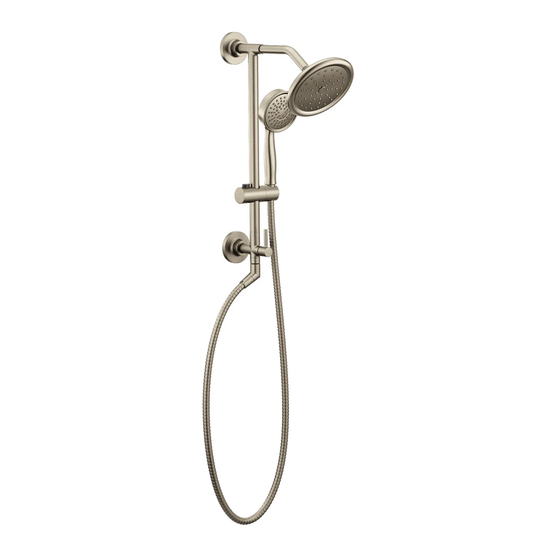
ANNEX™ SHOWER RAIL
DIVERTER SERVICE KIT
Kit #182638
KIT DE SERVICIO PARA
DERIVADOR DE BARRA PARA
REGADERA ANNEX™
Kit #182638
TROUSSE DE REMPLACEMENT
— INVERSEUR DE BARRE DE
DOUCHE ANNEX
Trousse n
HERRAMIENTAS ÚTILES
Para que el cambio de la llave sea fácil y seguro,
Moen le recomienda usar estas útiles herramientas.
INS10566 - 7/16
Installation Guide
MC
182638
o
OUTILS UTILES
Par mesure de sécurité et pour faciliter l'installation,
Moen suggère l'utilisation des outils suivants.
Publicidad

Resumen de contenidos para Moen ANNEX 182638
- Página 1 HELPFUL TOOLS HERRAMIENTAS ÚTILES OUTILS UTILES For safety and ease of faucet replacement, Moen Para que el cambio de la llave sea fácil y seguro, Par mesure de sécurité et pour faciliter l’installation, recommends the use of these helpful tools.
-
Página 2: Parts List
Parts List A. Upper Flange G. Old Diverter Nut M. Hex Wrench - 1/8" H. Old Diverter N. Diverter Installation Assembly B. Shower Rail Assembly Tool Lower Flange New Diverter Nut O. Wrench Assembly New Diverter P. Handle D. Pivot Nut Assembly Q. - Página 3 Use Wrench (O) to unthread Jam Nut (E) completely. 1. Loosen Pivot Nut (D) from lower connection of Shower Rail (B) with Wrench (O). 2. Pull Shower Rail forward to remove from flanges (A & C). Use la llave (O) para desenroscar la contratuerca (E) completamente. 1.
- Página 4 INS10566 - 7/16 Use a screwdriver to push the Old Diverter Assembly (H) out the back of the Shower Insert Diverter Installation Tool (N) into Shower Rail (B) to Old Diverter Nut (G). Insert Phillips screwdriver into side holes of Diverter Installation Tool. Rail (B).
- Página 5 1. Insert Diverter Installation Tool (N) into Shower Rail (B) to New Diverter Nut (I). Insert Handle (P) and Handle Screw (Q) into Shower Rail (B). 2. Insert Phillips screwdriver into side holes of Diverter Installation Tool. Inserte el monomando (P) y el tornillo del monomando (Q) en la barra para Rotate Diverter Installation Tool counterclockwise to tighten New regadera (B).
- Página 6 INS10566 - 7/16 1. Grease O-rings on Outer Shank (K) with Lubricant (S). Use Wrench (O) to tighten Jam Nut (E). 2. Install Shower Rail (B) onto Flange Assemblies (A & C). Use la llave (O) para apretar la contratuerca (E). 3.


