Publicidad
Enlaces rápidos
WARNINGS AND CAUTIONS
WARNING: TO AVOID FIRE, SHOCK OR DEATH, TURN OFF POWER at circuit breaker or fuse and test that the power is off before wiring!
WARNING: TO AVOID FIRE, SERIOUS INJURY OR DEATH, DO NOT COAT CONDUCTORS WITH TIN.
• Install and use in accordance with appropriate electrical codes and regulations.
• If you are unsure about any part of these instructions, consult an electrician.
• Use the device with copper wire only.
• Use only applicable flexible round cord and cables. In the US refer to NEC
• Device(s) to be used with 12-4 AWG to 8-4 AWG and the following cord types: SE, SEO, SJ, SJE,
SJEO, SJO, SJOO, SJT, SJTO, SJTOO, SO, SOO, SRD, SRDE, SRDT, ST, STO, STOO, and W.
NOTICE: Follow steps 1-6 for both plug and connector.
1. Disassemble plug and connector
Loosen assembly screws and pull plug/connector body from back shell.
2. Adjust plug and connector for cord size
Loosen cord clamp screws and slide off one side of the clamp.
Adjust the black inserts to have diameter markings face each other:
NOTICE: Cord size 0.88 to 1.16 in (22-30 mm) - remove inserts
3. Install cord
Slide round cord through the dust shield and back shell.
NOTICE: Use care when inserting the cord so the dust shield does not get
pushed out. The dust shield can be used up to maximum cord diameter.
4. Terminate conductors
Strip each cord jacket and conductor as follows:
• 30A 600VAC/20A 250VDC: Insert grounding conductor (green, green/yellow
or bare wire) to terminal GR (green hex screw).
• Insert hot conductors (black, red or blue) to terminals X, Y and Z.
NOTICE: Tighten all terminal screws to 25 in-lbs (2.825 N-m).
5. Reassemble plug and connector
Slide the connector/plug body with cord assembled into the back shell aligning
the tongue and groove. Evenly tighten the assembly screws.
NOTICE: Tighten all assembly screws to 8-10 in-lbs (0.90-1.130 N-m).
6. Reassemble cord clamp
Slide the other side of the cord clamp onto the back shell of the
plug/connector. Tighten the cord clamp screws.
NOTICE: Tighten all terminal screws to 14-16 in-lbs (1.582-1.808 N-m).
7. Connect plug to connector
Align the key guide on the back shell of connector and plug using the arrows
and push them firmly together. Turn in opposite directions to secure.
3-POLE 4-WIRE
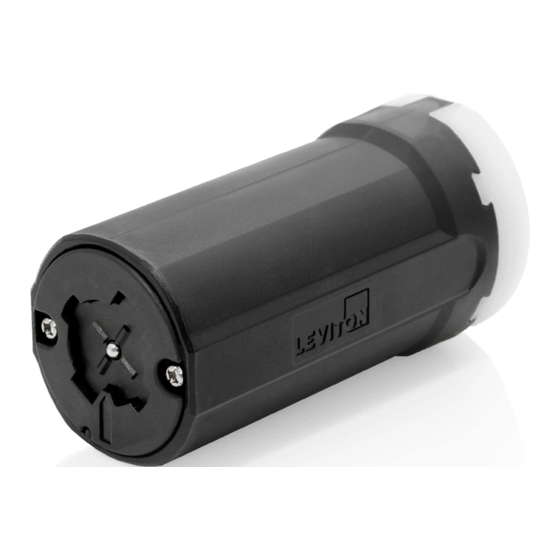
POWER INTERRUPTING PLUG & CONNECTOR
Cat. No. 21414-LB, 21415-LB
INSTALLATION
• Cord size 0.38 to 0.58 in (10-15 mm)
• Cord size 0.58 to 0.88 in (15-22 mm)
Article 400.
®
Back Shell
DIA
.38 - .58
DIA
.58 - .88
.75 in
1.91cm
1.68 in
4.27cm
Tongue
Connector Body
Assembly Screws
Clamp Screws
Inserts
Dust Shield
Groove
Assembly Screws
PK-A3240-10-00-5A-X1
ENGLISH
Cord Clamp
Terminal Screw
Publicidad

Resumen de contenidos para Leviton 21414-LB
- Página 1 3-POLE 4-WIRE POWER INTERRUPTING PLUG & CONNECTOR Cat. No. 21414-LB, 21415-LB PK-A3240-10-00-5A-X1 WARNINGS AND CAUTIONS WARNING: TO AVOID FIRE, SHOCK OR DEATH, TURN OFF POWER at circuit breaker or fuse and test that the power is off before wiring! WARNING: TO AVOID FIRE, SERIOUS INJURY OR DEATH, DO NOT COAT CONDUCTORS WITH TIN.
- Página 2 LIMITED 10 YEAR WARRANTY AND EXCLUSIONS Leviton warrants to the original consumer purchaser and not for the benefit of anyone else that this product at the time of its sale by Leviton is free of defects in materials and workmanship under normal and proper use for ten years from the purchase date.
- Página 3 COMMENTS : The information in this document is the exclusive PROPRIETARY property of LEVITON MANUFACTURING COMPANY, INC. It is disclosed with the understanding that acceptance or review by the recipient constitutes an undertaking by the recipient. (1) to hold this information in strict confidence, and (2) not to disclose, duplicate, copy, modify or use the information for any purpose other than that for which disclosed.


