Publicidad
Idiomas disponibles
Idiomas disponibles
Enlaces rápidos
DaNGer:
Do not use oxygen, combustible gases, or bottled gases as a power source for this tool. The tool will explode and cause
death or serious injury.
WarNiNG:
To reduce the risk of injury, the user must read and understand the operator's manual before using this product. If the operator's
manual which originally accompanied this tool is missing, visit us at www.ridgid.com or call 1-866-539-1710.
WarNiNG:
Disconnect the tool from the air supply before performing maintenance on this tool. Failure to do so could result in serious
personal injury.
WarNiNG:
The operation of any power tool can result in foreign objects being thrown into your eyes, which can result in severe eye
damage. Before beginning power tool operation, always wear safety goggles or safety glasses with side shields and, when
needed a full face shield. We recommend Wide Vision Safety Mask for use over eyeglasses or standard safety glasses with
side shields. Always use eye protection which is marked to comply with ANSI Z87.1.
6
7
9
10
13
11
12
14
15
17
16
18
thiS Kit iNCluDeS:
Trigger Valve Assembly (Key No. 106)
Cylinder Cap Seal (9)
PO-Rings (11-13, 24, 26)
Collar (15)
Seal (16)
Press Ring (20)
Piston O-Ring (21)
Cylinder Ring (27)
Bumper (28)
Retainer (44)
Fig. 1
Grease
Overhaul Kit Instruction Sheet
Tools needed (but not included): 2.5 mm punch for removing trigger
valve assembly
pivot pin.
includes
Key No. 10-18
reMOviNG aND rePlaCiNG O-riNGS aND SealS
See Figures 1 - 3.
14
Key No. 14
With items 11-13
installed
10. Reassemble parts in the order shown in Figure 2.
11. Reinstall valve assembly into tool cap and secure.
12. Set aside tool cap and proceed with cylinder maintenance.
Fig. 2
Overhaul Kit
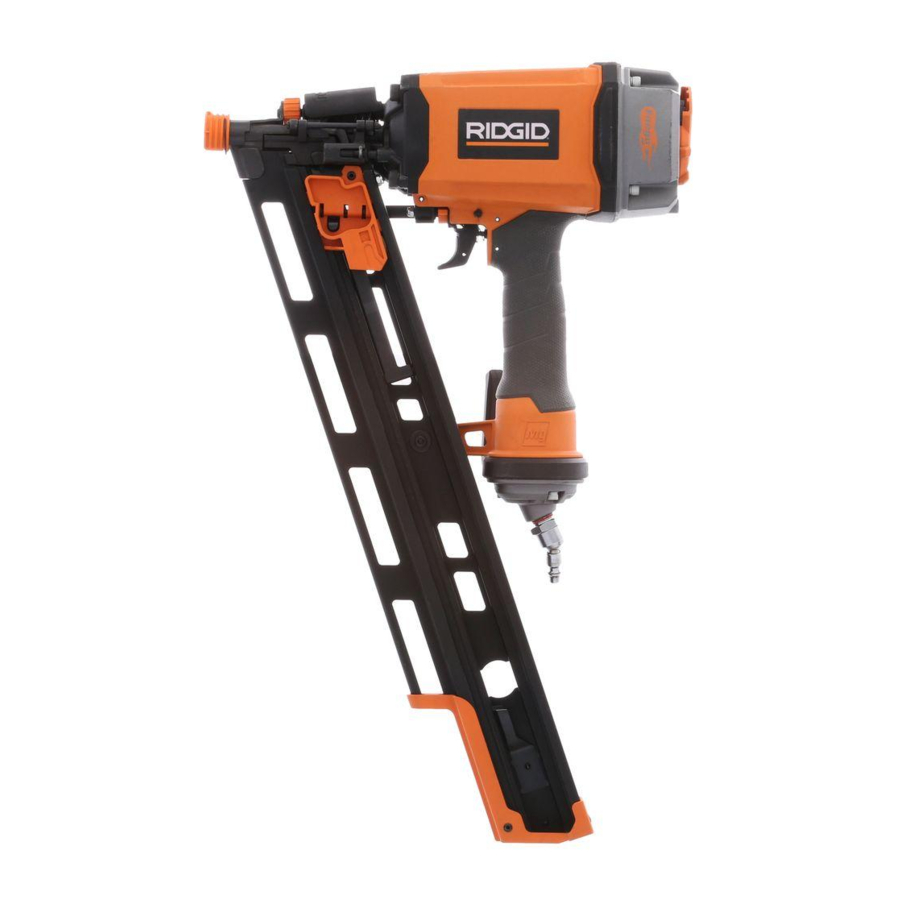
r350rhD Full round head Framing Nailer
1. Disconnect the tool from the air supply and remove any fasteners
that remain in the tool.
2. Using a 5 mm hex key, remove the four screws (6) from the top
cap (7) of the tool. Remove the top cap. Remove the cylinder cap
seal (9).
3. Remove the driver unit (22) from the cylinder (23).
4. Tap the tool against a piece of wood as shown in Figure 1. This will
separate the cylinder (23) from the tool body. Set the driver and
cylinder aside.
5. Remove the valve assembly (10-18) from the cap using a 4 mm
hex key.
NOte: The valve assembly is spring-loaded. Hold the assembly
in place while removing screw (18).
6. Separate the seal (16) and valve (17) from the valve piston (14).
7. Remove o-rings (11, 12, 13), collar (15), and seal (16).
8. Clean all parts with a dry, clean cloth.
9. Apply a light coat of grease to new o-rings (11,12, 13) and install.
Publicidad

Resumen de contenidos para RIDGID R350RHD
- Página 1 WarNiNG: To reduce the risk of injury, the user must read and understand the operator’s manual before using this product. If the operator’s manual which originally accompanied this tool is missing, visit us at www.ridgid.com or call 1-866-539-1710. WarNiNG: Disconnect the tool from the air supply before performing maintenance on this tool. Failure to do so could result in serious personal injury.
- Página 2 8. Reinstall the trigger pivot pin (45) and the retainer (44). SiziNG GuiDe Fig. 4 Fig. 5 ONe WOrlD teChNOlOGieS, iNC. P.O. Box 35, Hwy. 8, Pickens, SC 29671 1-866-539-1710 987000-824 8-10-09 (ReV:01) RIDGID is a registered trademark of RIDGID, Inc. and used under license. ®...
-
Página 3: Kit De Remise À Neuf
AVertissement : Pour réduire les risques de blessures, l’utilisateur doit lire et veiller à bien comprendre le manuel d’utilisation avant d’utiliser ce produit. Si le manuel d’utilisation qui accompagnait initialement cet outil est absent, visiter www.ridgid.com ou appeler 1-866-539-1710. AVertissement : Débrancher l’outil de l’arrivée d’air avant tout entretien de cet outil. -
Página 4: Entretien Du Cylindre
8. Réinstaller l’axe de pivot de gâchette (45) et la retenue (44). Guide de dimensiOnnement Fig. 4 Fig. 5 One WOrLd teCHnOLOGies, inC. P.O. Box 35, Hwy. 8, Pickens, SC 29671, États-Unis 1-866-539-1710 987000-824 8-10-09 (Rev:01) RIDGID est une marque déposée de RIDGID, Inc., utilisée sous licence. ®... -
Página 5: Juego De Mantenimiento General
Para reducir el riesgo de lesiones, el usuario debe leer y comprender el manual del operador antes de usar este producto. Si falta el manual del operador incluido originalmente con esta herramienta, visite nuestro sitio, www.ridgid.com, o llame al 1-866-539-1710. -
Página 6: Mantenimiento Del Cilindro
8. Vuelva a instalar el pasador de pivoteo del gatillo (45) y el retén (44). guía de tamañoS Fig. 4 Fig. 5 one World teCHnologieS, inC. P.O. Box 35, Hwy. 8, Pickens, SC 29671, USA 1-866-539-1710 987000-824 8-10-09 (REV:01) RIDGID es una marca comercial registrada de RIDGID, Inc., ® y es empleada mediante autorización.


