Publicidad
Idiomas disponibles
Idiomas disponibles
Enlaces rápidos
1111 W. 35th Street
Chicago, IL 60609 USA
(773) 869-1234
www.tripplite.com
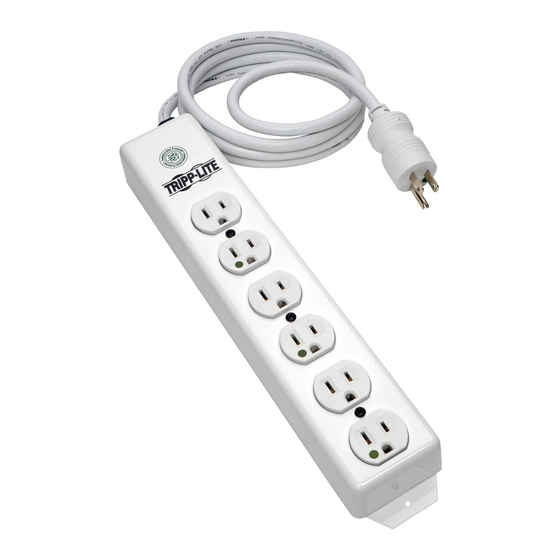
Your Power Strip is designed to provide convenient multiple AC outlets. NOTE: The Power Strip
DOES NOT provide your connected equipment with surge or line noise protection.
MOUNTING
Hardwire Power Strip models feature mounting holes in the back cover for permanent mounting
to a variety of flat surfaces.
1. Remove cover by unfastening screws located on each side of the unit.
2. Mark a straight, horizontal line where you want to mount the Power Strip. Place the
Power Strip along the line, ensuring that the line intersects the center of each mounting
hole.
3. Using screws and other appropriate hardware (user supplied), mount the Power Strip to
the surface.
ELECTRICAL CONNECTION
Connect your Power Strip to a circuit provided with adequate overload protection (either a circuit
breaker or a fuse).
1. Remove knockout on the Power Strip end located closest to desired electrical source.
2. Install 1/2 in (1.3 cm) BX connector.
3. Connect incoming ground wire
to closest ground lug inside the
Power Strip.
4. Connect incoming hot (black)
wire to the Power Strip's internal
hot (black) wire using supplied
wire nut.
5. Connect incoming neutral
(white) wire to the Power Strip's
internal neutral (white) wire using
supplied wire nut.
6. Reinstall Power Strip cover.
EQUIPMENT CONNECTION
Plug your equipment into the Power Strip's AC receptacles. DO NOT plug in equipment that
draws more than the amperage rating of your circuit, or you will either trip your circuit breaker or
blow your fuse. If this occurs, remove overload and reset circuit breaker or replace fuse.
POWER STRIPS
Français : p. 2; Español: p. 3
Copyright 2000 Tripp Lite. All rights reserved.
TRIPP LITE
(Hardwire Models)
Step #3
U L
C
US
Publicidad

Resumen de contenidos para Tripp-Lite PS7224-20HW
- Página 1 TRIPP LITE POWER STRIPS (Hardwire Models) 1111 W. 35th Street Chicago, IL 60609 USA (773) 869-1234 Français : p. 2; Español: p. 3 www.tripplite.com Your Power Strip is designed to provide convenient multiple AC outlets. NOTE: The Power Strip DOES NOT provide your connected equipment with surge or line noise protection. MOUNTING Hardwire Power Strip models feature mounting holes in the back cover for permanent mounting to a variety of flat surfaces.
- Página 2 BARRES DE COURANT (Modèles Pour Installation Fixe) 1111 W. 35th Street Chicago, IL 60609 USA (773) 869-1234 www.tripplite.com Votre Barre de Courant est conçue pour fournir du C.A. aux prises multiples de manière pratique. NOTE: La Barre de Courant NE PROTEGE PAS pas votre équipement connecté contre les surtensions ou les bruits de ligne.
- Página 3 BARRAS DE CONTACTOS POWER STRIP 1111 W. 35th Street (Modelos con toma directa al Chicago, IL 60609 USA (773) 869-1234 panel eléctrico) www.tripplite.com Las barras de contactos de la serie Power Strip han sido diseñadas para proveer mútiples receptáculos de CA. IMPORTANTE: Las barras de contactos Power Strip NO proveen protección contra picos o ruidos de línea.
- Página 4 LIFETIME LIMITED WARRANTY Seller warrants this product, if used in accordance with all applicable instructions, to be free from original defects in material and workmanship for its lifetime. If the product should prove defective in material or workmanship within that period, Seller will repair or replace the product, in its sole discretion.


