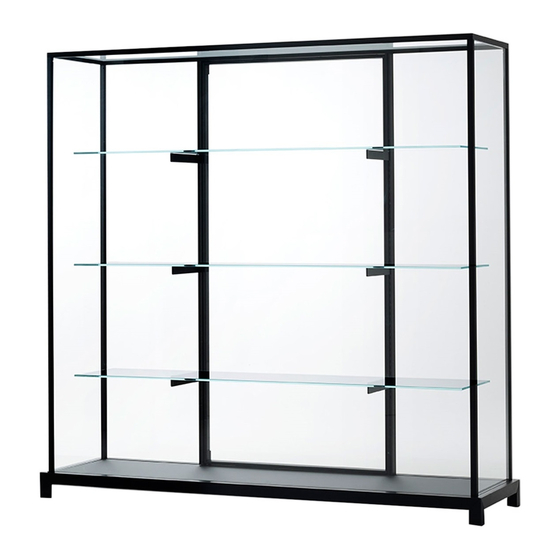
Resumen de contenidos para GLAS Wunderkammer
- Página 1 WUNDERKAMMER DESIGN PIERO LISSONI Senza luce | Istruzioni di montaggio ed utilizzo Without light | Assembling and use instruction...
- Página 2 WUNDERKAMMER DESIGN PIERO LISSONI WUN A WUN B Accessori / Tools...
- Página 3 step 1 step 2 Ripiani / Shelves...
- Página 4 step 2b Step 2B. Nelle vetrine Step 2B. Dans les vitrines Step 2B. In the display Step 2B. Falls die Vitrine Step 2B. En las vitrinas particolarmente larghe, al particulièrement larges, cases particularly wide, besonders breit ist, also particularmente anchas, centro della base si trova au centre de la base il y there is an adjustable pin...
- Página 5 step 3 Brugola n°4 / Hex key n°4 Portare il basamento vicino al luogo di installazione / Move the base near the installation point step 4 Avvitare / Tighten Alto / Top Brugola di bloccaggio / Locking hex key...
- Página 6 step 5 Durante il montaggio, bloccare i vetri al montante di alluminio con del nastro adesivo. / During the assembly, secure the glasses to the aluminum jamb with adhesive tape. step 6 Alto / Top Avvitare / Tighten Brugola di bloccaggio / Locking hex key...
- Página 7 Alto / Top Avvitare / Tighten Brugola di bloccaggio / Locking hex key...
- Página 8 Alto / Top Avvitare / Tighten Brugola di bloccaggio / Locking hex key...
- Página 9 step 7 Alto / Top Vite testa cilindrica M5 / Cylindrical socket head screw M5...
- Página 10 step 8 Brugola n° 3 / Hex key n°3 Vite M5 / Screw M5 step 9...
- Página 11 step 10 Avvitare / Tighten Stringere a rotazione poco per volta le 4 bussole / Tighten a little at a time and in rotation the 4 bushes step 11 Vite M4 / Screw M4 Brugola n° 2.5 / Hex key n°2.5...
- Página 12 step 12 step 13...
- Página 13 step 14 Regolare / Adjust Avvitare / Tighten Brugola n° 3 / Brugola n° 4 / Hex key n°3 Hex key n°4...
- Página 14 step 15 Allentare / Loosen Vite di regolazione Vite [B] / Screw [B] [B] / Adjustment screw [B] Vite di serraggio [A] / Locking screw [A] Vite [A] / Screw [A] Avvitare / Tighten Regolare / Adjust ± 3mm Vite [B] / Screw [B] Vite [B] / Screw [B] Vite [A] / Vite [A] /...
- Página 15 step 16...
- Página 16 step 17...
- Página 17 step 18 Togliere i paraspigoli dai ripiani / Remove the corner bumpers on the edges of the shelves...
- Página 18 ITALIANO fix the doors striker jamb. step 1. Verificare di aver ricevuto 9 colli per la versione B e 7 colli per la step 8. Place the cross beam on the two jambs and fix with flaring screws versione A. Estrarre il top e la base dalla cassa. step 2.
- Página 19 2. Nähen Sie die Basis an dem Installationspunkt. Legen Sie das solo la parte para el montaje de la puerta. hinter lackierte Glas auf die Basis und nachher legen Sie alle Fächer step 7. Insertar en los cristales los dos perfiles laterales del montante de (die Menge ändert sich je nach Version) auf der Basis mit einigen...
- Página 20 Sede, direzione commerciale e showroom: via Cavour, 29 - 20846 Macherio (MB) - I Tel: +39 0392323202 ra Fax: +39 0392323212 E-mail: glas@glasitalia.com - www.glasitalia.com...
