Tabla de contenido
Publicidad
Enlaces rápidos
Publicidad
Tabla de contenido

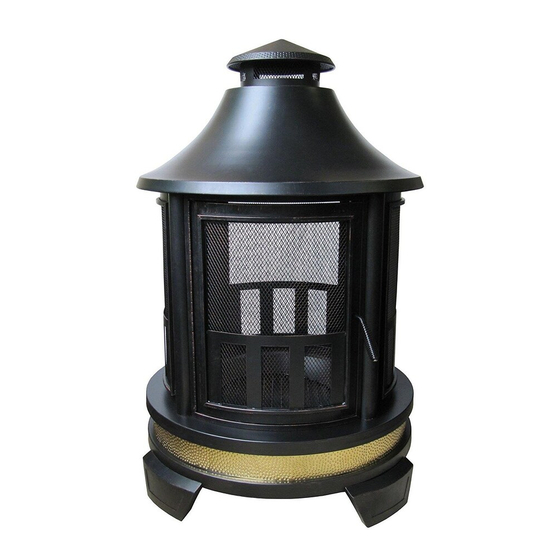
Resumen de contenidos para LANDMANN hartford 25805
- Página 1 Assembly and Use Instructions for Model: 25805 25806 Instrucciones de armado y uso para el modelo 25805 25806 VER. 2, 4/14/2016 PLEASE READ ALL RULES FOR SAFE OPERATION AND HELPFUL HINTS BEFORE USING. POR FAVOR LEA TODAS LAS REGLAS DE SEGURIDAD OPERACIONAL Y CONSEJOS ÚTILES ANTES DE USAR.
- Página 2 PAGE 2 CARBON MONOXIDE HAZARD! BURNING WOOD OR CHARCOAL PRODUCES CARBON READ FIRST! RULES FOR THE MONOXIDE, WHICH HAS NO ODOR AND CAN CAUSE DEATH IF BURNED IN ENCLOSED AREAS. NEVER HARTFORD OUTDOOR FIREPLACE BURN WOOD OR CHARCOAL INSIDE HOMES, VEHICLES, SAFE OPERATION.
-
Página 3: Parts List
PAGE 3 PARTS LIST LISTA DE PARTES When unpacking the fireplace from the carton, make sure you find and become familiar with all the parts listed below. Use caution as some parts may have sharp edges. Al desembalar el brasero de la caja, asegúrese de buscar y familiarizarse con todas las partes mencionadas a continuación. -
Página 4: Instrucciones De Ensamblaje Hartford
PAGE 4 HARTFORD ASSEMBLY INSTRUCTIONS INSTRUCCIONES DE ENSAMBLAJE HARTFORD A Phillips or plain screwdriver and an adjustable wrench are needed for assembly. Se necesita un destornillador Phillips o plano y una llave ajustable para el armado. Assembly time: 20 minutes El tiempo de la asamblea: 20 minutos STEP PASO... - Página 5 PAGE 5 HARTFORD ASSEMBLY INSTRUCTIONS INSTRUCCIONES DE ENSAMBLAJE HARTFORD STEP 4: ASSEMBLE THE DOOR SCREEN TO STEP SIDE SCREENS PASO PASO 4: ENSAMBLE LAS PANTALLA DE PUERTA DE LA PANTALLA LATERAL Align the door screen [ E ] tabs with the threaded holes on the side panels [ C ] and assemble using (4) 15MM bolts [ X ].
-
Página 6: Instrucciones De Ensamblaje
PAGE 6 HARTFORD ASSEMBLY INSTRUCTIONS INSTRUCCIONES DE ENSAMBLAJE HARTFORD THREADED STUD ESPÁRRAGO ROSCADO STEP PASO STEP 6: ASSEMBLE THE TOP TO THE SCREENS PASO 6: ENSAMBLE LA PARTE SUPERIOR PARA LAS PANTALLAS Align and place the top [ B ] onto the (4) threaded studs. - Página 7 PAGE 7 HARTFORD ASSEMBLY INSTRUCTIONS INSTRUCCIONES DE ENSAMBLAJE HARTFORD STEP 8: PLACE THE FIREBOWL PASO 8: COLOQUE EL RECIPIENTE DE FUEGO Place the firebowl [ J ] inside the fireplace and align with the cavity on the base [ A ]. Always make sure the firebowl is flush with the surface of the base.
-
Página 8: Helpful Hints
-OR- Fairburn, GA 30213 Call customer service toll free at: 1-800-321-3473 www.landmann-usa.com Por favor, visite nuestro sitio web en: www.landmann-usa.com Made in China Hecho en China Llame a la lÌnea gratuita de servicio al cliente en: 1-800-321-3473 © 2016 Landmann® USA...


