Tabla de contenido
Publicidad
Idiomas disponibles
Idiomas disponibles
Enlaces rápidos
Publicidad
Tabla de contenido

Manuales relacionados para Kohler K-T11836


Resumen de contenidos para Kohler K-T11836
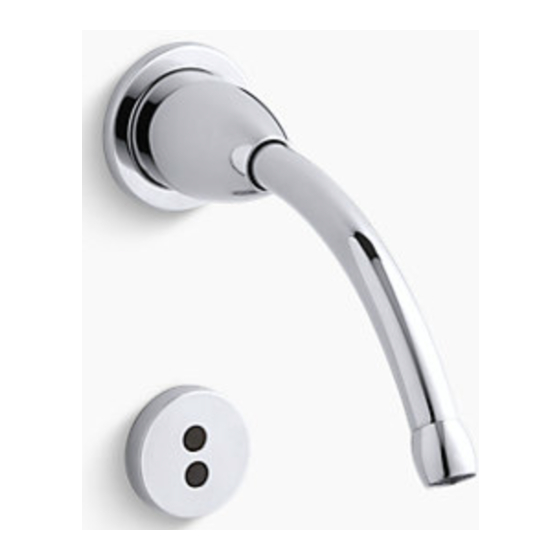
- Página 1 Installation Guide Wall-Mount Lavatory Faucet K-T11836 M product numbers are for Mexico (i.e. K-12345M) Los números de productos seguidos de M corresponden a México (Ej. K-12345M) Français, page “Français-1” Español, página “Español-1” 1080065-2-A...
-
Página 2: Tools And Materials
Before You Begin Observe all local plumbing and building codes. Shut off the main water supply. Kohler Co. reserves the right to make revisions in the design of faucets without notice, as specified in the Price Book. 1080065-2-A Kohler Co. - Página 3 Secure the flange to the wall with the screws (wrench supplied) that were removed from the mudguard. Snap the plastic ring onto the spout in between the escutcheon and the wall. Carefully slide the bonnet onto the plastic ring. Kohler Co. 1080065-2-A...
- Página 4 Press the escutcheon and bonnet tight against the wall. Install the Sensor Cover Turn the setscrew (already installed in the sensor) counterclockwise until it is tight. Do not overtighten. Position the sensor cover and secure with the setscrew. Do not overtighten. 1080065-2-A Kohler Co.
-
Página 5: Outils Et Matériels
Avant de commencer Respecter tous les codes de plomberie et de bâtiment locaux. Couper l’alimentation d’eau principale. Kohler Co. se réserve le droit d’apporter toutes modifications au design des robinets et ceci sans préavis, comme spécifié dans le catalogue des prix. - Página 6 Sécuriser la bride au mur avec les vis (clé fournie) qui ont été retirées du garde-boue. Engager l’anneau en plastique sur le bec entre l’applique et le mur. Glisser avec précaution le chapeau sur l’anneau en plastique. 1080065-2-A Français-2 Kohler Co.
- Página 7 Installer le couvercle du capteur Tourner la vis de retenue (déjà installée dans le capteur) vers la gauche jusqu’au serrage. Ne pas trop serrer. Positionner le couvercle du capteur et sécuriser avec la vis de retenue. Ne pas trop serrer. Kohler Co. Français-3 1080065-2-A...
-
Página 8: Herramientas Y Materiales
Cumpla con todos los códigos locales de plomería y construcción. Cierre el suministro principal de agua. Kohler Co. se reserva el derecho de modificar el diseño de la grifería sin previo aviso, tal como se especifica en la lista de precios. - Página 9 Asegure la brida a la pared con los tornillos (llave provista) que retiró con el protector de yeso. Encaje el anillo de plástico en el surtidor entre el chapetón y la pared. Deslice con cuidado el bonete en el anillo de plástico. Kohler Co. Español-2 1080065-2-A...
- Página 10 Gire el tornillo de fijación (ya instalado en el sensor) hacia la izquierda hasta que quede apretado. No apriete demasiado. Vuelva a colocar la tapa del sensor y asegure con el tornillo de fijación. No apriete demasiado. 1080065-2-A Español-3 Kohler Co.
- Página 11 1080065-2-...
- Página 12 USA: 1-800-4-KOHLER Canada: 1-800-964-5590 México: 001-877-680-1310 kohler.com ©2008 Kohler Co. 1080065-2-A...