Publicidad
Idiomas disponibles
Idiomas disponibles
Enlaces rápidos
Installation Instructions for
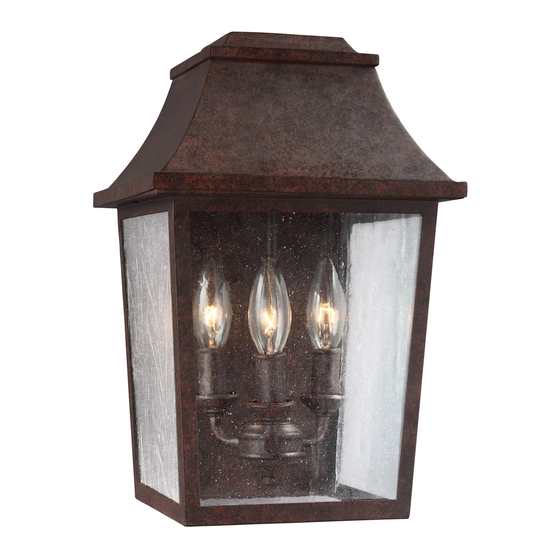
Estes Outdoor Lantern
G
ENERAL RODUCT NFORMATION
P
These fixtures are intended to be installed utilizing
junction boxes.
This product is safety listed for wet locations.
This instruction shows a typical installation.
1A
JUNCTION BOX
WHITE WIRE
NEUTRAL WIRE
7
1
1
8
HOT WIRE
BLACK WIRE
Secure the mounting plate to the junction box.
1
Install the candle follower by placing it on top of the candle tube. Repeat for remaining candle followers.
2
Screw the lamp(s) into the socket(s). Refer to the label on the lamp socket for Max Wattage information.
3
Install the glass panels by sliding them into the fixture and secure them using the brackets and cap nuts.
4
Place the cover onto the fixture and secure it using the cover screws.
5
Connect the fixture to a suitable ground in accordance with local electrical codes.
6
Connect the white fixture wire to the neutral power line wire with a wire nut.
7
Connect the black fixture wire to the hot power line wire with a wire nut.
8
Neatly place the wires and wire nut connections into the junction box, mount the fixture base onto the mounting plate,
9
and secure it with the fixtures screws.
For wet locations, caulk around the base of the fixture with waterproof construction sealant.
10
Wall
I
:
NEC
compliant
COVER
FIXTURE
SCREW
MOUNTING
PLATE
9
9
OL11900, OL11901, OL11902, OL11903
CAUTION RISK OF FIRE
This product must be installed in accordance with the
applicable installation code by a person familiar with the
construction and operation of the product and the hazards
involved.
Use minimum 90°c supply conductors.
5
4
4
3
5
2
CANDLE
TUBE
1
OL11900_OL11901_OL11902_OL11903
-
10
CAP NUT
BRACKET
LAMP
CANDLE FOLLOWER
GLASS PANEL
1.0
Publicidad

Resumen de contenidos para Feiss OL11900
- Página 1 Installation Instructions for OL11900_OL11901_OL11902_OL11903 OL11900, OL11901, OL11902, OL11903 Estes Outdoor Lantern Wall ENERAL RODUCT NFORMATION CAUTION RISK OF FIRE These fixtures are intended to be installed utilizing compliant This product must be installed in accordance with the junction boxes. applicable installation code by a person familiar with the construction and operation of the product and the hazards This product is safety listed for wet locations.
- Página 2 MISE EN GARDE RISQUE INCENDIE Ce produit doit être installé selon le code d’installation pertinent , par une personne qui connaÎt bien le produit et son fonctionnement ainsi que les risques inhérents Les fils d’alimentation doivent convenir pour 90°c. COUVERCLE ECROU CAPUCHON VIS DE LUMINAIRE...
- Página 3 ADVERTENCIA RIESGO DE INCENDIO Este productor debe ser instalado segun el codigo de instalacion aplicable por una persona que conozca la constussion y el funcionamiento del producto y los riesgos que supone. Conductores de alimentacion 90°c Min. CUBIERTA TUERCA CAPUCHON TORNILLO DE LA LÁMPARA SOPORTE...
- Página 4 SAVE THESE INSTRUCTIONS! 7400 Linder Ave, Skokie, 60077 800.969.3347 www.Feiss.com © 2016 Feiss.All rights reserved.The "Feiss" graphic is a registered trademark of Feiss. Feiss reserves the right to change specifications for product improvements without notification. A Generation Brands Company...
