Publicidad
Tabla de contenido
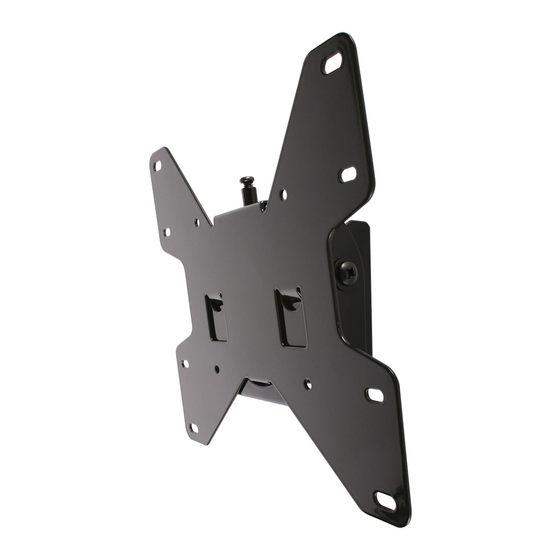
MPT-S22V
Tilt Wall Mount
For 13"-37" TV's / Weight Capacity: 80 lb
wwww.mustangav.com
info@mustangav.com
Instruction Manual
Manual de Instrucciones
Manuel D'instructions
WA RN I NG !
!
!
WARNING! SEVERE PERSONAL INJURY AND PROPERTY DAMAGE CAN RESULT FROM
IMPROPER INSTALLATION OR ASSEMBLY. READ THE FOLLOWING WARNINGS BEFORE
BEGINNING.
Do not use this product for any purpose not explicitly specified by Mustang AV. Improper instal-
lation may cause property damage or personal injury. If you do not understand these directions,
or have doubts about the safety of the installation, contact Mustang AV Customer Service or
call a qualified contractor. Mustang AV is not liable for damage or injury caused by incorrect
mounting, assembly, or use.
The hardware provided with this product, is exclusively intended for installation on walls made
of solid wood, concrete, concrete block or solid wood columns with a maximum of 16 mm
of drywall. For walls made of other materials, for example hollow bricks, please consult your
installer and/or specialist supplier.
DO NOT EXCEED THE MAXIMUM WEIGHT CAPACITY FOR THIS PRODUCT
1
MPT-S22V-0001
Publicidad
Tabla de contenido

Manuales relacionados para Mustang MPT-S22V


Resumen de contenidos para Mustang MPT-S22V
- Página 1 IMPROPER INSTALLATION OR ASSEMBLY. READ THE FOLLOWING WARNINGS BEFORE BEGINNING. Do not use this product for any purpose not explicitly specified by Mustang AV. Improper instal- lation may cause property damage or personal injury. If you do not understand these directions, or have doubts about the safety of the installation, contact Mustang AV Customer Service or call a qualified contractor.
- Página 2 Mustang AV o llame a un operario cualificado. Mustang AV no es respon- sable de daños o lesiones causados por el montaje, ensamblaje o uso incorrectos.
-
Página 3: Tools Required
3/8”. Hammer if necessary. Madera poco 4mm - 5/32”. Mampostería poco 10mm - 3/8”. 3/8” llave. Martillar si es necesario. Peu de bois de 4 mm - 5/32”. peu maçonnerie 10mm - 3/8”. 3/8” Clé à douille. Marteau si nécessaire. MPT-S22V-0001... -
Página 4: Package Contents
A (3) B (3) M4 x 12mm M5 x 12mm M6 x 12mm I (4) J (4) K (4) M4 x 30mm M5 x 30mm M6 x 30mm M6 x 20mm M (4) N (4) O (4) P (4) MPT-S22V-0001... - Página 5 PA CK AGE C ON T E N TS PA CK AGE C ON T E N TS Contenido del paquete Contenido del paquete Contenu de l’emballage Contenu de l’emballage M4 / M5 / M6 M6 Washer C (4) D (4) G (1) H (1) MPT-S22V-0001...
-
Página 6: Wood S Tud In Sta Llation
WOOD S TUD IN STA LLATION Using level draw a vertical line at stud center. Uso de nivel trace una línea vertical en el centro de postes de madera. Utiliser le niveau tracez une ligne verticale au centre du montant. MPT-S22V-0001... - Página 7 Use wall plate (G) to mark hole location on center line. Use la placa de pared (G) para marcar la ubicación del agujero en la línea central. Utilisez la plaque murale (G) pour marquer l’emplacement trou dans l’axe. 1a- 3 MPT-S22V-0001...
- Página 8 El uso de 4mm - broca 5/32” hacer un 65mm - 2.5” agujero en materia de marcas. Utilisez 4mm - foret 5/32in faire un 65mm - 2.5” trou de sur les marque. 1a-4 drill diameter drill depth 65mm / 2.5” 5/32” MPT-S22V-0001...
- Página 9 CIN D E R BL O C K & C ON CRET E I NSTA LL AT IO N Use level to make a line on wall. Use un nivel para hacer una línea en la pared. Utilisez le niveau pour faire une ligne sur le mur. 1 b-1 MPT-S22V-0001...
- Página 10 Use wall plate (G) to mark hole location on line. Use la placa de pared (G) para marcar la ubicación del agujero en la línea. Utilisez la plaque murale (G) pour marquer l’emplacement trou sur la ligne. 1 b- 2 MPT-S22V-0001...
- Página 11 Insert (B) into both holes. Use a hammer to tap in if necessary. Insertar (B) en ambos orificios. Utilice un martillo para golpear en caso de necesidad. Insérer (B) dans les deux trous. Utilisez un marteau pour enfoncer dans le cas échéant. 1 b -4 MPT-S22V-0001...
- Página 12 INSTALL WA LL PLATE Fasten wall plate to wall using screw (A). Hand tools only. Fije la placa de pared a pared con el tornillo (A). Mano tools solamente. Fixer la plaque murale au mur avec la vis (A). Hand tools seulement. MPT-S22V-0001...
- Página 13 Aligner la plaque de montage (H) dans les trous à l’arrière du téléviseur. Fixer la plaque de montage avec les vis fournies (I-P) avec un tournevis. Utiliser des cales (C) entre le Mont et la télévision si nécessaire. Si nécessaire, utilisez des rondelles (non inclus) pour éliminer mou. 3- 1 I - P MPT-S22V-0001...
- Página 14 Use spacers (C) between mount and TV if needed. Use los espaciadores (C) entre el monte y la televisión, si es necesario. Utiliser des cales (C) entre le Mont et la télévision si nécessaire. 3- 2 M - P MPT-S22V-0001...
- Página 15 Apriete el tornillo de sujeción para asegurar. Alignez les languettes sur la plaque de montage avec les trous dans la plaque murale, puis glisser en place. Serrer vis de fixation pour le fixer. 4- 2 MPT-S22V-0001...
-
Página 16: Garantía
Mustang AV will not be liable for any damages arising out of the use of, or inability to use, Mustang AV products. Mustang AV bears no responsibility for incidental or consequential dam- ages. - Página 17 Mustang AV . Mustang AV réfute également toute responsabilité pour quelque dommage accessoire ou indirect. Ceci s’applique notam- ment aux frais de main d’oeuvre pour la réparation de produits Mustang AV par une personne ne travaillant pas pour Mustang AV .