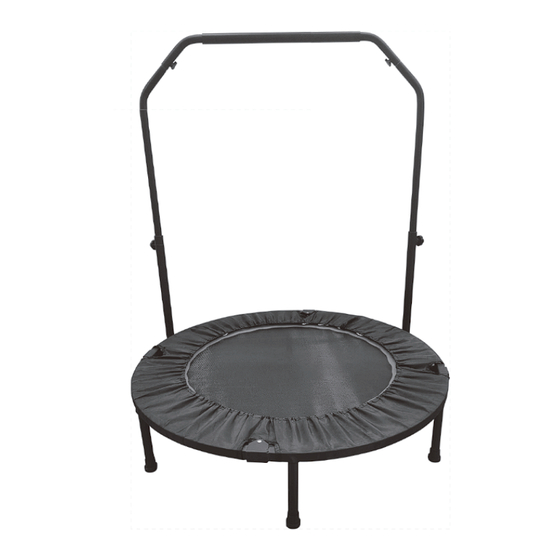
Resumen de contenidos para HOMCOM A71-034V00
- Página 1 IN230300102V02_UK_ES A71-034V00 Yoga Trampoline *The maximum user weight is 100 Kg *Please check the legs of the trampoline are firmly installed. IMPORTANT, RETAIN FOR FUTURE REFERENCE: READ CAREFULLY UESR’S MANUAL...
- Página 2 Catalog Warning: This product is not suitable for children under 6 years old. To prevent accidents, please use it under the supervision of adults at all times! Please read the manual carefully before installing the product and keep the manual properly.
- Página 5 Product analysis diagram Armrest cross Right armrest bracket Trampoline Pentagonal screw Bracket link Triangle screw Safety bolt Leg tube...
- Página 6 Part list 1.Trampoline x1 2.Protective case x1 3.Armrest bracket x2 4.Bracket link x2 5.Armrest cross x1 6.Leg tube x6 Mute foot plug x6 Pentagonal screw x2 Long pentagonal screw x2 Safety bolt x2...
- Página 7 Installation steps Fig. 1 Fig. 2 Fig. 3 Fig. 4 Fig. 5 Step 1: Place the trampoline on the floor in its folded position (Fig. 1), pull the left and right sides, so the trampoline is in a semi circle. Ensure the folding clamp stick is close to the ground (Fig.
- Página 8 Fig. 6 Fig. 7 Fig. 8 Fig. 9 Step 5: Pull out the silent foot plug or suction cup, put the support connecting rod on the two feet respectively (Fig. 6), then lock with triangle screws. When screwing the foot tube, hold it and not the support rod. Step 6: After connecting the handrail bracket with the cross bar, tighten with triangle screws (Fig.
- Página 9 IN230300102V02_UK_ES A71-034V00 Trampolín de yoga El peso máximo del usuario no puede exceder 100 Kg. *Comprueba que las patas del trampolín estén firmemente instaladas. IMPORTANTE - CONSERVE ESTA INFORMACIÓN PARA SU CONSULTA POSTERIOR: LEER DET ALLA DAMENTE MANUAL DE INSTRUCCIONES...
- Página 10 catálogo Advertencia: Este producto no es adecuado para niños menores de 6 años. Para prevenir accidentes, por favor úsalo bajo la supervisión de adultos en todo momento. Por favor, lee el manual cuidadosamente antes de instalar el producto y mantén el manual adecuadamente.
- Página 13 Diagrama de análisis de producto Armrest corss Right armrest bracket Trampoline Pentagonal screw Bracket link Triangle screw Safety bolt Leg tube...
- Página 14 Lista de piezas 1.Trampolín x1 2.Funda protectora x1 3.Soporte de reposabrazos x2 4.Bracket link x2 5.Barra transversal x1 6.Tubo de la pata x6 Tapón del pie silencioso x6 Tornillo pentagonal x2 Tornillo largo pentagonal x2 Perno de seguridad x2...
- Página 15 Pasos de instalación Fig. 1 Fig. 2 Fig. 3 Fig. 4 Fig. 5 Paso 1: Coloca el trampolín en el suelo en su posición plegada (Fig. 1), tira de los lados izquierdo y derecho para que el trampolín quede en forma de semicírculo. Asegúrate de que el dispositivo de sujeción plegable esté...
- Página 16 Fig. 6 Fig. 7 Fig. 8 Fig. 9 Paso 5: Saca el tapón del pie silencioso o ventosa, coloca la barra de conexión del soporte en los dos pies respectivamente (Fig. 6), luego asegúralos con tornillos triangu- lares. Al enroscar el tubo del pie, sujétalo y no la barra de soporte. Paso 6: Después de conectar el soporte del reposabrazos con la barra transversal, aprieta con tornillos triangulares (Fig.


