Publicidad
Enlaces rápidos
INSTALLATION INSTRUCTIONS
GUIDE D'INSTALLATION
GUÍA DE INSTALACIÓN
Read all instructions carefully before proceeding.
Lire attentivement toutes les instructions avant de commencer
l'installation.
Leer detenidamente todas las instrucciones antes de comenzar
la instalación.
IMPORTANT
• Record the serial number
IMPORTANT
• Noter le numéro de série
IMPORTANTE
• Registre el número de serie
FOR TUB SHIELD INSTALLATION
POUR INSTALLATION DES PANNEAU DE BAIGNOIRE
PARA LA INSTALACIÓN DE PANELES DE BAÑERA
MODEL • MODÈLE • MODELO
137600
• 138600
SAVE THIS GUIDE FOR FUTURE REFERENCE.
CONSERVER POUR UN USAGE ULTÉRIEUR.
CONSERVE ESTE MANUAL COMO REFERENCIA.
Serial number • Numéro de série • Número de Serie
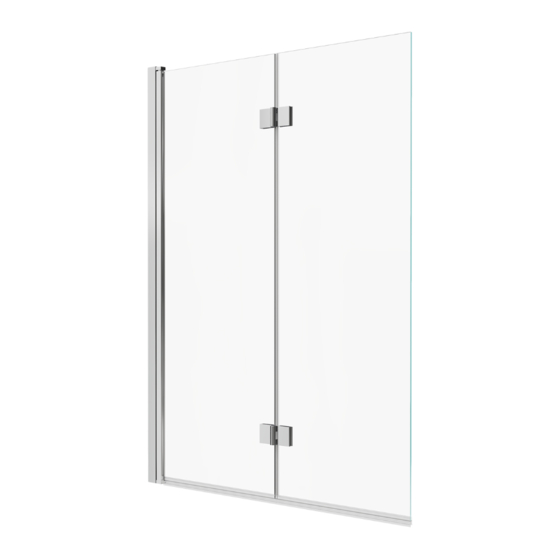
Door
Return panel
Maintenance guide p.15
Guide d'entretien p.15
Guía de mantenimiento p.15
Publicidad

Manuales relacionados para MAAX 137600


Resumen de contenidos para MAAX 137600
- Página 1 GUIDE D’INSTALLATION POUR INSTALLATION DES PANNEAU DE BAIGNOIRE PARA LA INSTALACIÓN DE PANELES DE BAÑERA GUÍA DE INSTALACIÓN MODEL • MODÈLE • MODELO 137600 • 138600 Maintenance guide p.15 Guide d'entretien p.15 Guía de mantenimiento p.15 Read all instructions carefully before proceeding.
- Página 2 PARTS PIÈCES PIEZAS AND COMPONENTS ET COMPOSANTES Y COMPONENTES...
- Página 3 PARTS PIÈCES PIEZAS AND COMPONENTS ET COMPOSANTES Y COMPONENTES 501mm 504mm...
- Página 4 PARTS PIÈCES PIEZAS AND COMPONENTS ET COMPOSANTES Y COMPONENTES XXX 084=Chrome, Cromo 340=Matte black, Noir mat, Negro mate DOOR | PORTE | PUERTA Code Part Nom de la pièce Pieza Código Cant. Wall jamb Montant mural Montante mural 10042714-XXX-001 Door gasket Joint d'étanchéité...
-
Página 5: Tools Outils
TOOLS OUTILS HERRAMIENTAS REQUIRED REQUIS NECESARIAS Electric drill Level Pencil Perceuse électrique Niveau Crayon Taladro eléctrico Nivel Lápiz ¼'' - " 15/64 ceramic 3.2mm drill bit drill bits Mèche de 3.2mm Clear silicone sealant Mèches à céramique Broca de 3.2mm ¼... - Página 6 Umbral Threshold Seuil 42" Umbral 42" Code Description Wall Adjustment 137600 Edge Access Tub Shield 42" X 56" 3/8" All dimensions are approximate. Structure measurements Code Description Wall Adjustment must be verified against the unit to ensure proper fit. 138600 Axial Access Tub Shield 42"...
- Página 7 BEFORE AVANT ANTES YOU BEGIN DE COMMENCER DE COMENZAR Double the studs (2x4) where the wall jambs will be installed. Doubler les montants de bois (2x4) là où les montants muraux seront installés. Duplique los montantes (2x4) en los lugares en los que se instalarán las jambas murales. Doubled stud Montant double Montante doble...
- Página 8 Parts required: Pieces requis: Partes requeridas: WALL JAMB INSTALLATION INSTALLATION DU MONTANT MURAL INSTALACIÓN DEL MONTANTE MURAL A. Place the wall jamb on the deck 25mm (1") from the outside edge and against the shower wall and verify that is leveled. Mark Install the panel on the same the position of the wall jamb fastening holes on the shower wall.
- Página 9 Parts required: Pieces requis: Partes requeridas: FIRST PANEL INSTALLATION INSTALLATION DU PREMIER PANNEAU INSTALACIÓN DEL PRIMER PANEL A. Insert the panel in the wall jamb. A. Insérer le panneau dans le montant mural. A. Insertar el panel en el montante mural.
- Página 10 Parts required: Pieces requis: Partes requeridas: HINGES INSTALLATION INSTALLATION DES CHARNIÈRES INSTALACIÓN DE LAS BISAGRAS A. Install the hinges to the panel with the allen key as shown. A. Installer les charnières sur le panneau à l'aide de la clé allen. A.
- Página 11 Parts required: Pieces requis: Partes requeridas: SECOND PANEL INSTALLATION INSTALLATION DU DEUXIÈME PANNEAU INSTALACIÓN DEL SEGUNDO PANEL Two persons are recommended for A. Lift the door and place it aligned against the fixed panel.Install the this step. hinges to the door panel with the allen key as shown. Cette etape par deux personnes est recommandé.
- Página 12 Parts required: Pieces requis: Partes requeridas: 501mm 504mm GASKETS INSTALLATION INSTALLATION DES JOINTS D'ÉTANCHÉITÉ INSTALACIÓN DE LAS JUNTAS DE ESTANQUEIDAD A. Install the gasket on the edge of the second panel. A. Installer le joint d'étanchéité sur le bord du deuxième panneau.
- Página 13 Parts required: Pieces requis: Partes requeridas: FIXING WALL JAMB TO PANEL Verify the panels are completely leveled FIXATION DU MONTANT MURAL AU PANNEAU before drilling and fixing to the wall jamb. FIJACIÓN DEL MONTANTE MURAL AL PANEL Vérifier que les panneaux sont complète- ment nivelés avant de percer et de les fixer au montant mural.
- Página 14 Parts required: Pieces requis: Partes requeridas: FINISHING DETAILS DÉTAILS DE FINITION DETALLES DE ACABADO A. Install the wall jamb cap. A. Installer le capuchon du montant mural. A. Instalar la tapa del montante mural. B. From outside the shower apply a bead of silicone along the wall jamb and the edge of the panel on the bottom.
-
Página 15: Maintenance | Entretien | Mantenimiento
MAINTENANCE | ENTRETIEN | MANTENIMIENTO Right after installation Check me! Juste après l'installation Cochez-moi! Justo después de la instalación Marcarme! 1. Open and fold the tub panels. Verify it works seamlessly. Also verify that is leveled If not, loose the screws and level the panels. Drill new holes and secure again with the screws. Ouvrir et plier les panneaux de baignoire et vérifier qu'ils marchent parfaitement. -
Página 16: Garantie Limitée - Canada
LIMITED WARRANTY — UNITED STATES MAAX Bath Inc. offers express limited warranty on each of its products. This warranty extends only to the original owner/end-user for personal household use. For commercial uses, additional limitations apply. For accessing product Limited warranty please visit: www.maax.com/us-warranty...