Publicidad
Enlaces rápidos
INSTALLATION INSTRUCTIONS
BEFORE BEGINNING | AVANT DE COMMENCER | ANTES DE EMPEZAR
•
Please read all instructions carefully.
•
Familiarize yourself with all parts (see
"PARTS") and check quantities.
•
Follow all safety precautions (see
"SAFETY PRECAUTIONS").
© 2020 ClosetMaid LLC | Ocala, FL 34471 | 1-800-874-0008 | www.closetmaid.com
01-14389-00 8/2020
O O r r g g a a n n i i s s a a t t e e u u r r S S u u p p e e r r p p o o s s a a b b l l e e à à 3 3 É É t t a a g g è è r r e e s s
O O r r g g a a n n i i z z a a d d o o r r A A p p i i l l a a b b l l e e d d e e 3 3 R R e e p p i i s s a a s s
DIRECTIVES D'INSTALLATION
•
Prière de lire avec soin toutes les directives
fournies.
•
Se familiariser avec les pièces nécessaires à
l'installation (voir « PIÈCES ») et vérifier les
quantités présentes.
•
Respecter toutes les consignes de sécurité
(voir « CONSIGNES DE SÉCURITÉ »).
®
S S t t a a c c k k a a b b l l e e 3 3 S S h h e e l l f f O O r r g g a a n n i i z z e e r r
INSTRUCCIONES DE INSTALACIÓN
•
Lea todas las instrucciones cuidadosamente.
•
Familiarícese con todas las piezas (VEA
"PIEZAS") y verifique las cantidades.
•
Siga todas las precauciones de seguridad
(vea "PRECAUCIONES DE SEGURIDAD").
What you will need:
Vous aurez besoin de :
Va a necesitar:
Publicidad

Manuales relacionados para ClosetMaid 130500


Resumen de contenidos para ClosetMaid 130500
- Página 1 • Respecter toutes les consignes de sécurité (voir « CONSIGNES DE SÉCURITÉ »). What you will need: Vous aurez besoin de : Va a necesitar: ® © 2020 ClosetMaid LLC | Ocala, FL 34471 | 1-800-874-0008 | www.closetmaid.com 01-14389-00 8/2020...
- Página 2 SAFETY PRECAUTIONS | CONSIGNES DE SÉCURITÉ | PRECAUCIONES DE SEGURIDAD MISE EN GARDE WARNING ADVERTENCIA • This unit contains small parts which • Ce module contient de petites pièces avec • Este producto contiene piezas pequeñas que could be a choking hazard for small lesquelles de petits enfants peuvent pueden causar peligro de asfixia a niños children.
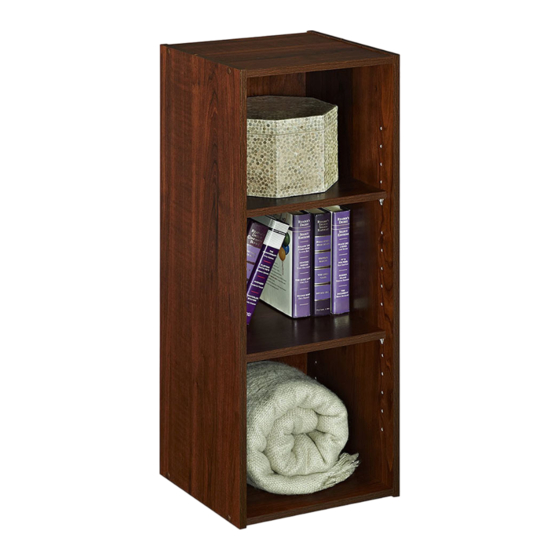
- Página 3 PARTS | PIÈCES | PIEZAS left side panel (1) panneau latéral de gauche (1) panel lateral izquierdo (1) right side panel (1) panneau latéral de droite (1) panel lateral derecho (1) fixed shelf (2) étagère fixe (2) repsa fija (2) adjustable shelf (2) étagère réglable (2) repisa ajustable (2)
- Página 4 HELPFUL HINTS | CONSEILS UTILES | CONSEJOS PRÁCTICOS PART IDENTIFICATION IDENTIFICATION DES PIÈCES IDENTIFICACIÓN DE LAS PIEZAS PART IDENTIFICATION SAMPLE EXEMPLE D’IDENTIFICATION DES PIÈCES MUESTRA DE IDENTIFICACIÓN DE LAS PIEZAS Use “PART IDENTIFICATION” picture (in • Note overall shape of part. Count and locate step) and exploded view (on previous page) Look for part letter “stamping”...
- Página 5 STEP 1 Attach fixed shelves to side panels. ÉTAPE 1 Installer les étagères fixes aux panneaux latéraux. PASO 1 Sujete las repisas fijas a los paneles laterales. UNFINISHED EDGES OF UNIT UP! BORDURES BRUTES DU MODULE VERS LE HAUT! ¡LOS BORDES SIN ACABAR DE LA UNIDAD ORIENTA- DOS HACIA ARRIBA! FIXED SHELF ÉTAGÈRE FIXE...
- Página 6 STEP 2 Attach back panel to back (unfinished) side of unit. ÉTAPE 2 Fixer le panneau arrière au côté arrière (brut) du module. PASO 2 Fije el panel trasero al lado trasero (sin acabar) de la unidad. FOR STACKING UNITS ONLY—DO THIS FIRST! FOR SINGLE &...
- Página 7 STEP 3 Insert adjustable shelves. Install hole plugs or dowels. ÉTAPE 3 Insérer les étagères réglables. Installer les goujons ou bouchons. Inserte las repisas ajustables. Instale los tapones de agujero PASO 3 o espigas. O O R R O O U U ADJUSTABLE SHELF ÉTAGÈRE RÉGLABLE REPISA AJUSTABLE...
- Página 8 STEP 4 Attach unit to wall (at wall stud location). ÉTAPE 4 Fixer le module au mur (vis-à-vis les montants de charpente). Fije la unidad a la pared (en la ubicación del montante de pared). PASO 4 WARNING All units MUST be fastened to the wall. When stacking units, the unit on the bottom must be attached to the wall first before setting another FOR SINGLE UNIT unit on top.