Publicidad
Enlaces rápidos
English
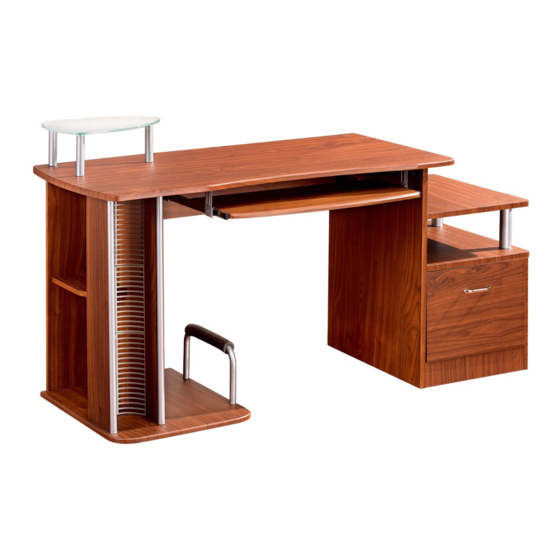
MULTI-FUNCTIONAL COMPUTER TABLE
MODEL RTA - 2202
Thanks for purchasing one of our prod cts, please read carefully the assembly instructions
before the installation
L05 090505
ASSEMBLY INSTRUCTION
IMPORTANT:
solution of a smooth soap and water, then cleared
with a dry towel. Do not use solvents over surfaces
or structural tubes.
(Attention: Do not tighten the screws before all screws are in place).
Surfaces must be cleaned with a
u
MODEL RTA-2202
Publicidad

Resumen de contenidos para RTA 2202
- Página 1 Do not use solvents over surfaces or structural tubes. MODEL RTA - 2202 Thanks for purchasing one of our prod cts, please read carefully the assembly instructions before the installation (Attention: Do not tighten the screws before all screws are in place).
-
Página 2: Parts List
RTA-2202 RTA-2202 PARTS LIST PARTS LIST LISTA DE PARTES Left Back Panel Auxiliary Panel Center Back Panel Keyboard Panel Panel posterior izquierdo Panel auxiliar Panel central de fondo Panel de teclado Drawer Right Panel Drawer Front Panel Drawer Left Panel... - Página 3 RTA-2202 RTA-2202 6X40MM BOLT INSTALLATION AS BELOW: 6x40mm INSTALE EL PERONO ASI: 2PCS 4X20 MM Bolt Perno Connecting piece Adjust connecting piece direction if Insert bolt when Connecting piece Pieza de ajuste condition as illustrated under Such condition Cuando la pieza de ajuste este...
- Página 4 RTA-2202 RTA-2202 4PCS 2PCS 7PCS 4X14 MM 6X40 MM 6X40 MM 2PCS 2PCS 6X40 MM Use Screws (H) to fix the Big Support tubes (18) to the back face of the Right Horizontal Panel (15) Con tornillos (H) fije los Soportes...
- Página 5 P.10 RTA-2202 RTA-2202 4PCS 4PCS 4X14 MM 3PCS 6X12 MM 6X50 MM 6PCS 6X40 MM IZQUIERDO 2PCS LEFT DERECHO RIGHT 2PCS 4PCS 2PCS 6X40 MM 6X35 MM BACK SIGHT BACK SIGHT Use Screws (H) to assemble the fix Use Screws (I) to fix the Slider Bases (26) to the...
- Página 6 P.11 P.12 RTA-2202 RTA-2202 10PCS 6X40 MM Insert Bolts (D) to the back face of the Main Panel (27), then place the Main Panel (27) on top of the structure matching the Bolts (D) with the holes on the structure, finally tight every corresponding nut in the holes of the structure.


