Publicidad
Enlaces rápidos
spine (1X)
poutrelle (x 1)
soporte reclinable (2X)
Key (2X)
clé (x 2)
llave (2X)
front tray assembly (1X)
plateau avant (X 1)
soporte de ruedas delantero (1X)
tray bolt (4X)
boulon de plateau (x 4)
perno de la bandeja (4X)
washer (4X)
rondelle (x 4)
arandela (4X)
Per Bike
=
Par vélo
Por bicicleta
Instruction #1035898D-1/8
lock washer (4X)
rondelle de sécurité (x 4)
arandela de cierre (4X)
=
50lbs. / 22.7kg
22.7kg / 50 lbs.
=
50lbs. / 22.7kg
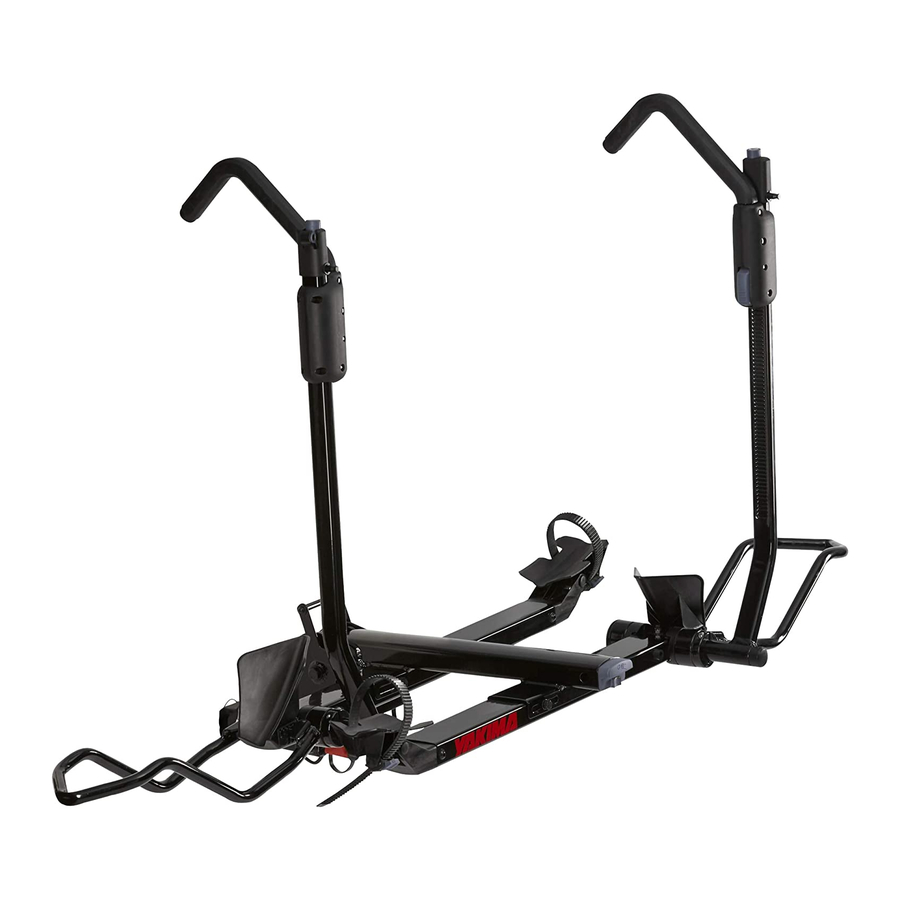
HoldUp Evo
wrench 2X
clé (x 2)
llave 2X
tongue (1X)
nut (1X)
timon (x 1)
écrou (1X)
base (1X)
tuerca (1X)
rear tray assembly (1X)
plateau arrière (X 1)
soporte de ruedas trasero (1X)
tray bolt (4X)
boulon de plateau (x 4)
perno de la bandeja (4X)
#8002482
HoldUp EVO +2
(Works only with 2" Hitches)
(Seulement pour les attelages de 5,1 cm/2 po)
(compatible solamente con enganches de 2")
washer (2X)
rondelle (1X)
spacer (2X)
arandela (1X)
entretoise (x 2)
espaciador (2X)
spine bolt (1X)
boulon de poutrelle (1X)
perno de la base (1X)
washer (4X)
rondelle (x 4)
arandela (4X)
lock washer (4X)
rondelle de sécurité (x 4)
arandela de cierre (4X)
Publicidad

Resumen de contenidos para Yakima HoldUp Evo
- Página 1 (4X) arandela de cierre (4X) Per Bike 50lbs. / 22.7kg #8002482 HoldUp EVO +2 Par vélo 22.7kg / 50 lbs. (Works only with 2” Hitches) (Seulement pour les attelages de 5,1 cm/2 po) (compatible solamente con enganches de 2") Por bicicleta 50lbs.
- Página 2 Insert tongue into hitch receiver. The hole in the base must align to the hole in the hitch receiver. Do not use with hitch adapters, Enfiler le timon dans l’attelage. extenders, or reducers. Le trou du timon doit s’aligner avec le trou de l’attelage. Ne pas employer avec un adaptateur, une rallonge ou un réducteur d’attelage.
- Página 3 Yakima. Oriente qui porte le grand collant Yakima. Orienter le plateau de el soporte de modo que la palabra Yakima quede al derecho. manière que le logo soit à l’endroit. B. B. Instale los tornillos de fijación y apriételos completamente B.
- Página 4 Always support the spine Toujours soutenir la poutrelle quand Cuando baje el HoldUp EVO when lowering HoldUp EVO on abaisse le porte-vélo HoldUp cargado de bicicletas, no olvide de EVO si des vélos y sont chargés.
- Página 5 Rotate the pivot arm up until the hook rests on the bike tire 1” or less from the brakes or the fork. Failure to place wheel hook in the Redresser le bras correct position can cause your bicycle pivotant de manière to eject, and cause personal injury, que le crochet porte property damage, or death.
-
Página 6: Important
Access locking cables at the end of each pivot arm. Wrap locking cable around bike frame. Insert the pin from the pivot arm into hole at the end of the locking cable. Lock with key. Tirer le câble qui se trouve à l'intérieur de chacun des bras pivotants. - Página 7 Tire et relever le porte-vélo de la palanca de reclinado complètement jusqu’à ce y pliegue el HoldUp Evo qu’il se verrouille en place. completamente hacia arriba hasta que quede Pliegue los aros portarrueda trabado en su posición.
- Página 8 In addition, some undersized receivers may not accept this product. If you do not know the capabilities of your hitch receiver, consult an automotive professional. Par ailleurs, il est possible que certains attelages plus petits n’acceptent pas ce produit. Si l’on ne connaît pas la solidité...

