Publicidad
Enlaces rápidos
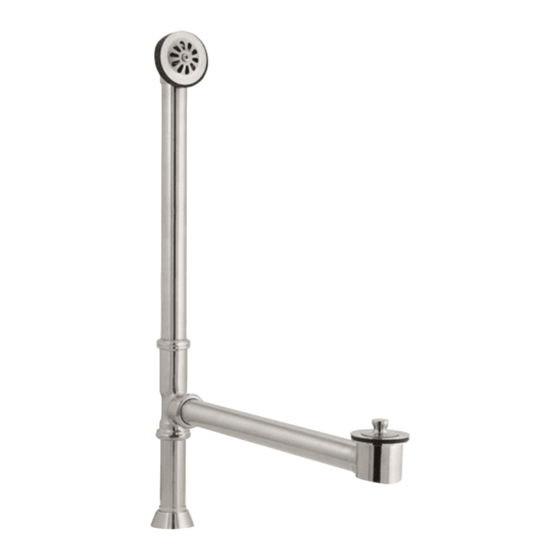
TUB DRAIN AND OVERFLOW
Model MIREXD100CP, MIREXD100BN
DRENAJE Y REBALSE DE LA TINA
Modelos MIREXD100CP, MIREXD100BN
DRAIN ET TROP-PLEIN DE BAIGNOIRE
Modèles MIREXD100CP , MIREXD100BN
Thank you for choosing our
product for your home. Please
read these instructions carefully
before installing your new tub
drain and overflow.
Goggles
Anteojos Protectores
Lunettes de sécurité
03/18 REV.A
Gracias por elegir nuestro
producto para su hogar. Lea
atentamente estas instrucciones
antes de instalar el drenaje y el
desagüe de su nueva tina.
You may need/Usted puede necesitar/
Aticles dont vous pouvez avoir besion
Wrench
Llave para Instalar Grifos
Llave
Clé ajustable
Basin wrench
Clé pour lavabo
1
Nous vous remercions de choisir
notre produit pour votre maison.
Veuillez lire les instructions
attentivement avant d'installer
vos nouveaux drain et trop-plein
de baignoire.
Phillips head screwdrivers
Destornillador Phillips
Tournevis cruciforme
www.mirabelleproducts.com
Sealant tape
Cinta Selladora
Ruban d'étanchéité
Publicidad

Resumen de contenidos para Mirabelle MIREXD100CP
- Página 1 Model MIREXD100CP, MIREXD100BN DRENAJE Y REBALSE DE LA TINA Modelos MIREXD100CP, MIREXD100BN DRAIN ET TROP-PLEIN DE BAIGNOIRE Modèles MIREXD100CP , MIREXD100BN Thank you for choosing our Gracias por elegir nuestro Nous vous remercions de choisir product for your home. Please producto para su hogar.
- Página 2 Overflow assembly Note: First slide the lock nut and washer onto the overflow Because tubs vary in size, measure your space drain pipe. Next, using the slip joint connection on the thoroughly before installation. Trim pipes accordingly T elbow, slide the elbow onto the overflow drain pipe to ensure a correct fit.
- Página 3 T-elbow connector Next, slide nut and washer onto the bottom drain Install the tub shoe with gasket through the top of the piece pipe and slide the pipe into the horizontal drain hole. Screw down until tight. Make sure to adjust opening in the T elbow.
- Página 4 After all components are installed place the base flange over the bottom tail pipe before connecting to the waste plumbing line. Connect the waste and overflow to plumbing lines in the floor. Check for any leakage in the assembly. Después de haber instalado todos los componentes, coloque la brida base sobre la tubería de escape inferior antes de conectarla a la línea de plomería de desechos.


