Publicidad
Enlaces rápidos
Please Contact Moen First
For Installation Help, Missing or
Replacement Parts
(USA)
1-800-BUY-MOEN (1-800-289-6636)
Mon - Fri 8:00 AM to 7:00 PM, Eastern
Sat. 9:00 AM to 3:00 PM Eastern
WWW.MOEN.COM
(Canada)
1-800-465-6130
Mon - Fri 7:30 AM to 8:00 PM, Eastern
WWW.MOEN.CA
Por favor, contáctese primero con
Moen
Para obtener ayuda de instalación, piezas
faltantes o de recambio
011 52 (800) 718-4345
Lunes a viernes de 8:00 a 20:00 hs.
(Costa Este)
Sáb. 8:00 a 18:30 hs. (Costa Este)
WWW.MOEN.COM.MX
Veuillez d'abord contacter Moen
En cas de problèmes avec l'installation, ou pour
obtenir toute pièce manquante ou de rechange
1-800-465-6130
Du lundi au vendredi :
de 7 h 30 à 20 h, HE
WWW.MOEN.CA
HELPFUL TOOLS
For safety and ease of installation, Moen recommends the
use of these helpful tools.
Guía de Instalación
Guide d'installation
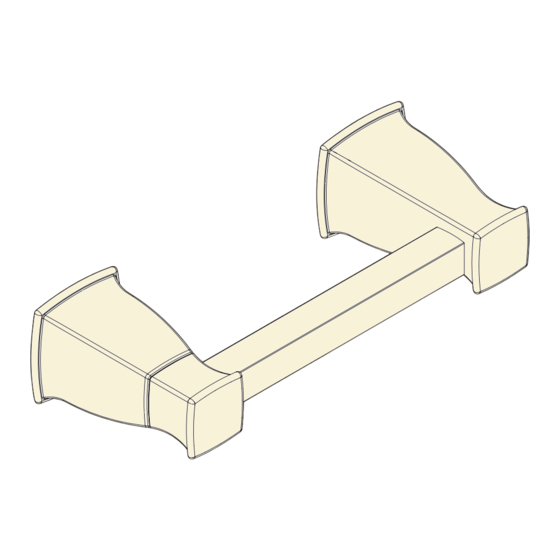
PIVOTING PAPER HOLDER
Style varies by model
PORTARROLLOS PIVOTANTE
El estilo varía según el modelo
PORTARROLLOS PIVOTANTE
Le style varie selon le modèle
HERRAMIENTAS ÚTILES
Para mayor seguridad y facilidad de instalación, Moen le
recomienda usar estas útiles herramientas.
Stud Finder
Detector de vigas
Localisateur de
montants
INS10550 - 4/16
Installation Guide
OUTILS UTILES
Par mesure de sécurité et pour faciliter l'installation, Moen
recommande l'utilisation des outils ci-dessous.
5 /16"
7.9mm
1 /16"
1.2mm
Publicidad

Resumen de contenidos para Moen INS10550
- Página 1 Le style varie selon le modèle HELPFUL TOOLS HERRAMIENTAS ÚTILES OUTILS UTILES For safety and ease of installation, Moen recommends the Para mayor seguridad y facilidad de instalación, Moen le Par mesure de sécurité et pour faciliter l'installation, Moen use of these helpful tools.
- Página 2 Parts List Lista de piezas Liste des pièces . Dry Wall Anchor (x4) Post . Ancla para paneles de Poste Pivotante . Dispositif d’ancrage Support . Wood Screw (x4) . Set Screw (x2) yeso (x4) Poste sur cloison sèche (4) .
- Página 3 Remove film backing from adhesive on included Level (I). Remove covers from Ink Stamp (C). Assemble Pivoting Post (E) to the Post (F). Ensure the bar of Center level (I), adhesive side down, on top of the bar Pivoting Post is parallel to the ground and set screws are at a Retire los protectores del sello de tinta (C).
- Página 4 INS10550 - 4/16 Important / Importante / Importante Choose location for installation. Gently place the assembled product against the wall, ensuring bar is level. Before you Press and mark by pushing both Posts (E & F) firmly and compress the Ink Stamps, ensure the set screw holes are facing downward.
- Página 5 INS10550 - 4/16 Hollow wall option Hollow wall option Hollow wall option Opción para pared hueca Opción para pared hueca Opción para pared hueca Option pour mur creux Option pour mur creux Option pour mur creux To actuate Dry Wall Anchors (A) Lightly tap Red Pin (J) with Place Mounting Plate (C) over Dry Wall Anchors (A).
- Página 6 Re-marking Instructions / Instrucciones para volver a marcar / Directives pour effectuer de nouveaux marquages Rubbing alcohol (isopropyl alcohol) Alcohol no (alcohol isopropílico) Alcool à friction (alcool isopropylique) Sec. Apply one drop of rubbing alcohol (isopropyl alcohol) to each Apply cap, let stand for 30 sec. Ink Stamp is re-charged and Using a damp cloth, gently wash away unintended ink stamp Ink Stamp reservoir.


