Medline MDS4001 Guia De Inicio Rapido
Ocultar thumbs
Ver también para MDS4001:
- Manual de usuario (31 páginas) ,
- Manual del usuario (56 páginas)
Publicidad
Idiomas disponibles
Idiomas disponibles
Enlaces rápidos
QUICK START GUIDE
AUTOMATIC DIGITAL BLOOD PRESSURE MONITOR
MDS4001
Please watch the following User Video on your computer by typing in the link
https:/ /www.medline.com/sku/item/MDPMDS4001
Step 1 – Install Batteries
A) Pull battery cover off.
B) Install four (4) "AA" batteries.
Step 2 – Set Date and Time
A) With the device off, hold down
the SET button until the year
starts flashing in the top right
corner.
B) Release the SET button.
C) Press the MEM button
repeatedly to change the year
while the number is still flashing.
D) Press the SET button once to
change to month selection.
Press MEM repeatedly to
change the month while the
number is still flashing.
E) Repeat step D three (3) times
for the day, hour, and minute.
F) Press the SET button once.
Step 5 - Begin Measurement
A) Press START/STOP to turn
monitor on and automatically
begin measurement.
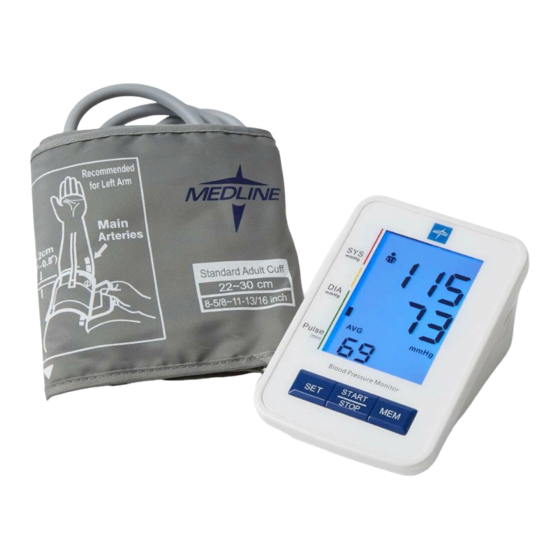
Step 3 – Cuff Placement
A) Place cuff on left arm at heart level
(1 in. above elbow joint).
B) Align tubing with middle finger to
ensure placement of Artery Mark
(Ø) over the brachial artery.
C) Plug the air tube connector into
the air tube socket on the left side
of the monitor.
Step 4 – Body Placement
A) Sit with feet flat on floor.
B) Place arm, palm-up on flat surface.
C) Ensure cuff is level with heart.
QUICK START GUIDE
AUTOMATIC DIGITAL BLOOD PRESSURE MONITOR
MDS4001
Please watch the following User Video on your computer by typing in the link
https:/ /www.medline.com/sku/item/MDPMDS4001
Troubleshooting Guide
1) Does Not Turn On
❏
Check that batteries are inserted.
❏
Check that the battery polarities (
positioned in the correct direction.
❏
Try inserting new batteries.
2) Inaccurate Reading*
❏
Refrain from eating, smoking and drinking (especially alcoholic
beverages) before a measurement. These activities can affect your
blood pressure.
❏
Check the cuff for a snug fit that can fit two fingers between the cuff
and your upper arm.
❏
Ensure that you are not moving, speaking or repositioning during
measurement.
❏
If taking multiple measurements, ensure you are waiting at least 5
minutes between readings.
3) Inflation Problem
❏
Ensure the air tube connector is fully plugged into the air tube socket
on the left side of the monitor.
❏
Ensure that cuff is snug enough to where it will not slide up or down
the arm.
❏
Confirm that you are remaining still during measurements.
❏
Ensure the cuff is fully deflated before taking a measurement.
❏
Make sure cuff hose remains straight and unkinked during
measurement.
*Other things can affect blood pressure values besides those listed here.
IMPORTANT!
You can STOP the inflation or deflation of the cuff at any time by pressing the
START/STOP button.
Please see User Manual for more details.
If you have any questions or are experiencing difficulties, please call the Medline
Service Center at 1-800-MEDLINE (1-800-633-5463). V2 RJ20DGA
+
-
and
symbols) are
Publicidad

Manuales relacionados para Medline MDS4001


Resumen de contenidos para Medline MDS4001
- Página 1 A) Press START/STOP to turn START/STOP button. monitor on and automatically Please see User Manual for more details. begin measurement. If you have any questions or are experiencing difficulties, please call the Medline Service Center at 1-800-MEDLINE (1-800-633-5463). V2 RJ20DGA...
- Página 2 Puede DETENER el inflado o desinflado del manguito en cualquier momento pulsando el botón para encender el monitor e iniciar START/STOP. automáticamente la medición. En el manual del usuario encontrará más detalles. Si tiene alguna pregunta o tiene dificultades, llame al Centro de Servicio Técnico de Medline al 1-800-MEDLINE (1-800-633-5463). V2 RJ20DGA...