Publicidad
Enlaces rápidos
a
b
j
i
h
NOTE: Hardware included for installation into drywall or plaster 1/2" to 5/8" thick. Other wall types
require additional hardware. See "Wall Types" section to determine hardware needs.
NOTA: Se incluyen herrajes de instalación para muro seco o yeso de 1,2 cm a 1,5 cm. Otros tipos de
paredes requieren herrajes de instalación adicionales. Vea la sección "Tipos de Paredes" para
determinar que tipo de herrajes necesita.
e
d
c
f
k
l
®
Before You Begin
1. Remove product from packaging and carefully inspect all parts.
(See Parts List below.)
2. Please read all instructions carefully before beginning.
Antes de Empezar
1. Saque el producto del paquete y cuidadosamente inspeccione
todas las partes. (Vea la lista de partes abajo).
2. Lea todas las instrucciones cuidadosamente antes de empezar.
Parts List
a. Wardrobe shelves—long (3) 02-4300
b. Storage shelves—short (3) 02-45640
c. Support poles (4) 01-699
d. Shelf end caps (48) 01-603/604
e. Wall clips (24) 01-40991
f. Side wall brackets (3) 01-40984
g. Pole end caps (4) 01-244
h. 1/2" phillips head screws (12) 01-215
g
i. Pole clips (12) 01-40977
j. Pole connectors (2) 01-4307
k. 1" pins (24) 01-658
l. Pre-loaded Anchor (6) 01-50955
Lista de Partes
a. Repisas colgadoras - largas (3) 02-4300
b. Repisas de almacenaje - cortas (3) 02-45640
c. Postes de soporte (4) 01-699
d. Tapones para repisa (48) 01-603/604
e. Fijadores de pared (24) 01-40991
f.
Soportes laterales (3) 01-40984
g. Tapones de poste (4) 01-244
h. Tornillos de cabeza phillips, 1,2 cm (12) 01-215
i.
Fijadores de poste (12) 01-40977
j.
Conectadores de poste (2) 01-4307
k. Clavijas de 2,5 cm (24) 01-658
l.
Tarugos precargados (6) 01-50955
8' - 10' (2,44 m - 3 m)
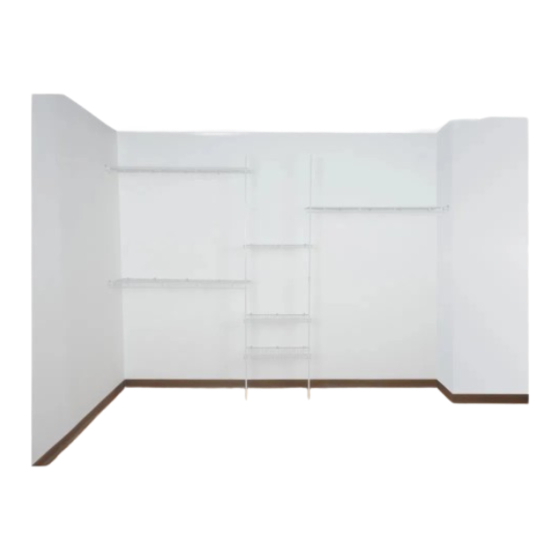
Closet Organizer
Installation Instructions
Organizador de Clóset
Instrucciones de Instalación
Tools and Materials
Herramientas y Materiales
1/4" (6 mm)
Philips Head
#2110
TM
Publicidad

Resumen de contenidos para ClosetMaid 2110
- Página 1 #2110 ® 8' - 10' (2,44 m - 3 m) Closet Organizer Installation Instructions Organizador de Clóset Instrucciones de Instalación Tools and Materials Herramientas y Materiales 1/4" (6 mm) Philips Head Before You Begin 1. Remove product from packaging and carefully inspect all parts.
- Página 2 Prepare Hardware 1. Determine top of each pole by locating hole closest to end. 2. Attach an endcap to top of one pole and bottom of other pole. Repeat for second set of poles. Bottom Parte 3. Attach pole clips to each set of poles with 1/2" screws (provided) Parte superior as shown.
- Página 3 Measure and Fit (Cont.) NOTE: Diagram shows measurements for 10 foot closet. For cut 11" 11" 11" 14" 11" shelves, determine length and reposition wall clips as necessary in even increments (in inches) to accommodate cut shelf size. Be careful not to alter alignment of shelves and support poles.
- Página 4 1-800-874-0008 (U.S.A and Canada) satisfaction when installed in accordance with manufacturer's Worldwide Internet On-Line Services instructions, it will be exchanged www.closetmaid.com free charge. Only unsatisfactory part in a multi-piece product will be exchanged. © 2001 ClosetMaid, Ocala, FL 34478-4400 U.S.A. 01-84117...


