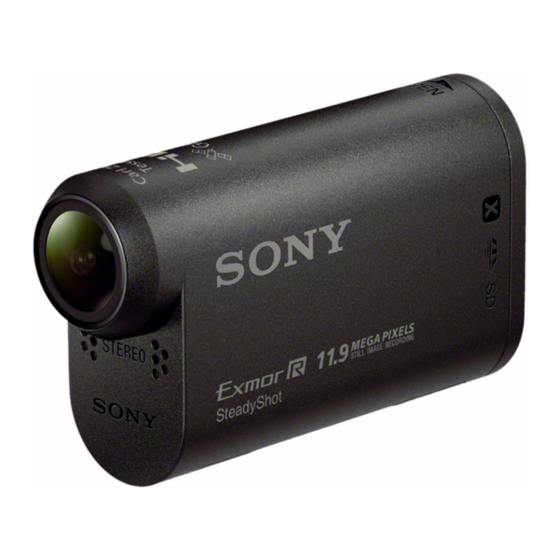
Sony HDR-AS30 Manual De Instrucciones
Ocultar thumbs
Ver también para HDR-AS30:
- Manual de instrucciones (44 páginas) ,
- Guia practica (76 páginas)
Resumen de contenidos para Sony HDR-AS30
- Página 1 Digital HD Video Camera Recorder HDR-AS30/AS30V © 2013 Sony Corporation 4-530-284-01(1)
- Página 2 デジタル ビデオカメラレコーダー ここでは、 バージョンアップにより追加 変更される機能の紹介や使いかたについて説明します。 本機の 「取扱説明書」 および 「ハンドブック」 もあわせてお読みください。 設定一覧 項目 画面表示 初期設定 録画モード ( × ) VIDEO 1920 1080/30p 手ブレ補正 STEDY 画角 ° ANGLE 上下反転 FLIP シーン SCENE NORML インターバル静止画記録 LAPSE 5sec スマートリモコン Wi-Fi コピー ー SHARE ログ 飛行機モード...
- Página 3 上下反転 設定 画面 画像の上下を反転して記録します。本機を上下逆さに取りつけたときに便利です。 設定は から行います。 [SETUP] ボタンを押して を表示させ、 ボタンを押す NEXT [SETUP] ENTER ボタンを押して ( ) を表示させ、 ボタンを押す NEXT [FLIP] Flip ENTER ボタンを押して好みの設定を選び、 ボタンを押す NEXT ENTER 画像を上下反転する。音声も左右反転する 画像を上下反転しない 画面に戻る [FLIP] 上下反転機能について 上下反転を に設定すると、 撮影モードを切り換えた際に表示される設定情報に [ON] と表示されます。 [FLIP] 本機を正位置でご使用になるときは、 画像が反転されて記録されますのでご注意く ださい。...
- Página 4 サマータイム設定 設定 画面 サマータイム設定ができます。 設定は から行います。 [SETUP] ボタンを押して を表示させ、 ボタンを押す NEXT [SETUP] ENTER ボタンを押して ( ) を表示させ、 NEXT [DST] Daylight Saving Time ボタンを押す ENTER ボタンを押して好みの設定を選び、 ボタンを押す NEXT ENTER サマータイムを設定する サマータイムを設定しない 画面に戻る [DST]...
-
Página 5: Setting Items
Digital HD Video Camera Recorder The following describes the functions provided/changed by this firmware update, and how to operate them. Please refer to the “Operating Guide,” and the “Handbook”. Setting items Items Display Default setting Recording Mode VIDEO HQ (1920×1080/30p) SteadyShot STEDY Field Angle... - Página 6 Flip Setting display You can record the image upside down. This function is useful when the camera is attached upside down. To make the setting, select [SETUP] first. 1 Press the NEXT button to display [SETUP], then press the ENTER button. 2 Press the NEXT button to display [FLIP] (Flip), then press the ENTER button.
- Página 7 Daylight Saving Time Setting display (Summer Time) Setting You can set the camera’s clock to the Daylight Saving Time. To make the setting, select [SETUP] first. 1 Press the NEXT button to display [SETUP], then press the ENTER button. 2 Press the NEXT button to display [DST] (Daylight Saving Time), then press the ENTER button.
-
Página 8: Options De Réglage
Caméscope numérique HD Les pages suivantes décrivent les fonctions offertes/modifiées par cette mise à jour du micrologiciel, ainsi que leur fonctionnement. Veuillez vous reporter au « Mode d’emploi » et au « Guide pratique ». Options de réglage Options Affichage Réglage par défaut Mode d’enregistrement VIDEO... - Página 9 Inversion Affichage de réglage Vous pouvez enregistrer l’image à l’envers. Cette fonction est pratique lorsque le caméscope est fixé à l’envers. Pour effectuer le réglage, sélectionnez d’abord [SETUP]. 1 Appuyez sur la touche NEXT pour afficher [SETUP], puis appuyez sur la touche ENTER.
-
Página 10: Réglage De L'hEure D'éTé
Réglage de l’heure Affichage de réglage d’été Vous pouvez régler l’horloge du caméscope à l’heure avancée. Pour effectuer le réglage, sélectionnez d’abord [SETUP]. 1 Appuyez sur la touche NEXT pour afficher [SETUP], puis appuyez sur la touche ENTER. 2 Appuyez sur la touche NEXT pour afficher [DST] (Heure avancée), puis appuyez sur la touche ENTER. -
Página 11: Videocámara Digital Hd
Videocámara Digital HD A continuación, se describen las funciones proporcionadas/modificadas por esta actualización de firmware y el modo de operarlas. Consulte la “Guía de operaciones” y la “Guía práctica”. Elementos de ajuste Elementos Pantalla Ajuste predeterminado Modo de grabación VIDEO HQ (1920×1080/30p) SteadyShot STEDY... - Página 12 Invertir Pantalla de ajuste Permite grabar la imagen en posición invertida. Esta función es útil cuando la cámara se encuentra en posición invertida. Para realizar el ajuste, primero seleccione [SETUP]. 1 Presione el botón NEXT para mostrar [SETUP]; luego, presione el botón ENTER.
-
Página 13: Ajuste De Horario De Verano
Ajuste de Horario de Pantalla de ajuste verano Puede configurar el reloj de la cámara en Horario de verano. Para realizar el ajuste, primero seleccione [SETUP]. 1 Presione el botón NEXT para mostrar [SETUP]; luego, presione el botón ENTER. 2 Presione el botón NEXT para mostrar [DST] (Horario de verano); luego, presione el botón ENTER. -
Página 14: Itens De Configuração
Câmera de vídeo digital HD O texto a seguir descreve as funções fornecidas/alteradas por esta atualização do firmware e como operá-las. Consulte o “Manual de instruções”, e o “Guia”. Itens de configuração Itens Exibição Configuração padrão Modo de gravação VIDEO HQ (1920×1080/30p) SteadyShot STEDY... - Página 15 Inverter Visor de configuração Você pode gravar a imagem de ponta cabeça. Esta função é útil quando a câmera é afixada de cabeça para baixo. Para efetuar a configuração, selecione [SETUP] primeiro. 1 Pressione o botão NEXT para exibir [SETUP] e, em seguida, pressione o botão ENTER.
- Página 16 Definição do Horário Visor de configuração de Verão Você pode definir o horário do relógio da câmera para o horário de verão. Para efetuar a configuração, selecione [SETUP] primeiro. 1 Pressione o botão NEXT para exibir [SETUP] e, em seguida, pressione o botão ENTER.


