Publicidad
Enlaces rápidos
Please Contact Moen First
For Installation Help, Missing or
Replacement Parts
(USA)
1-800-BUY-MOEN (1-800-289-6636)
WWW.MOEN.COM
(Canada)
1-800-465-6130
WWW.MOEN.CA
Por favor, contáctese primero
con Moen
Para obtener ayuda de instalación, piezas
faltantes o de recambio
01 52 (800) 718-4345
WWW.MOEN.MX
Veuillez d'abord contacter Moen
en cas de problèmes avec l'installation,
ou pour obtenir toute pièce manquante
ou de rechange
1-800-465-6130
WWW.MOEN.CA
HELPFUL TOOLS
For safety and ease of faucet replacement,
Moen recommends the use of these help-
ful tools.
Installation Guide
Guía de Instalación
Guide d'installation
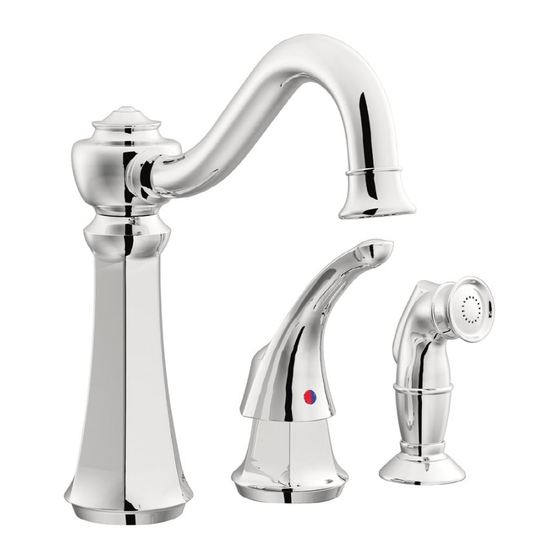
VESTIGE® SPOUT KIT
JUEGO DE SURTIDOR VESTIGE®
TROUSSE DE BEC VESTIGE®
HERRAMIENTAS ÚTILES
Para que el cambio de la llave sea fácil y
seguro, Moen le recomienda usar estas
útiles herramientas.
OUTILS UTILES
Par mesure de sécurité et pour faciliter
l'installation, Moen suggère l'utilisation des
outils suivants.
3
INS10231A - 9/18
Publicidad

Resumen de contenidos para Moen VESTIGE INS10231A
- Página 1 For safety and ease of faucet replacement, Para que el cambio de la llave sea fácil y Par mesure de sécurité et pour faciliter Moen recommends the use of these help- seguro, Moen le recomienda usar estas l’installation, Moen suggère l’utilisation des ful tools.
- Página 2 Parts List A. Faucet Body F. Mounting Washer B. Installation Tool G. Mounting Nut C. Quick Connect Hose H. Handle Assembly D. Diverter Tee (Existing component) E. Support Bracket I. Side Spray Hose (Existing component) (Existing component) Lista de piezas A.
- Página 3 Remove Quick Connect Hose from under spout and Handle Assembly *(H). Pinch both ends of Quick Connect tab For Side Spray *(I) disconnection from Diverter Tee, do to release. one of the following based on connection types: A. Unthread B. Pinch white tabs C. Press in button Retire la manguera de conexión rápida de debajo del surtidor y del conjunto del monomando *(H).
- Página 4 INS10231A - 9/18 Nuevo Nouveau Install New Faucet Body (A). *(H) and *(I) are Install new Support Bracket (E), Mounting Washer (F) Using Installation Tool (B) and screwdriver, secure existing components. and Mounting Nut (G). Mounting Nut (G). Instale el nuevo cuerpo de la mezcladora (A). *(H) e *(I) Instale la nueva ménsula de montaje (E), la arandela de Usando la herramienta de instalación (B) y un destor- son componentes existentes.
- Página 5 INS10231A - 9/18 1. Remove and discard protective cap from Diverter Tee (D). 2. Install one end of Quick Connect Hose (C) to Diverter Tee (D) connection. 3. Install the other end of the hose to shank of Handle Assembly *(H). Push in as far as possible until a "click"...
- Página 6 Los productos Moen son fabricados bajo las más Les produits Moen sont fabriqués selon les under the highest standards of quality and estrictas normas de calidad y mano de obra. Moen normes les plus élevées de qualité et de workmanship. Moen warrants to the original le garantiza al comprador original que durante el main-d’œuvre.


