Tabla de contenido
Publicidad
Idiomas disponibles
Idiomas disponibles
Enlaces rápidos
Harbor Breeze ® is a registered trademark of LF,
LLC. All Rights Reserved.
ATTACH YOUR RECEIPT HERE
Serial Number
Purchase Date
Questions, problems, missing parts? Before returning to your retailer, call our customer
service department at 1-800-643-0067, 8 a.m. - 6 p.m., EST, Monday - Thursday,
8 a.m. - 5 p.m., EST, Friday.
AB171149
ITEM #0807421, 0807422
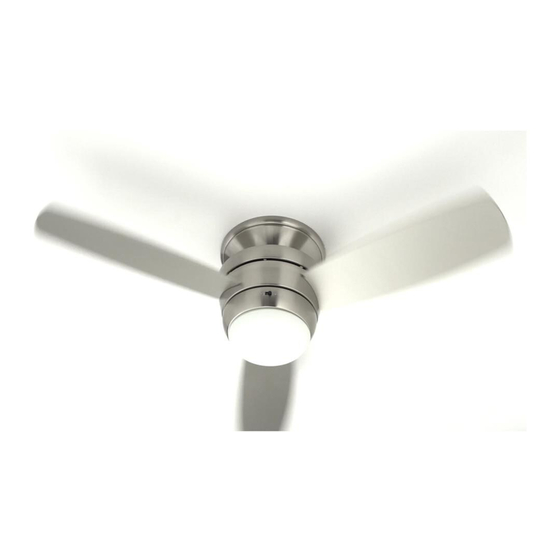
MAZON CEILING FAN
MODEL #00724, 00725
Español p. 15
1
UL #44-MZ
Publicidad
Tabla de contenido

Manuales relacionados para Harbor Breeze 00724


Resumen de contenidos para Harbor Breeze 00724
- Página 1 ITEM #0807421, 0807422 MAZON CEILING FAN MODEL #00724, 00725 UL #44-MZ Español p. 15 Harbor Breeze ® is a registered trademark of LF, LLC. All Rights Reserved. ATTACH YOUR RECEIPT HERE Serial Number Purchase Date Questions, problems, missing parts? Before returning to your retailer, call our customer service department at 1-800-643-0067, 8 a.m.
-
Página 2: Tabla De Contenido
TABLE OF CONTENTS WARNING Safety Information....................... 2 • ELECTRIC SHOCK HAZARD - To reduce the risk of electric shock, this fan must be installed with an isolating wall control/switch. Package Contents....................... 4 • ELECTRIC SHOCK HAZARD - To reduce the risk of electric shock, make sure the electricity has been turned off at the circuit breaker or fuse box before beginning installation. -
Página 3: Package Contents
PACKAGE CONTENTS HARDWARE CONTENTS (shown actual size) Wire Connector Blade Screw Qty. 3 + 1 extra Qty. 9 + 1 extra PREPARATION PART DESCRIPTION QUANTITY PART DESCRIPTION QUANTITY Before beginning assembly of product, make sure all parts are present. Compare parts with package Mounting Plate Glass contents list and hardware contents list. -
Página 4: Assembly Or Installation Instructions
ASSEMBLY INSTRUCTIONS ASSEMBLY INSTRUCTIONS 1. Attach mounting plate (A) to outlet box (not 4. Connect the BLACK wire from the fan to the included) using two screws (not included). BLACK wire from the ceiling. Ground/ Supply circuit Securely tighten two outlet box screws. Pull Connect the WHITE wire from the fan, to the Green White... - Página 5 ASSEMBLY INSTRUCTIONS ASSEMBLY INSTRUCTIONS 7. Align the notches on the fan motor (B) canopy 10. Connect the 9-pin plug exiting the bottom of with raised areas inside the trim ring (C). Pop the fan motor (B) to the 9-pin plug from the the trim ring (C) into the canopy.
-
Página 6: Operating Instructions
ASSEMBLY INSTRUCTIONS 1. Install Battery / Learning Process: Remove the battery cover from the back of the remote found in the remote pack (J). Insert the battery from 13. Align the three flat areas on the top flange of the the remote pack (J) into the remote; ensuring polarity Learn key glass (G) with the three raised dimples in the of battery matches the polarity indicated in the battery light fixture (F). Insert the glass (G) into the light... -
Página 7: Care And Maintenance
CARE AND MAINTENANCE TROUBLESHOOTING IMPORTANT: Shut the main power supply off before beginning any maintenance. PROBLEM POSSIBLE CAUSE CORRECTIVE ACTION Fan blades do not 1. The power is off or the fuse is 1. Turn the power on or check fuse. •... -
Página 8: Warranty
WARRANTY The manufacturer warrants this fan to be free from defects in workmanship and material present at time of shipment from the factory for lifetime limited from the date of purchase. This warranty applies only to the original purchaser. The manufacturer agrees to correct such defect at no charge or at our option replace the ceiling fan with a comparable or superior model. -
Página 9: Adjunte Su Recibo Aquí
ARTÍCULO #0807421, 0807422 VENTILADOR DE TECHO MAZON MODELO #00724, 00725 UL #44-MZ Harbor Breeze® es una marca registrada de LF, LLC. Todos los derechos reservados. ADJUNTE SU RECIBO AQUÍ Fecha de compra Número de serie ¿Preguntas, problemas, piezas faltantes? Antes de volver a la tienda, llame a nuestro Departamento de Servicio al Cliente al 1-800-643-0067, de lunes a jueves, de 8 a. -
Página 10: Información De Seguridad
ÍNDICE ADVERTENCIA Información de seguridad .....................16 • RIESGO DE DESCARGA ELÉCTRICA: para reducir el riesgo de descargas eléctricas, este ventilador debe instalarse con un interruptor de control de aislamiento de pared. Contenido del paquete ......................18 • RIESGO DE DESCARGA ELÉCTRICA: para reducir el riesgo de descargas eléctricas, asegúrese de cortar la electricidad en la caja del interruptor de circuito o en la caja de fusibles antes de Aditamentos ..........................19 comenzar la instalación. -
Página 11: Contenido Del Paquete
CONTENIDO DEL PAQUETE ADITAMENTOS (se muestran en tamaño real) Conector de cables Tornillo para aspas Cant. 3 + 1 adicional Cant.: 9 + 1 adicional PREPARACIÓN PIEZA DESCRIPCIÓN CANTIDAD PIEZA DESCRIPCIÓN CANTIDAD Antes de comenzar a ensamblar el producto, asegúrese de tener todas las piezas. Compare las Placa de montaje Vidrio piezas con la lista del contenido del paquete y la lista del contenido de aditamentos. -
Página 12: Instrucciones De Ensamblaje
INSTRUCCIONES DE ENSAMBLAJE INSTRUCCIONES DE ENSAMBLAJE 1. Fije la placa de montaje (A) a la caja de 4. Conecte el cable NEGRO del ventilador con el cable salida (no se incluye) con dos tornillos (no se NEGRO del techo. Puesta a tierra/ Circuito de suministro Verde incluyen). - Página 13 INSTRUCCIONES DE ENSAMBLAJE INSTRUCCIONES DE ENSAMBLAJE 7. Alinee las muescas en la base del motor del 10. Conecte el enchufe de 9 clavijas que sale ventilador (B) con las áreas elevadas en el de la parte inferior del motor del ventilador interior del anillo de reborde (C).
- Página 14 INSTRUCCIONES DE ENSAMBLAJE 1. Instalación de la batería/Proceso de aprendizaje: Retire la cubierta de la batería de la parte posterior del control remoto que se encuentra en el paquete remoto (J). Inserte 13. Alinee las tres áreas planas de la brida superior Tecla "Learn"...
-
Página 15: Importante
CUIDADO Y MANTENIMIENTO SOLUCIÓN DE PROBLEMAS IMPORTANTE: antes de realizar cualquier trabajo de mantenimiento, desconecte el PROBLEMA CAUSA POSIBLE ACCIÓN CORRECTIVA suministro de electricidad principal. Las aspas del 1. No hay suministro de electricidad 1. Conecte la alimentación o revise ventilador no se o hay un fusible quemado. - Página 16 GARANTÍA El fabricante garantiza que este ventilador no presenta defectos de fabricación ni en los materiales presentes en el momento del transporte desde la fábrica, durante un período limitado de por vida a partir de la fecha de compra. Esta garantía es válida solo para el comprador original. El fabricante acepta reparar dichos defectos sin cargo o, según nuestro criterio, reemplazar el ventilador de techo por un modelo comparable o superior.